Starting beekeeping with no experience feels large, but thousands of new beekeepers do it every spring. You do not need a farm or an agricultural background. You need a sunny corner, the right gear, and a willingness to inspect a living colony on schedule. This guide walks through the whole first year. It covers location, hive choices, bee sourcing, inspections, pests, winter prep, and honey harvesting. For a broader overview first, read our complete beginners guide to starting your first honey beehive.
The USDA Agricultural Research Service notes that colony losses often tie back to varroa mites and poor fall management. That means new beekeepers do not need to master everything at once. Still, you should learn the varroa life cycle and a simple monitoring routine before bees arrive. Use the free USDA reports as a reference. They will make you a calmer, more prepared beekeeper. The research also shows that small, steady habits beat big, rushed interventions.
Budgets catch many new beekeepers by surprise. A basic hive, protective clothing, tools, and a bee package can cross $600 quickly. Our cost breakdown shows where to save and where to spend. Plan for two hives if possible. A second hive gives you frames of brood to compare. It also helps you rescue a failing queen or weak colony. Still, start where your budget allows. You can add a second hive later in the season. That second hive can save your first season.
This guide is built for zero experience. Each step has specific actions, not just ideas. You will learn how to order equipment, choose bees, install them, inspect correctly, manage mites, and prepare for winter. If a step feels confusing, revisit it after you have your gear in hand. Beekeeping is a hands-on craft. You learn most when you open the hive, smell the wax, and see brood. The more you handle frames early, the faster the skills stick.
What You’ll Need
- Langstroth hive kit
- smoker
- hive tool
- bee suit
- gloves
- sugar syrup feeder
- varroa test kit
How Do You Start Beekeeping with No Experience?
- Learn local rules and take a beginner class
Your first job is not buying bees. It is learning what your city, county, and state allow. Some areas ban hives outright. Others require a permit, a minimum lot size, or a signed neighbor notice. Check your local extension office before you spend a dollar. The American Beekeeping Federation lists state and local associations that publish these rules. A quick call to your town clerk can save you a big headache later.
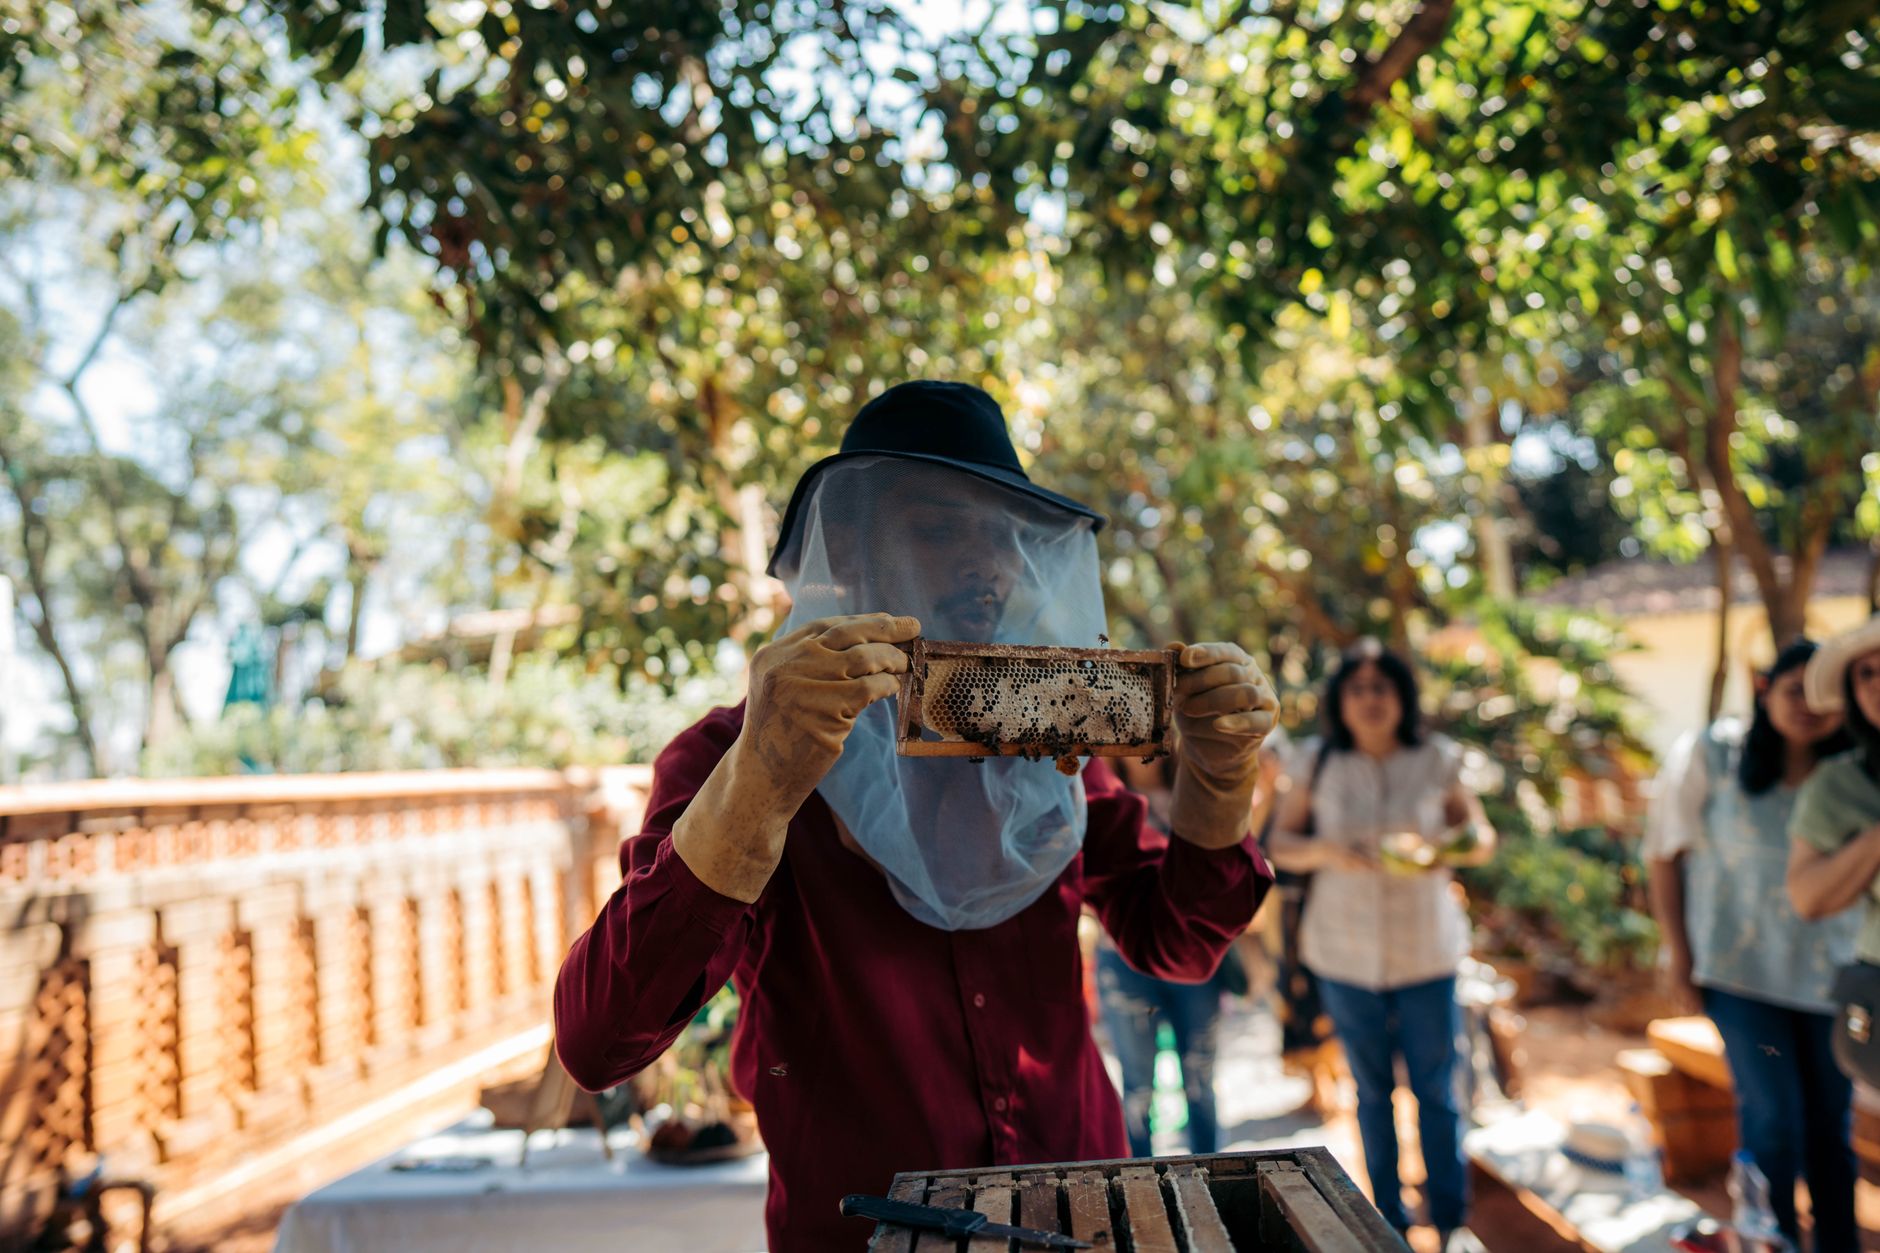
Next, take a beginner beekeeping class. Local clubs often run low-cost classes in late winter. County extension offices and community colleges also teach them. A hands-on class lets you open a hive before you own one. You see how bees move, how to hold frames, and how much smoke to use. That experience is worth more than any YouTube marathon. Ask the instructor about local nectar flows and first-year pitfalls.
If you live in a city, review our urban beekeeping guide. It covers setbacks, flyway barriers, and neighbor relations. Many urban beekeepers keep bees successfully on rooftops or small yards. Still, a six-foot fence or a hedge forces bees upward and away from sidewalks. Add that to your site plan now. You will use it in the next step.
Also find a mentor. A nearby beekeeper can look at your frames and tell you if the queen is laying well. Clubs often match new beekeepers with mentors. This step matters because beekeeping is local. The right timing, winter prep, and nectar sources vary by zip code. A mentor helps you avoid generic advice that fails in your climate.
- Pick a sunny, dry hive location
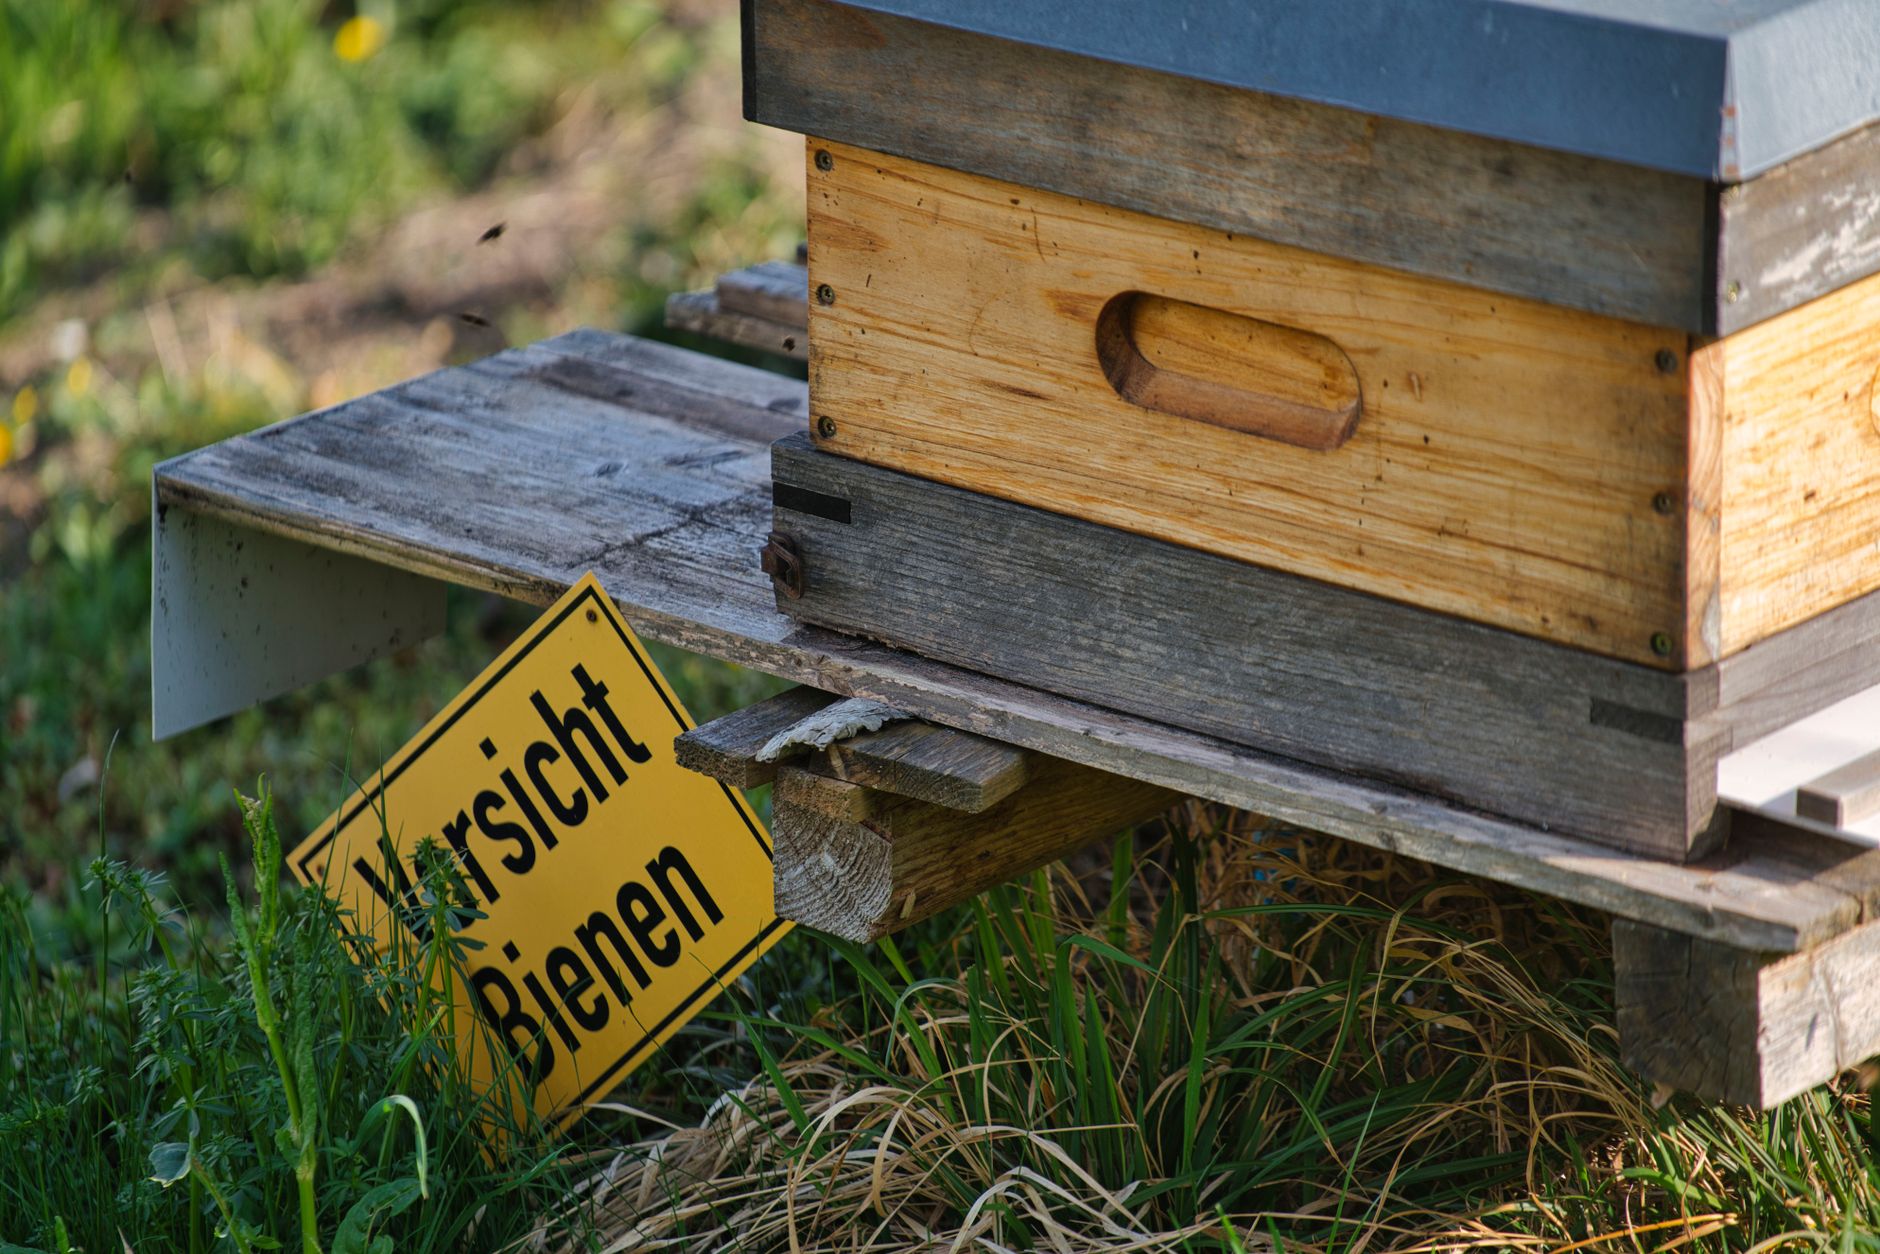
Bees prefer morning sun. A hive facing southeast gets the bees flying earlier. That matters because a longer foraging day means more nectar and pollen. Still, avoid full afternoon sun in very hot regions. In zone 8 or hotter, a little afternoon shade reduces cooling work. Your hive stand should be level, dry, and off the ground. Use concrete blocks or a purpose-built stand.
Wind is another big factor. A windy site can chill brood and make winter harder. Place the hive near a windbreak, but not in a low frost pocket. Cold air settles in low spots. If your yard has a slope, pick a mid-slope spot. Also keep the entrance clear of tall grass. Bees drop early and miss the landing board if brush blocks the front.
Water is often forgotten. Bees need clean water within 50 feet. A shallow dish with stones or floating cork works well. Refill it twice a week in summer. If you skip water, bees will visit a neighbor’s pool or birdbath. That creates conflict. Add a pollinator garden for bees nearby if you can. Even a few lavender and borage plants help.
Think about working room. You need space to stand behind or beside the hive. Do not push the hive against a wall. You will need to set frames down during inspections. A small table or a second empty box helps. Keep the area clear of clutter. A clean work zone makes weekly inspections easier and less stressful.
- Choose your hive and assemble gear
Most beginners do best with a Langstroth hive. It uses standard frames and is easy to expand. Our best beehive starter kits for 2026 compares kits that include deep and medium boxes. Start with two deep boxes for brood and one medium super for honey. You can mix deeps and mediums, but standard sizes keep frame swapping simple. If you are weighing options, read Langstroth vs Flow Hive vs Top Bar before you buy.
Assemble the hive before bees arrive. Buy an unassembled kit to save money, or a pre-assembled kit to save time. Check the Langstroth bee hive kit on Amazon. Use exterior wood glue and galvanized nails. Paint the outside with light-colored exterior latex. Leave the inside bare. Bees do not need paint inside. A light color keeps the hive cooler in summer.
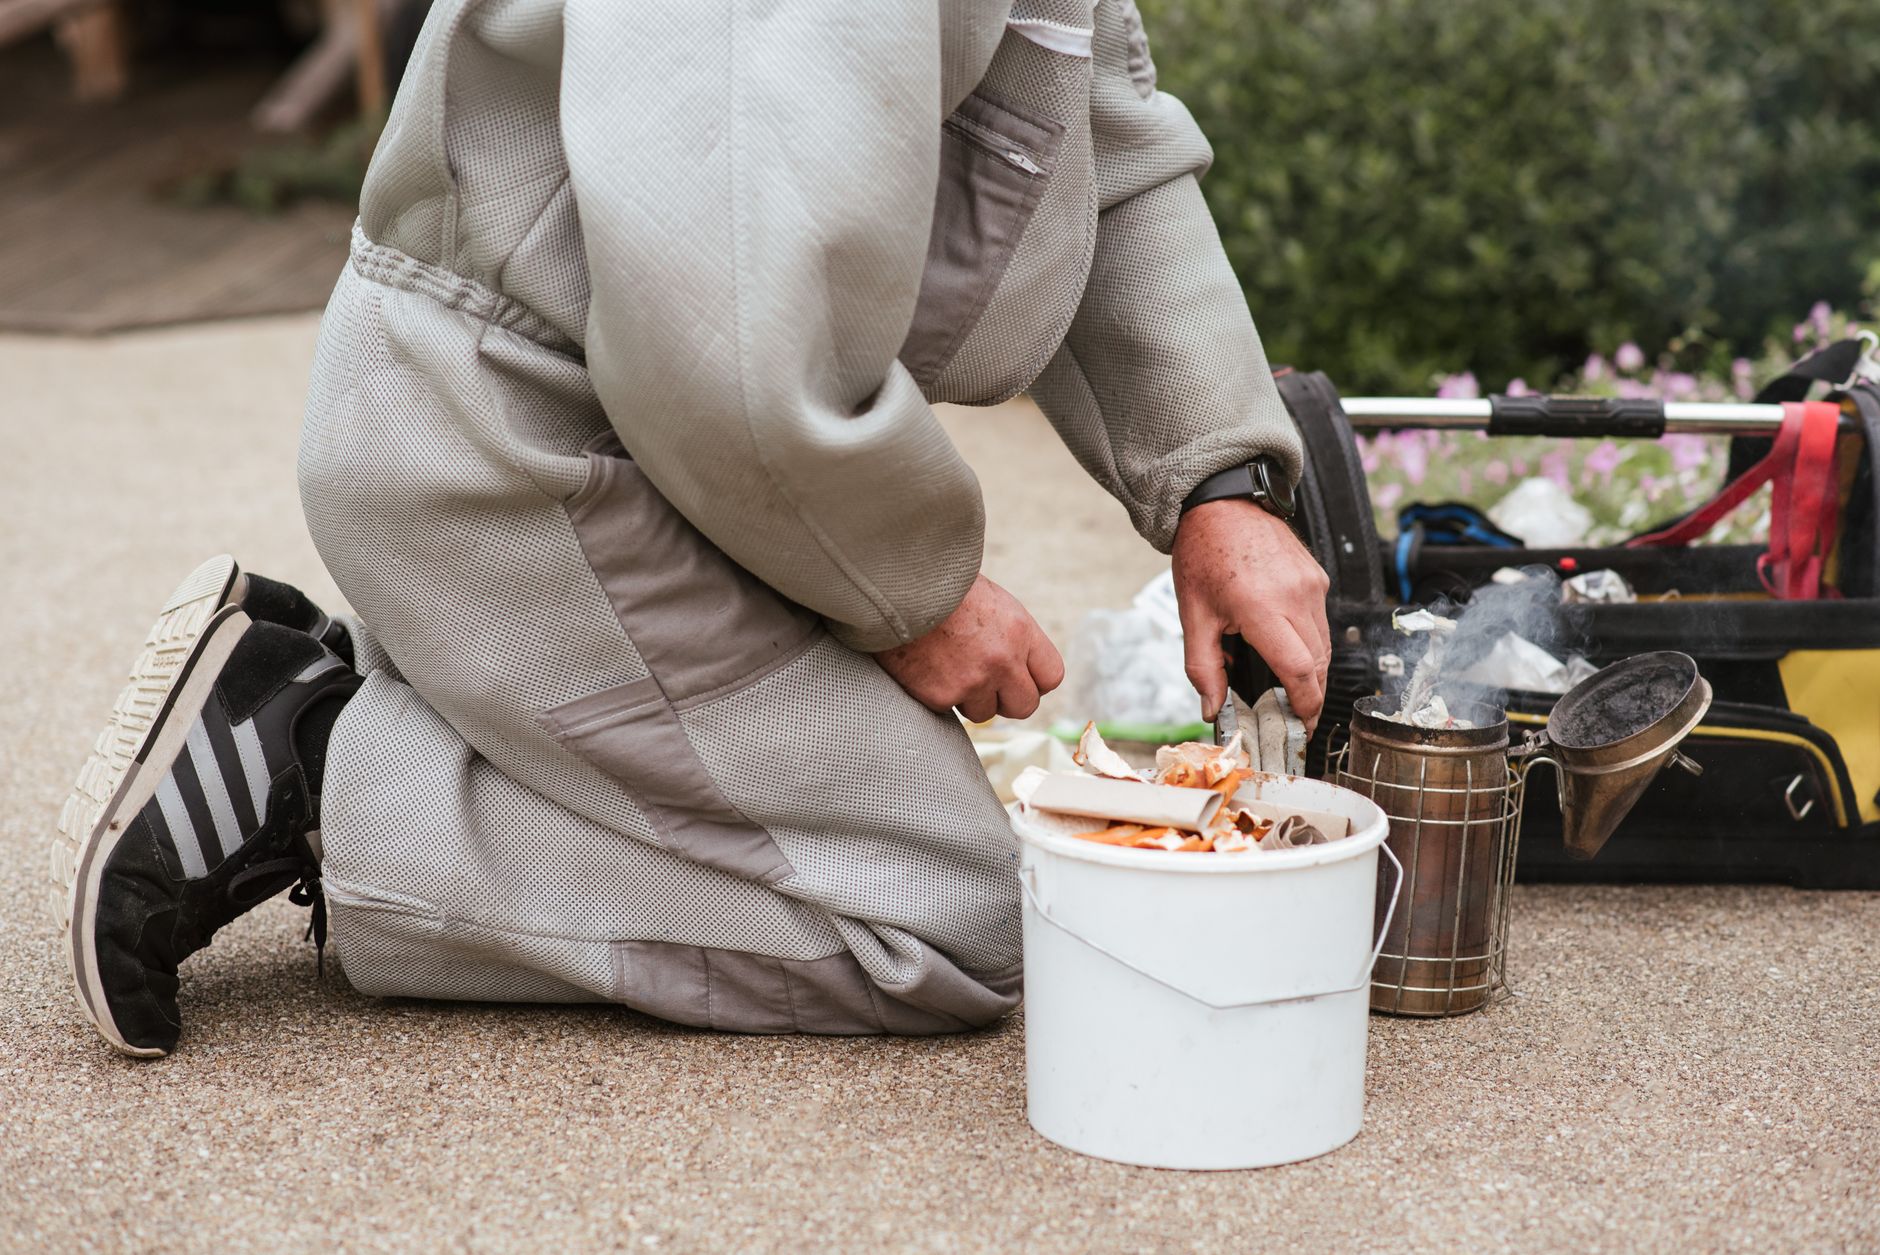
You also need a smoker, hive tool, bee suit, and gloves. A smoker calms the colony by masking alarm pheromones. Check the bee smoker on Amazon. A hive tool is your pry bar for sticky frames. For protective gear, read our best beekeeping suit for 2026 guide. Buy a ventilated suit if your summers get hot.
You do not need every gadget on day one. Skip queen marking kits, frame grips, and fancy feeders until later. Focus on the basics. A second hive kit costs less than a swarm call or emergency reorder. If you can stretch your budget, buy two complete hives. You will have spare frames when one colony grows faster than the other.
- Order bees from a reputable source
You have three main options: a package, a nucleus colony, or a split from a local beekeeper. Most beginners succeed faster with a nuc. A nuc is five frames with a laying queen, brood, honey, and pollen. The colony is already small but established. A package is a box of bees and a caged queen. It is cheaper but takes longer to build comb. Our buying bees guide walks through the tradeoffs.
Order early. Many reputable breeders sell out by February for spring delivery. Ask for local overwintered stock if possible. Bees raised in your climate handle your winters better. Do not buy bees from an unknown online listing. A weak queen or poorly treated package can fail before June. Ask about varroa treatment history and queen source.
When bees arrive, keep them cool and shaded. Do not leave the package in a hot car. Spray the screen lightly with room-temperature water if they look thirsty. Install them within 24 to 48 hours. A nuc is easier because you transfer five frames into your hive. A package requires you to hang the queen cage and shake bees in. Either way, work gently.
If you have a mentor, have them stand with you on install day. It is fast and often happens before you feel ready. The bees are usually calm because they have no brood or honey to defend. Still, wear your suit and gloves. A few bees will fly. Slow movements keep them calm.
- Install bees and feed early
For a package, remove the queen cage and check the queen. She should be alive and moving. Replace the cork with a marshmallow or use the included candy plug. Hang the cage between two frames with the screen facing down. Shake or pour the bees over the top. Close the hive gently. For a nuc, wear your suit and transfer each frame in the same order. Keep the frames together.
Feed sugar syrup as soon as they are installed. New colonies need to draw comb fast. A one-to-one syrup by weight, white sugar to water, works best in spring. Use an entrance feeder or frame feeder. Do not use a Boardman feeder if robbing is a risk. It can draw bees from other colonies. Refill the feeder until they stop taking it.
Do not inspect the queen during the first five to seven days. The colony needs quiet. Peeking too early can cause them to abandon the queen cage. After seven days, open once to check that the queen has been released. If she is still caged, free her. If the colony is queenless, you may need to introduce a new queen. But wait and observe first.
Keep feeding until the bees have drawn most of the frames or a strong nectar flow begins. In many areas, that means six to eight weeks. Watch the entrance every few days. Pollen coming in is a good sign. Bees fanning at the entrance on a hot afternoon is normal. Do not confuse bearding with swarming.
- Perform regular hive inspections
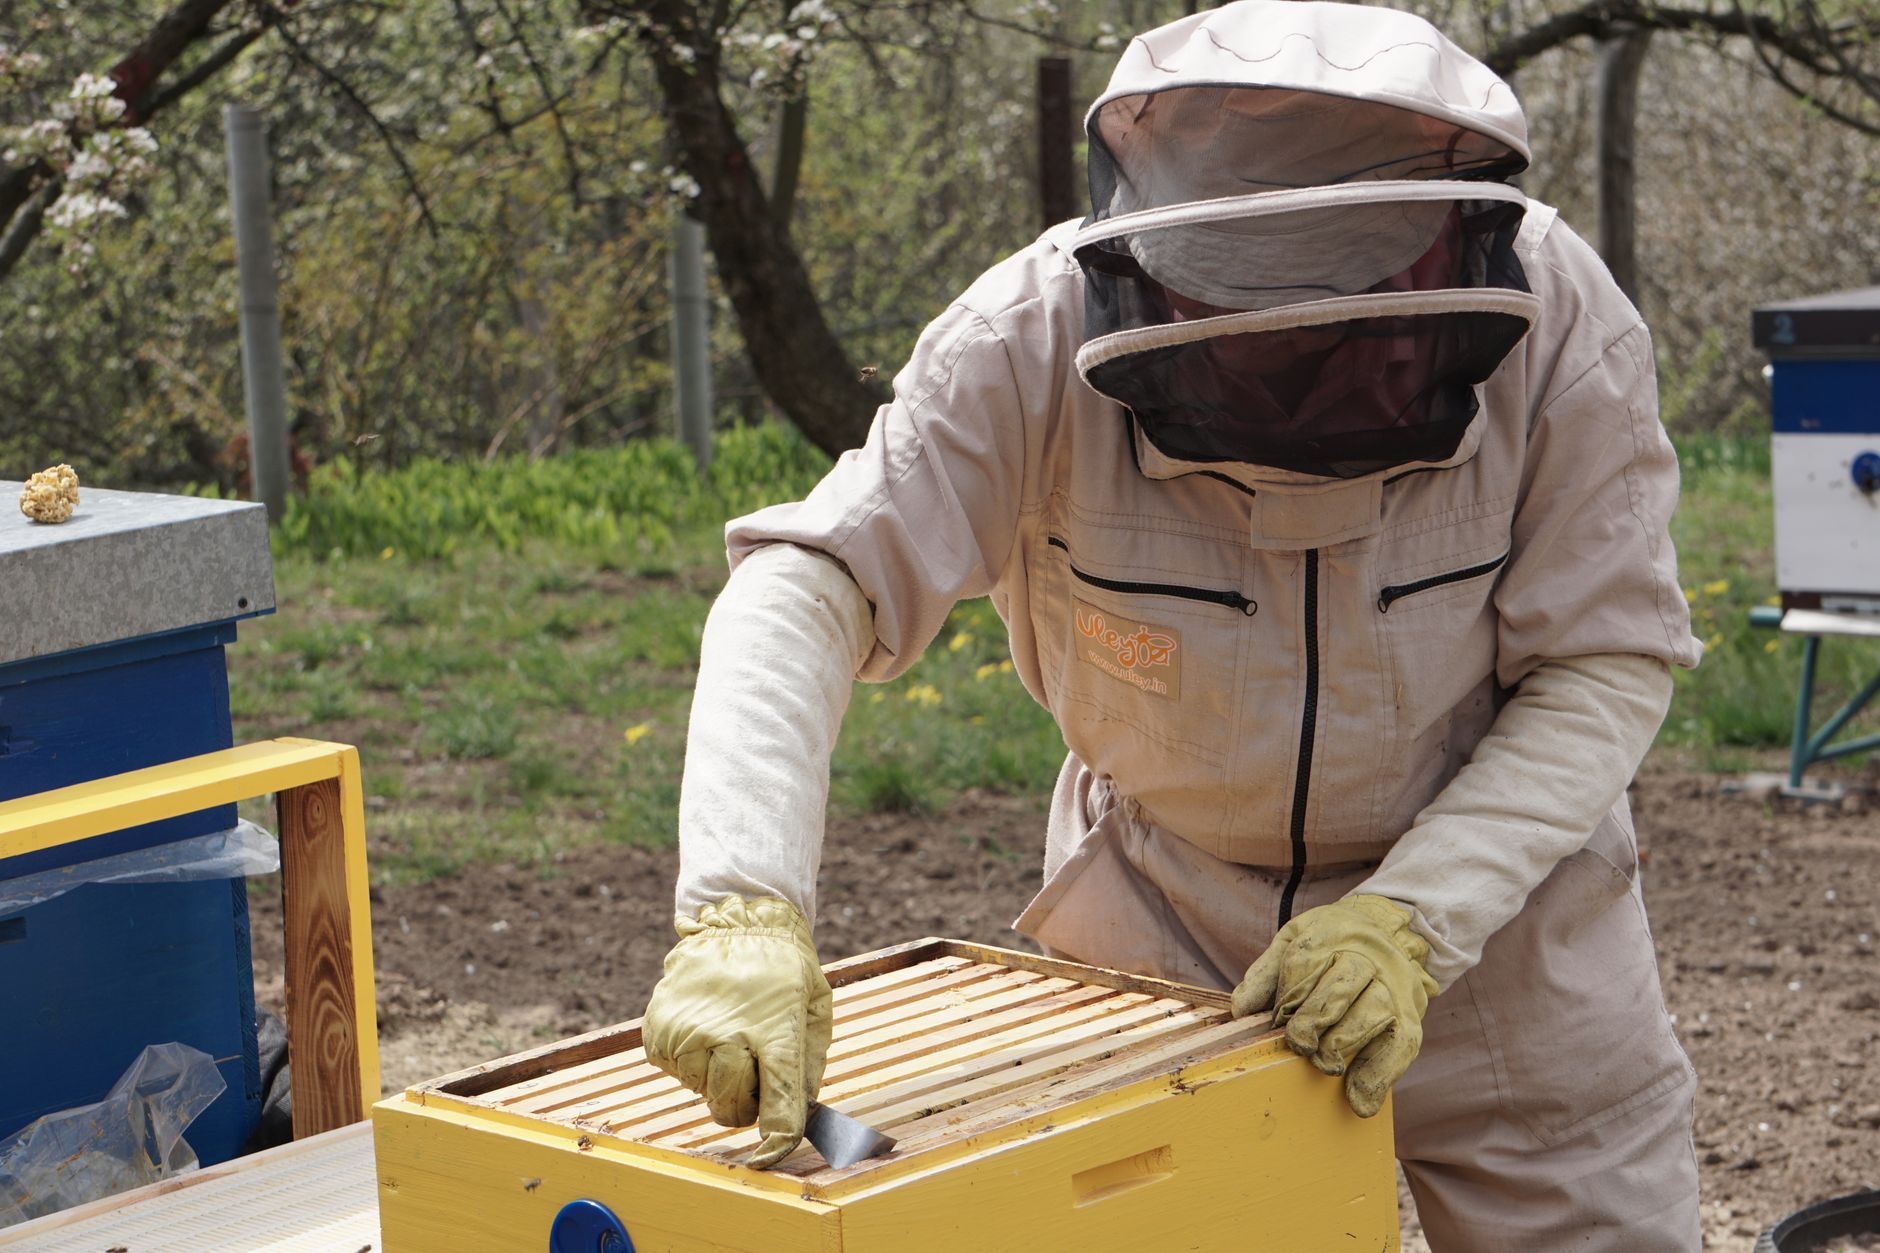
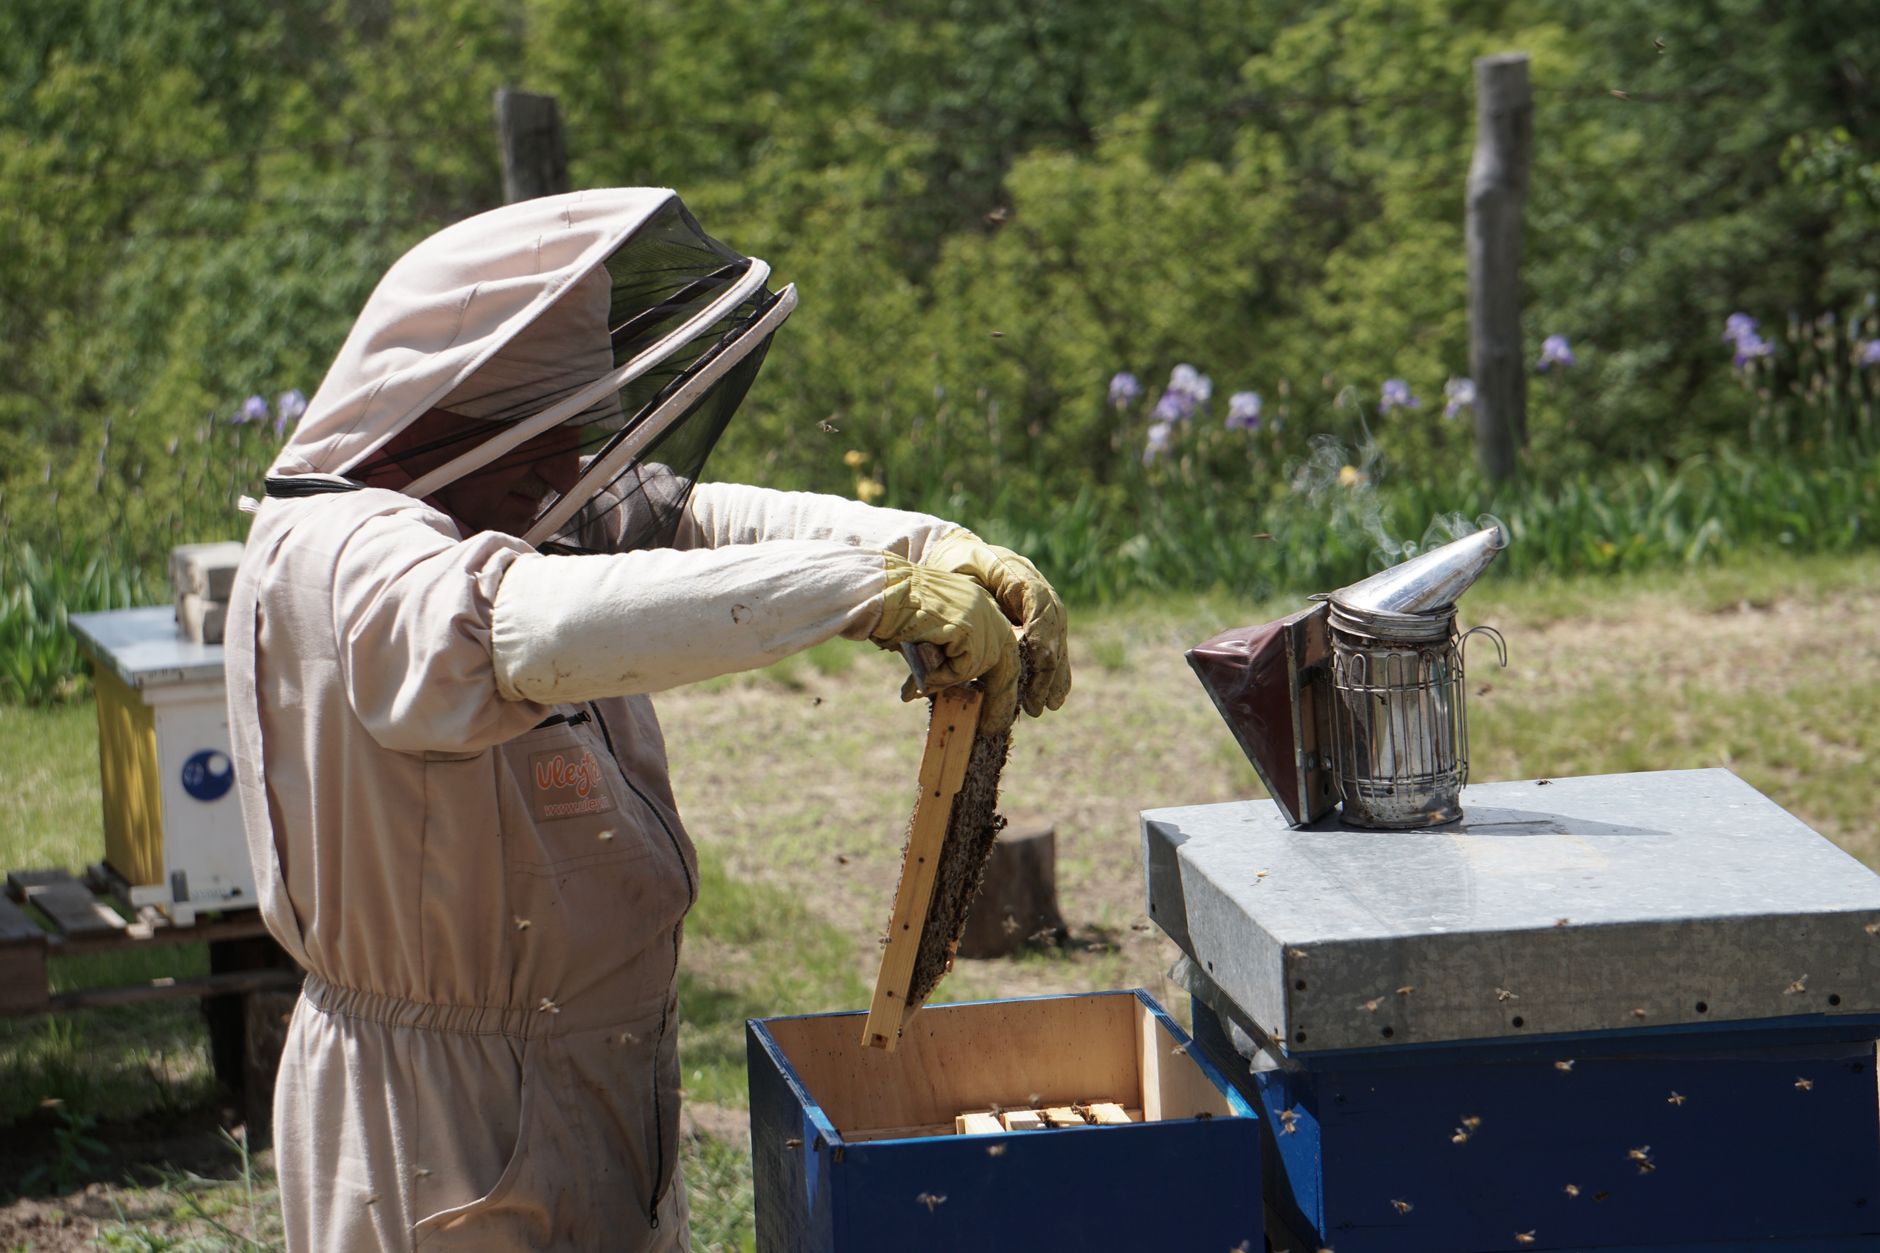
Plan a full inspection every seven to ten days during the active season. This is not a quick peek. Open the hive, remove frames, and look for the queen or fresh eggs. You need to see brood pattern, food stores, and signs of disease. Our hive inspection guide gives a frame-by-frame checklist. Keep a notebook or phone log.
Start with the outside. Watch the entrance for fighting, dead bees, or a bad smell. Then use your smoker lightly at the entrance and under the cover. Wait a minute. Pop the lid and work from one side. Hold frames over the hive, not over the ground. If a queen falls, she lands back in the hive. Look for eggs first because eggs confirm a laying queen was present within three days.
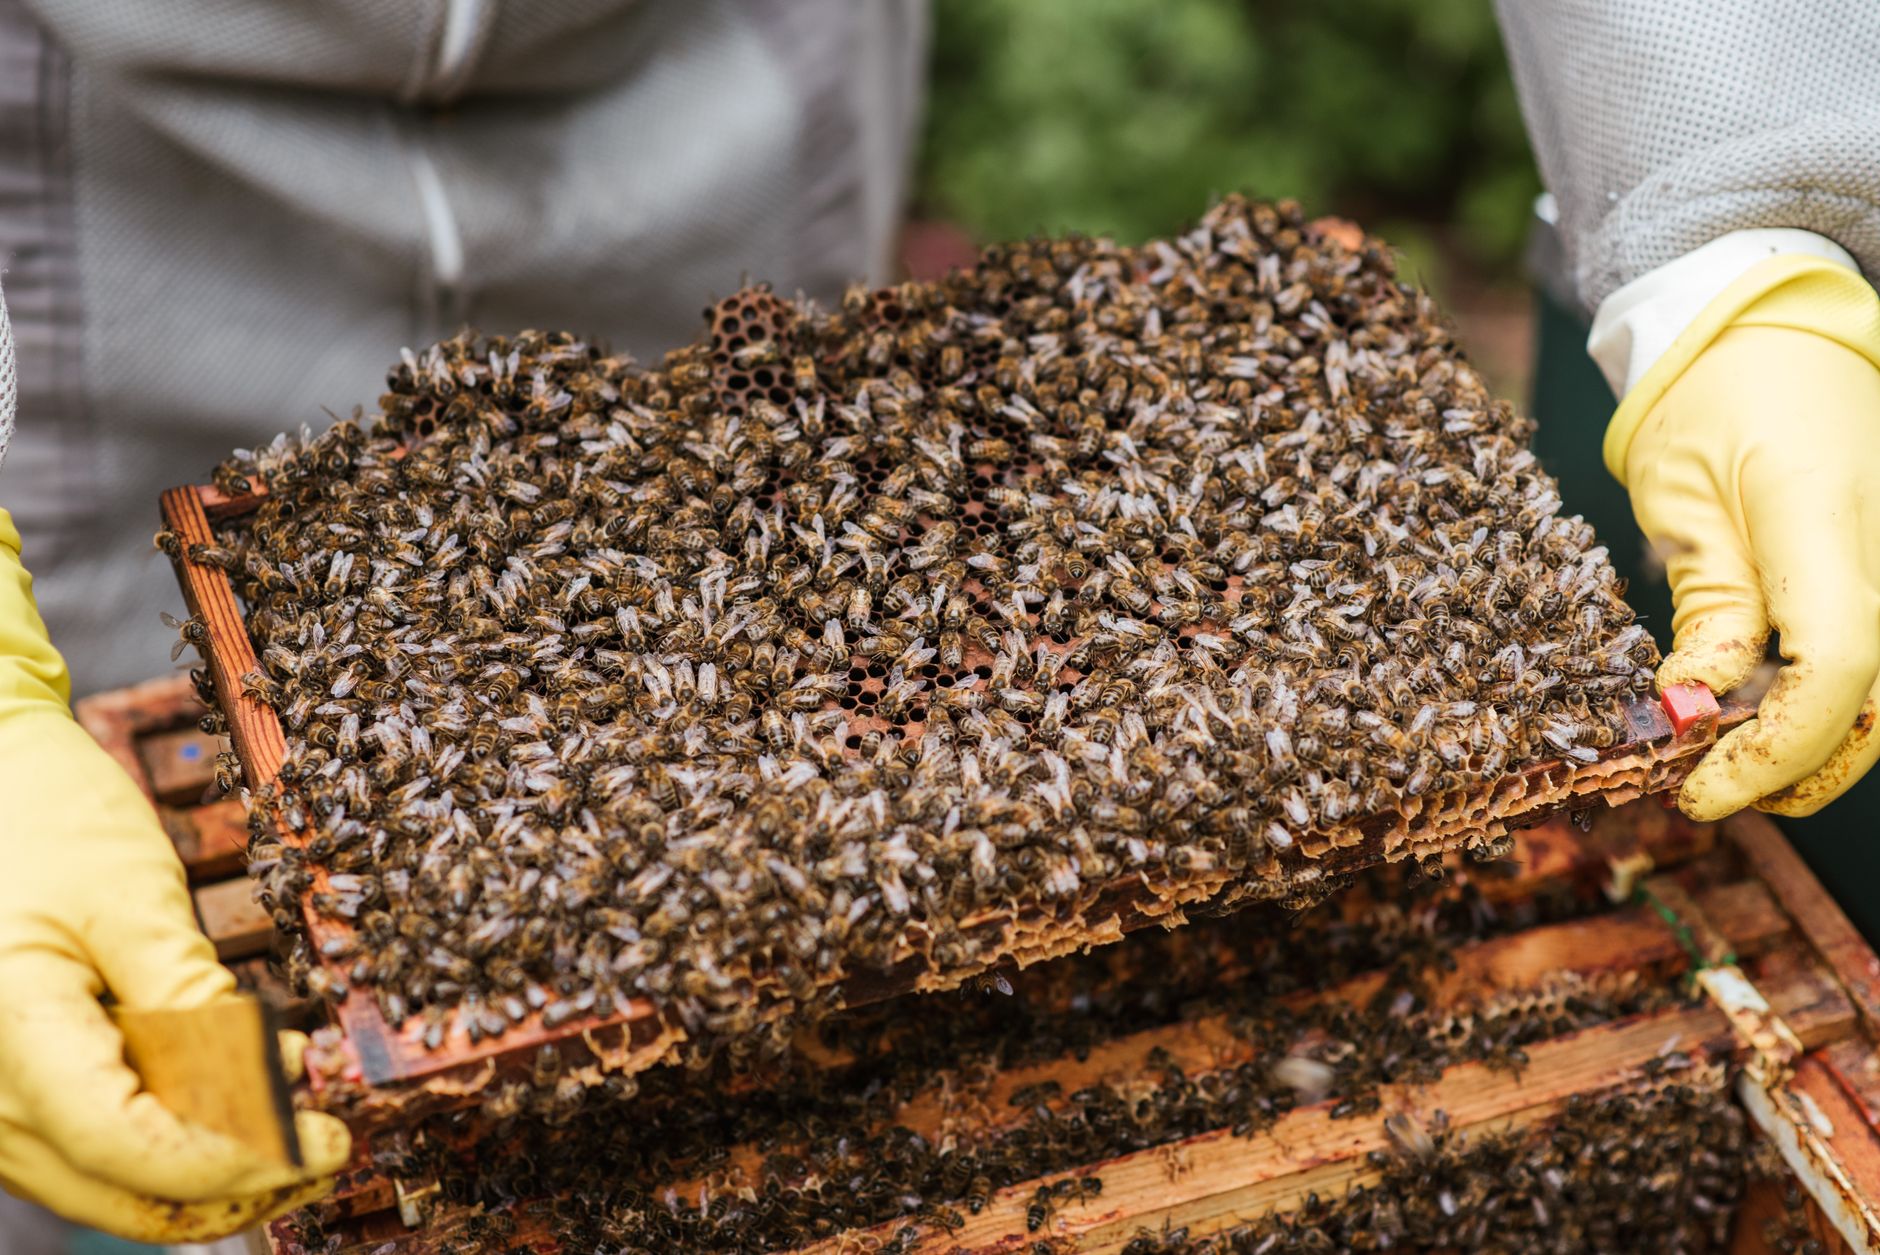
Look for a solid brood pattern. A good queen lays in a tight oval with few empty cells. Spotty brood can mean disease or a failing queen. Check for queen cells on frame bottoms and edges. Swarm cells are a warning. If you see them, read our bee swarm guide before you lose half your colony. Do not scrape them off blindly. You may need to make a split.
Keep the hive open no longer than 30 to 45 minutes. On a cool windy day, close it sooner. Every open minute disrupts brood temperature. Put frames back in the same order. If you crush a few bees, it happens. Move slowly. After a season, inspections become routine.
- Manage varroa mites and diseases
Varroa mites are the top killer of colonies. Do not wait until you see mites on bees. By then the colony is usually in trouble. Test monthly from spring through fall. An alcohol wash or sugar roll is accurate. Count mites per 300 adult bees. If your count reaches 2 percent or more, treat. Our varroa mite treatment guide covers your options.
Common diseases also show up in the first year. American foulbrood is rare but serious. Chalkbrood and European foulbrood are more common in damp hives. Read our common bee diseases and pests guide so you can recognize the signs. Learn the difference between normal brood and dead larvae. Take photos if unsure.
For varroa, soft treatments like oxalic acid dribble or Apivar strips can work. Check the Apivar mite treatment on Amazon. Follow the label exactly. Do not use old chemicals or mix treatments without reading. Rotate modes of action to avoid mite resistance. A late summer treatment often matters most.
Wax moths are a minor issue in strong hives but can destroy weak stored comb. Keep your hive equipment clean and store drawn comb with light and air flow. If you see webbing or cocoons, remove the affected frames. A strong colony usually controls wax moths on its own. The bigger threat is a failing queen or a hive that shrinks too much.
- Prepare for winter and plan first harvest
Your first winter is a milestone. In late summer, check honey stores and colony weight. A healthy colony needs 60 to 80 pounds of honey in cold regions. If stores are light, feed two-to-one sugar syrup early. Reduce the entrance to keep mice out. Our winterizing beehives guide gives a season-by-season checklist.
Do not harvest honey in the first season unless the hive is strong and has extra. Most first-year colonies build comb and brood, not surplus. If they do fill a medium super above the second brood box, you may harvest. Our first honey harvest guide covers uncapping, extracting, and bottling. If you only have one hive, leave the honey for the bees.
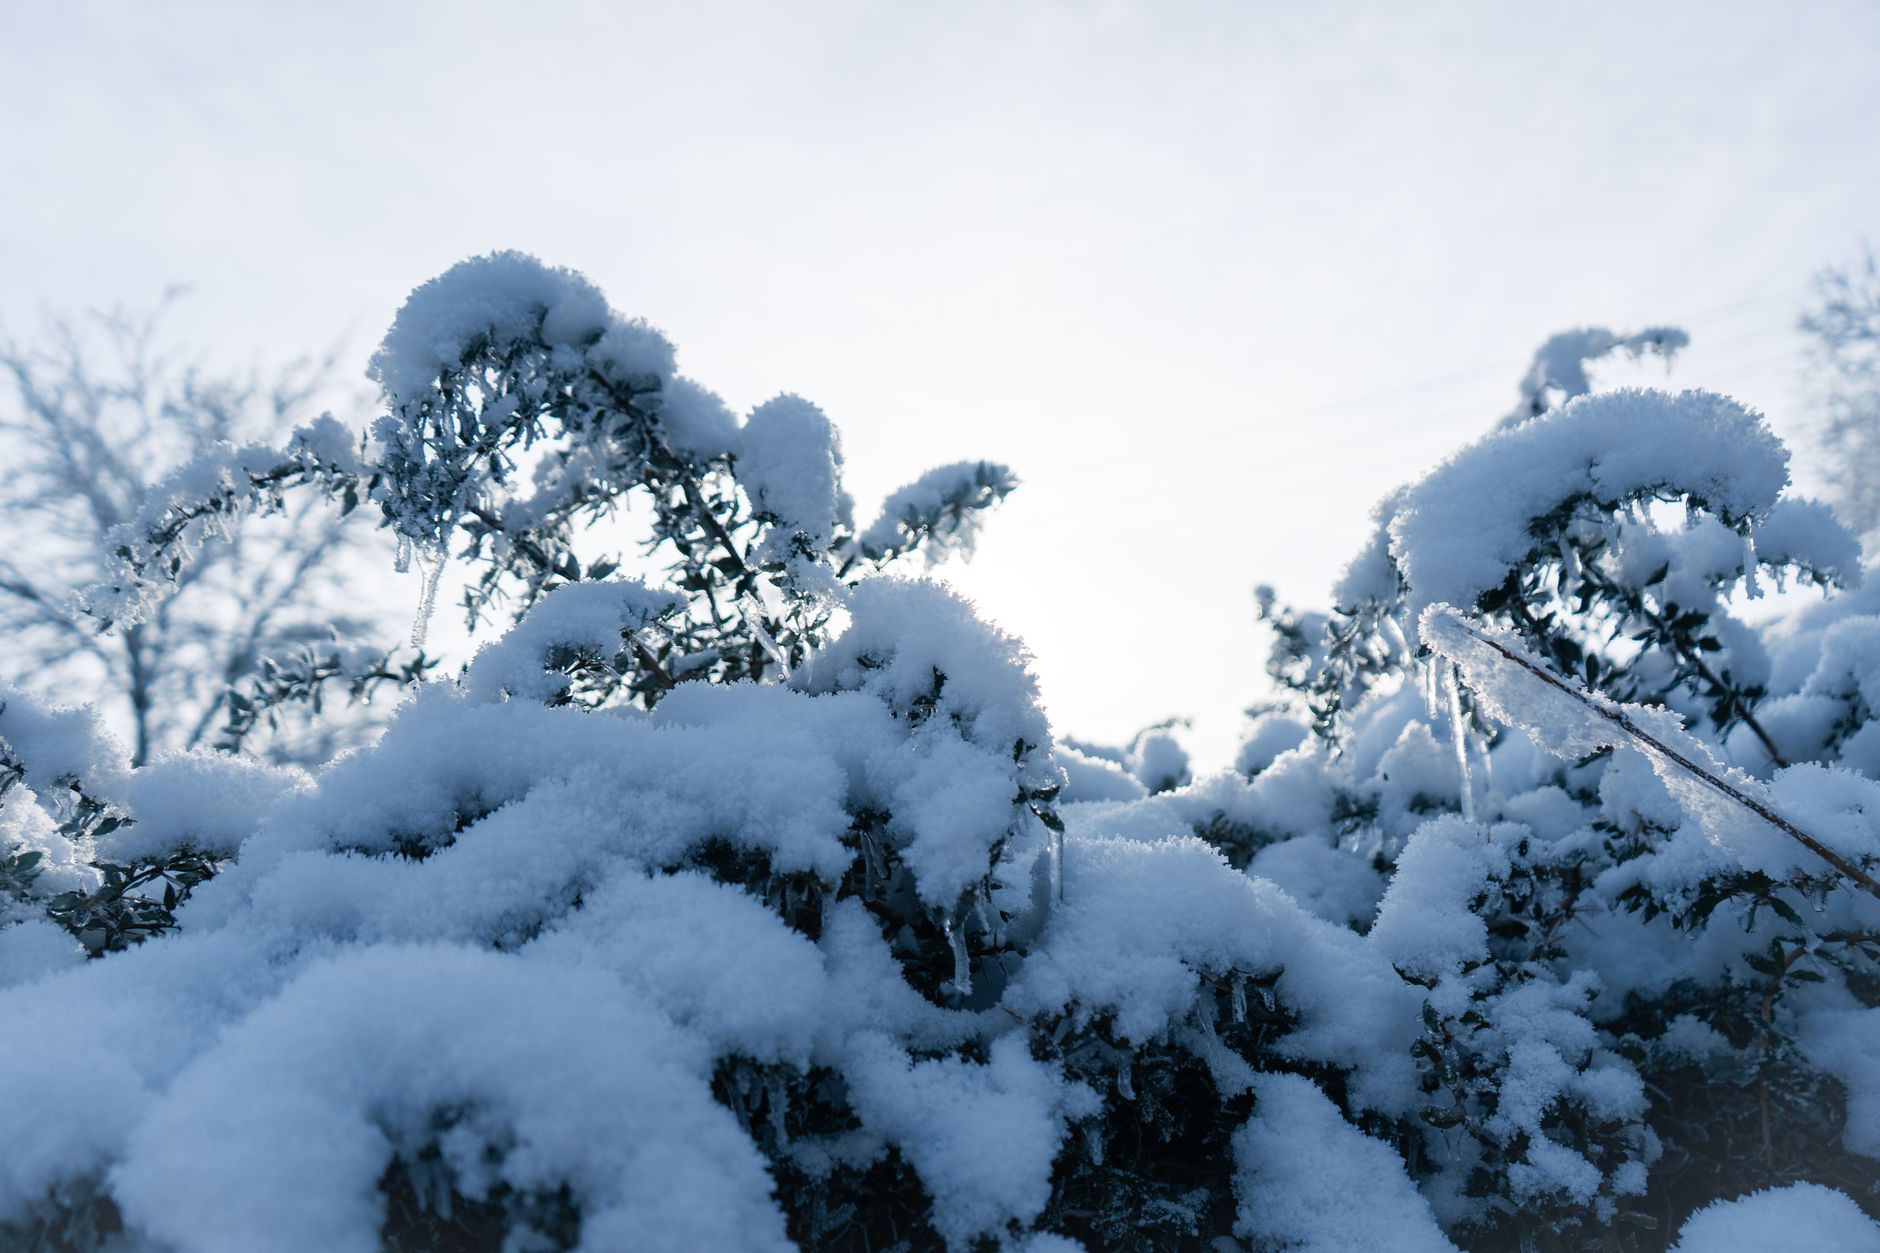
Wrap or insulate only if your region requires it. Many beekeepers in zones 7 and warmer skip wraps. In colder zones, a black tar paper wrap helps them take cleansing flights on sunny days. Keep the hive tilted slightly forward so condensation drips out the entrance. Ventilation matters more than heat. Wet bees die faster than cold bees.
This step connects back to location and varroa management. A fall mite treatment and good honey stores do more for winter survival than any gadget. If you lose the colony, do not quit. Order new bees for spring and adjust. Even experienced beekeepers lose colonies. Your second year starts with real experience.
Red Flags & Warnings
- 🚨 Do not skip varroa monitoring. Mites kill more colonies than cold or bears. Test every month and treat when counts reach the threshold.
- 🚨 Do not buy used hive equipment without asking about American foulbrood. Old frames can hide spores that infect new bees.
- 🚨 Do not open the hive every day. Over-inspecting disrupts brood temperature and can trigger absconding, especially in new packages.
- 🚨 Do not feed honey from another hive. It can contain American foulbrood spores. Feed white sugar syrup instead.
- 🚨 Do not wear dark gloves or fuzzy clothing. Bees react to dark shapes as threats. Smooth light-colored gloves reduce stings.
- 🚨 Do not leave extracted frames or wax exposed outside. It triggers robbing from other colonies and invites wax moths.
Frequently Asked Questions
How much does it cost to start beekeeping with no experience?
Plan on $400 to $800 for a single hive, protective gear, basic tools, and a nuc. A second hive adds $250 to $400. Used equipment can lower the cost, but inspect it carefully for disease. Many beginners spend more in year two on honey extraction gear.
How many hives should a beginner start with?
Two hives are ideal. If one colony loses a queen or becomes weak, you can borrow brood and eggs from the second hive. One hive is fine if budget is tight. Three is too many for most first-year beekeepers.
Do I need a license to keep bees?
It depends on your city and state. Some areas require a permit, hive registration, or a signed neighbor notice. Check your local extension office or state apiary inspector. USDA and state departments also publish rules online.
When is the best time to start a beehive?
Spring is best, right after the last hard frost and when daytime temperatures stay above 50 degrees Fahrenheit. In most of the United States, that means April or May. Order bees by January or February to get spring delivery.
Can I keep bees in a small backyard?
Yes. A hive needs about two square feet, plus room to stand. Put a six-foot fence or hedge in front of the entrance. It forces bees to fly upward. Check local setbacks and neighbor rules first.
How much honey does one hive produce in the first year?
Most first-year hives produce little or no surplus honey because the colony is drawing comb and building population. A strong nuc may produce 20 to 40 pounds of surplus in a good flow. Do not plan a big harvest in year one.
What Should You Remember?
- Learn local rules. Check city and county laws before buying any bees.
- Take a class. Hands-on experience with an open hive beats watching videos alone.
- Start with two hives. A second hive gives you brood resources and a comparison point.
- Buy a nuc. An established five-frame nucleus is easier for beginners than a package.
- Inspect every 7 to 10 days. Look for eggs, brood pattern, and queen cells.
- Test varroa mites monthly. Treat when counts hit 2 percent or more.
- Plan for winter early. Leave 60 to 80 pounds of honey and reduce entrances before frost.
This article is for general information only and is not veterinary or legal advice. Beekeeping is regulated in most regions and involves live animals with their own health needs , always follow local regulations and best practices, and consult a qualified apiarist, extension service, or veterinarian for bee-health or disease concerns.