Few backyard projects connect you to nature as directly as keeping honey bees. A hive is a living system that rewards careful planning, calm handling, and a willingness to learn. Before you order a single frame, you need to understand what beekeeping actually requires. This guide walks you through the entire first season, from choosing equipment to your first inspection. If you have never kept bees, start with our companion article on how to start beekeeping with no experience.
New beekeepers often focus on honey, but the first year is really about colony survival and skill building. A healthy hive is a long term commitment. You will spend about 20 to 30 hours managing one or two hives in that first year, based on extension service estimates. According to the USDA Agricultural Research Service, strong colonies are the result of integrated management, not luck. You also need to budget for equipment, bees, mite treatments, and replacement frames. That investment pays off when your colony overwinters successfully and builds up in spring.
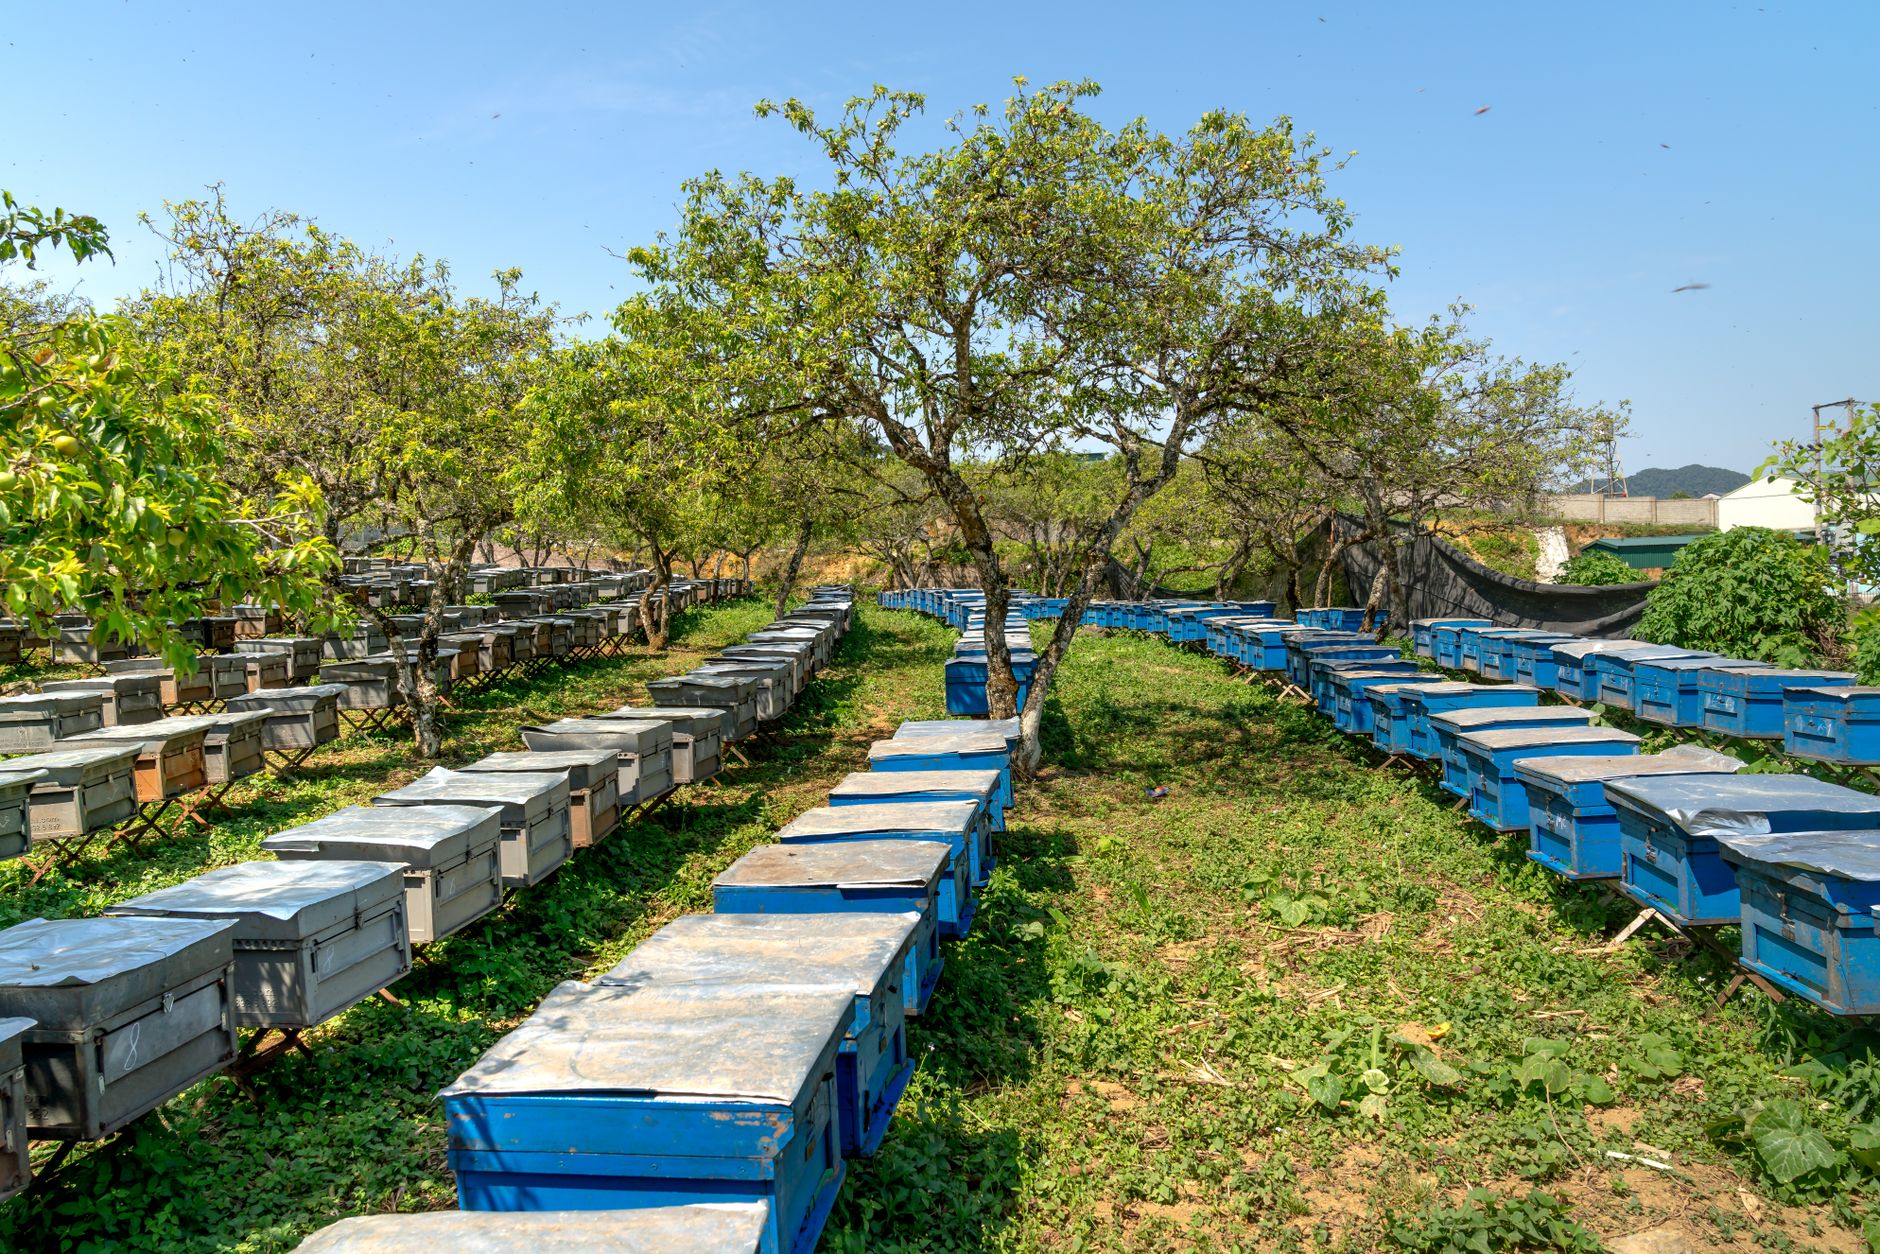
Before you buy anything, check your local ordinances. Many cities and suburbs allow two to four hives, but some require setbacks from property lines or neighbor notification. The American Beekeeping Federation notes that local education is the best first step. You also need a plan for water, sun, and wind protection. Bees fly up to three miles for forage, so an urban yard can support a hive if you provide a consistent water source.
This guide covers eight sequential steps. You will learn how to choose a hive style, assemble gear, obtain bees, install them, inspect frames, manage varroa mites, harvest honey, and prepare for winter. Each step builds on the previous one. Do not skip the inspection and disease management steps. That is where most beginner hives fail. By the end of this article, you will have a clear roadmap for your first honey bee colony, from your first inspection to your first successful overwinter.
What You’ll Need
- Langstroth hive kit (bottom board, 2 deep hive bodies, 20 deep frames with foundation, inner cover, outer cover)
- Protective gear (bee suit with veil, gloves)
- Smoker and smoker fuel
- Hive tool and bee brush
- Feeder (top or frame feeder)
- Sugar syrup ingredients (white sugar and water)
- Queen cage or package of bees
How Do You Start Your First Honey Beehive?
- Understand local rules and beekeeping commitment
Beekeeping is legal in most places, but rules vary by city, county, and homeowners association. Some towns allow only two hives per lot, while others require a six foot setback from property lines. Call your county extension office or visit their website before you buy equipment. You can also read our guide on when to start a beehive to plan your first season around local bloom times.
Expect to spend 20 to 30 hours managing one or two hives during your first year. That time is not spread evenly. Spring and late summer demand weekly inspections. Winter requires almost none. You will need a block of time on warm, sunny days when bees are flying. If you travel frequently during spring, arrange for a beekeeping buddy or mentor to check your hive. A missed weekly inspection can mean a missed swarm or a queen failure.
New beekeepers also need to learn how to read a frame. You will check for eggs, larvae, capped brood, honey, pollen, and queen cells. This skill takes practice. Join a local bee club or take an introductory class through a university extension program. Many clubs offer beginner field days where you can open a hive before buying your own. That hands on time is worth more than any book or video.
- Choose a hive style and a sunny location
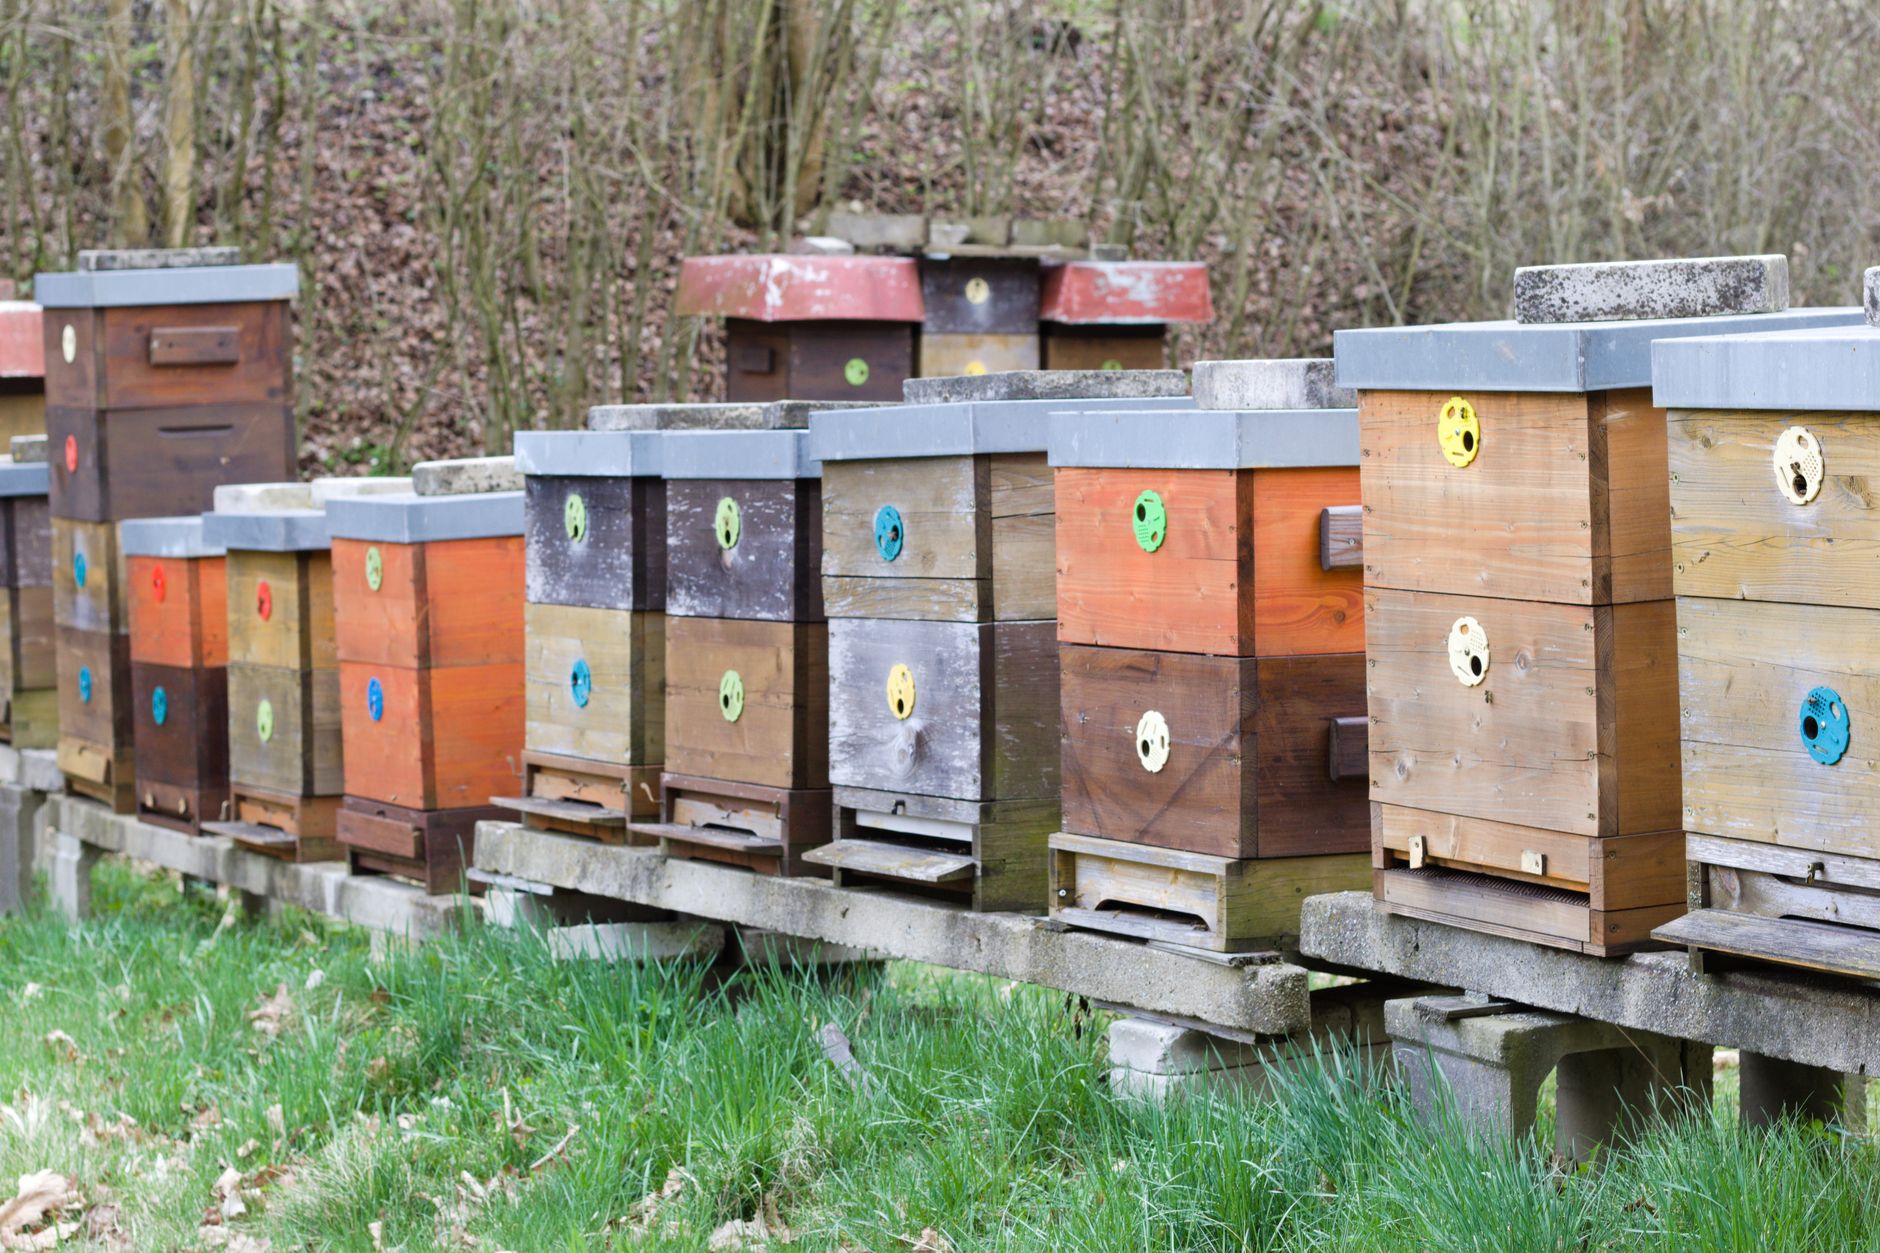
Three hive styles dominate backyard beekeeping. The Langstroth hive uses stacked boxes with removable frames. It is the most common and beginner friendly because equipment is standardized and easy to find. Top bar hives require less lifting but more careful comb management. Flow hives let you harvest honey without opening the hive, but they still require normal inspections. For a full comparison, read Langstroth vs Flow Hive vs Top Bar.
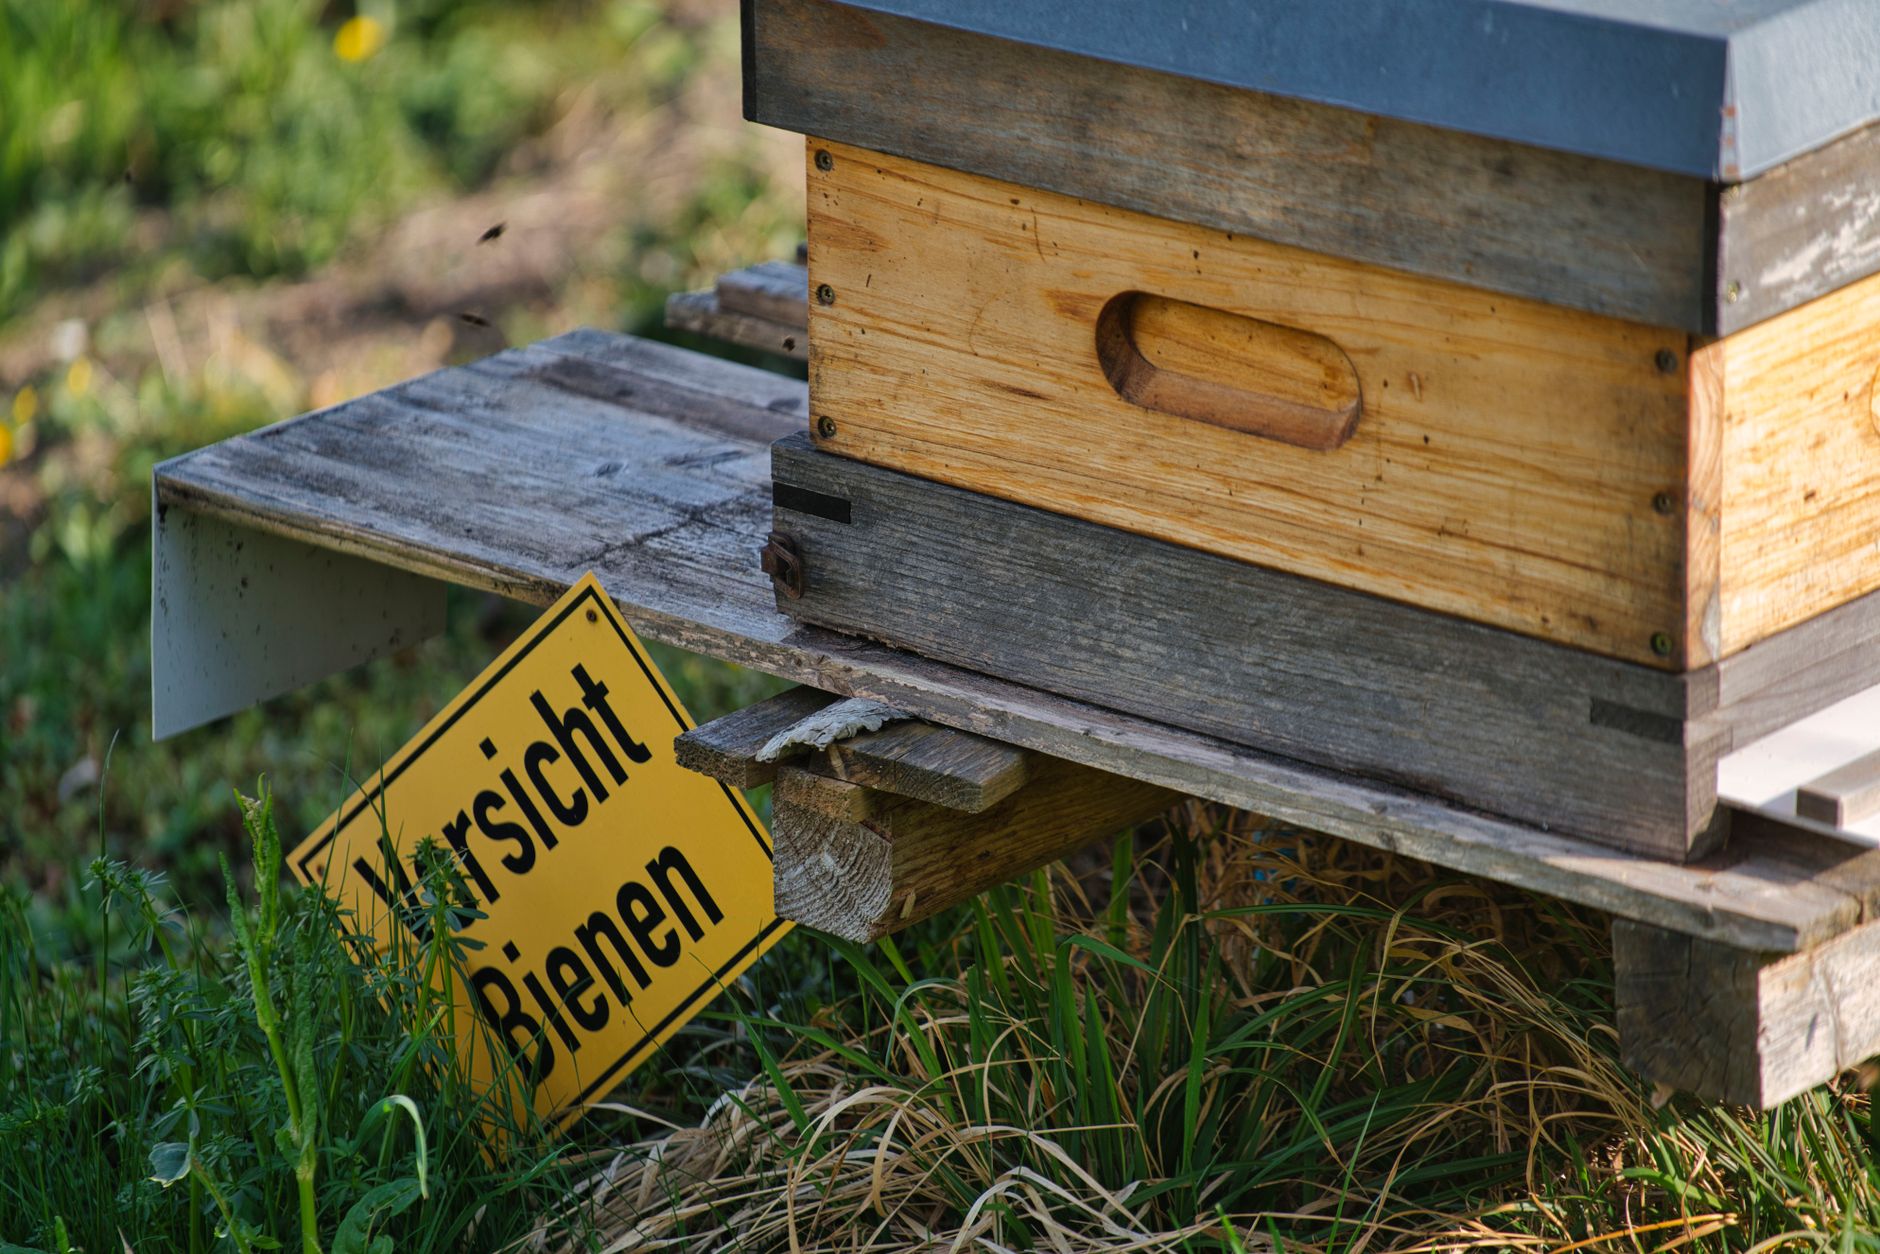
Pick a location before the bees arrive. Bees need morning sun to warm up and start foraging early. In hot climates, give them afternoon shade to prevent overheating. The hive entrance should face southeast or south, away from foot traffic. Place the hive on level ground, raised on cinder blocks or a stand to keep it dry. Provide a water source within 50 feet, such as a birdbath with floating corks or a shallow dish with pebbles.
Avoid low spots where cold air and moisture collect. Wind protection matters, especially in winter. A fence or hedge can block prevailing winds without shading the hive. Do not point the entrance toward a neighbor’s patio or a sidewalk. Bees fly in a straight line from the entrance, so a tall barrier a few feet away forces them to fly upward and over people.
Start with two hives if you can afford it. Two hives let you compare colony health. If one queen fails, you can donate a frame of eggs from the strong hive to the weak one. A single hive can still work, but two hives reduce the risk of losing your entire apiary in your first winter.
- Gather equipment and protective gear
Your first equipment purchase should include the hive itself, frames, foundation, and protective gear. For a standard Langstroth setup, you need a bottom board, two deep hive bodies, 20 deep frames with foundation, an inner cover, and an outer cover. You will also need a smoker, a hive tool, and a bee brush. Read our beekeeping tools and accessories guide for a complete checklist. A quality bee suit with a zip on veil is the most important piece of protective clothing. A sturdy hive tool helps you pry apart propolis sealed frames without crushing bees.
Gloves are a personal choice. Many experienced beekeepers work bare handed for better dexterity, but beginners should wear nitrile or leather gloves. Thick gloves reduce stings but make frame handling clumsier. A full suit or jacket with a veil is non negotiable when you are new. Choose a ventilated suit for hot climates.
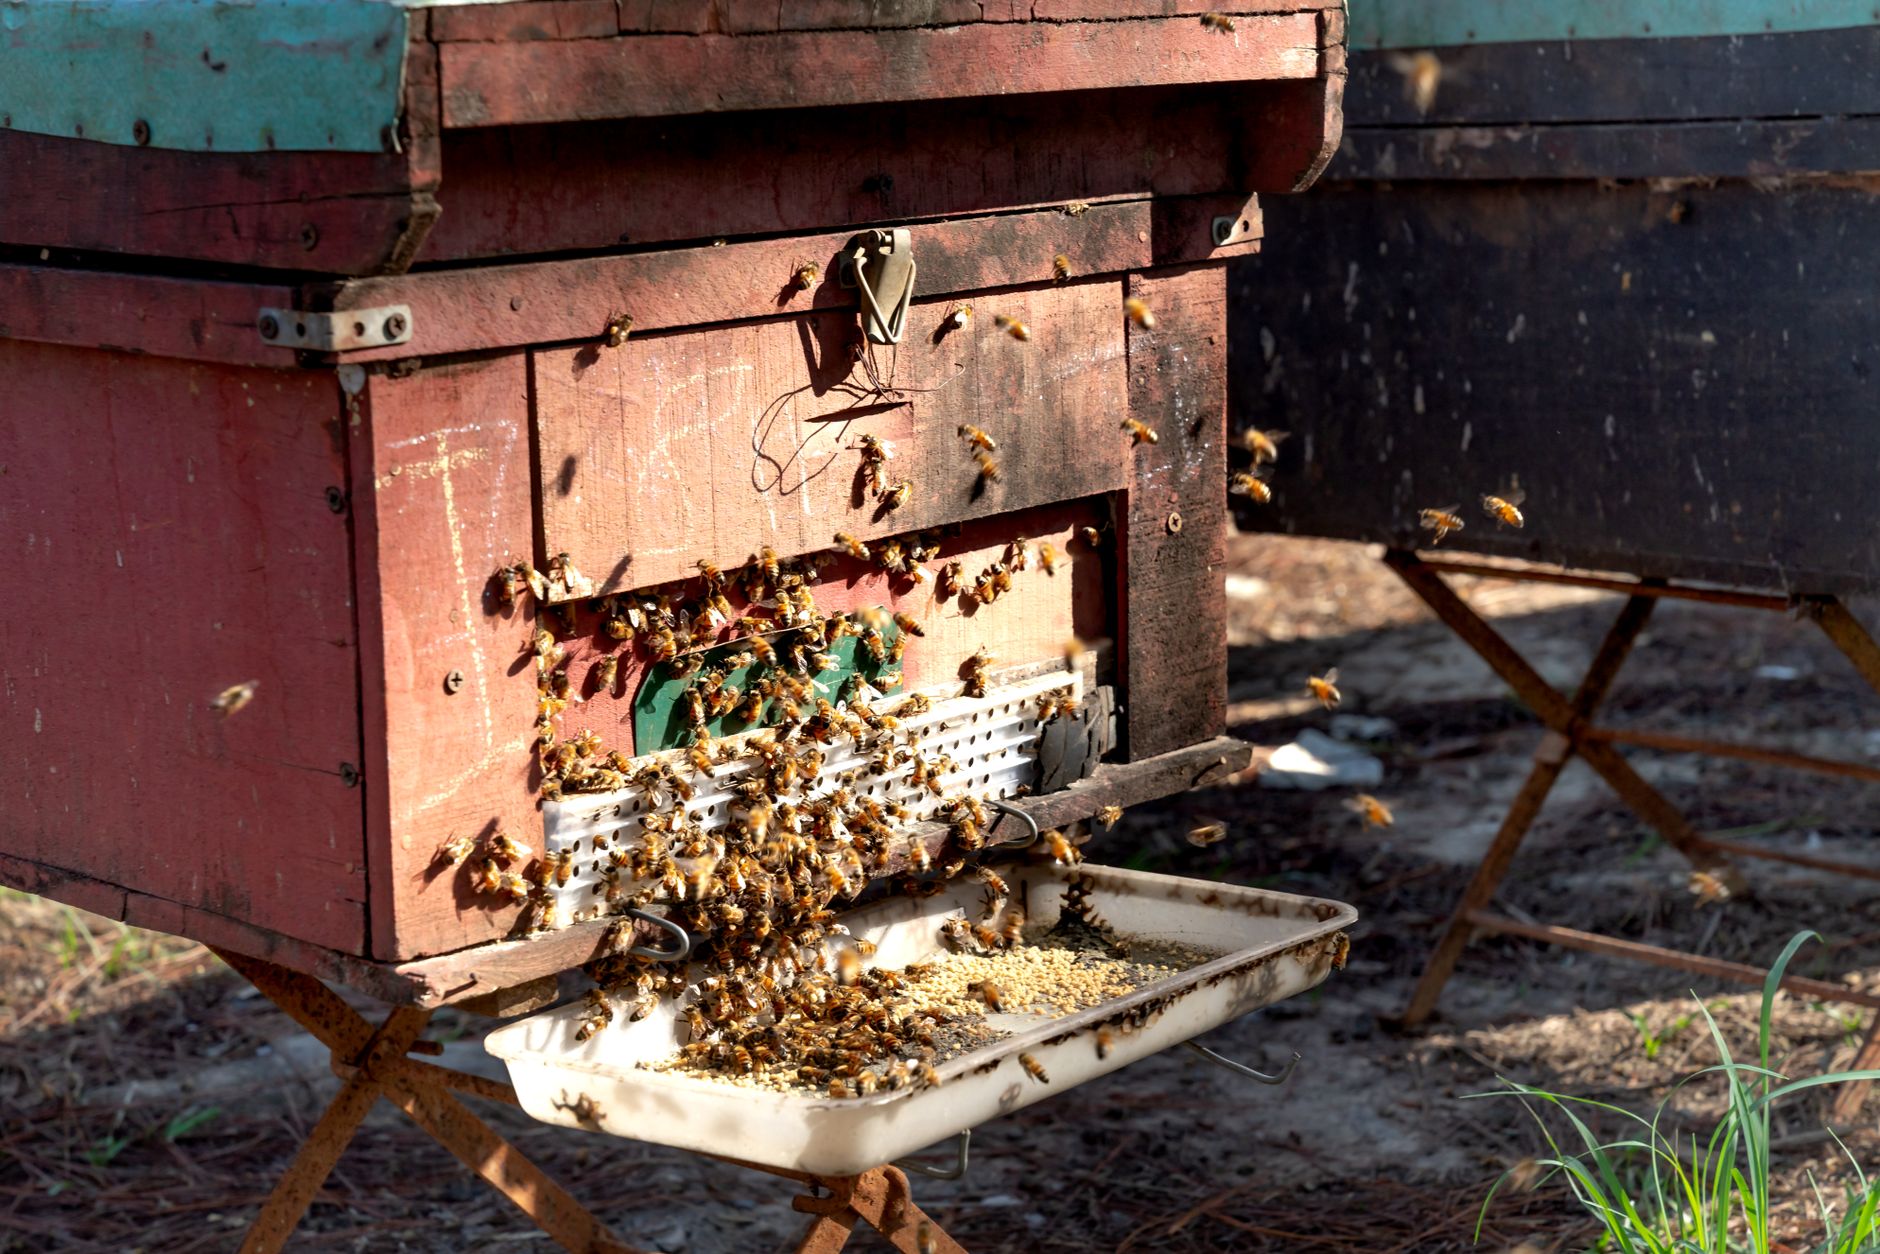
Feeders and entrance reducers help new colonies. A top feeder or frame feeder holds sugar syrup while the bees draw comb. An entrance reducer narrows the opening, which helps a small package defend against robbing wasps and bees. You may also want a queen excluder later, but do not use one in the first year. It can slow the queen from moving up and reduce brood production.
You can buy a complete starter kit or assemble pieces separately. Kits are convenient but sometimes include cheaper gloves or an undersized smoker. Compare each component before you buy. If you are handy, building hive bodies from local wood saves money. Just ensure frames are interchangeable with standard Langstroth dimensions.
- Obtain bees: package, nuc, or split
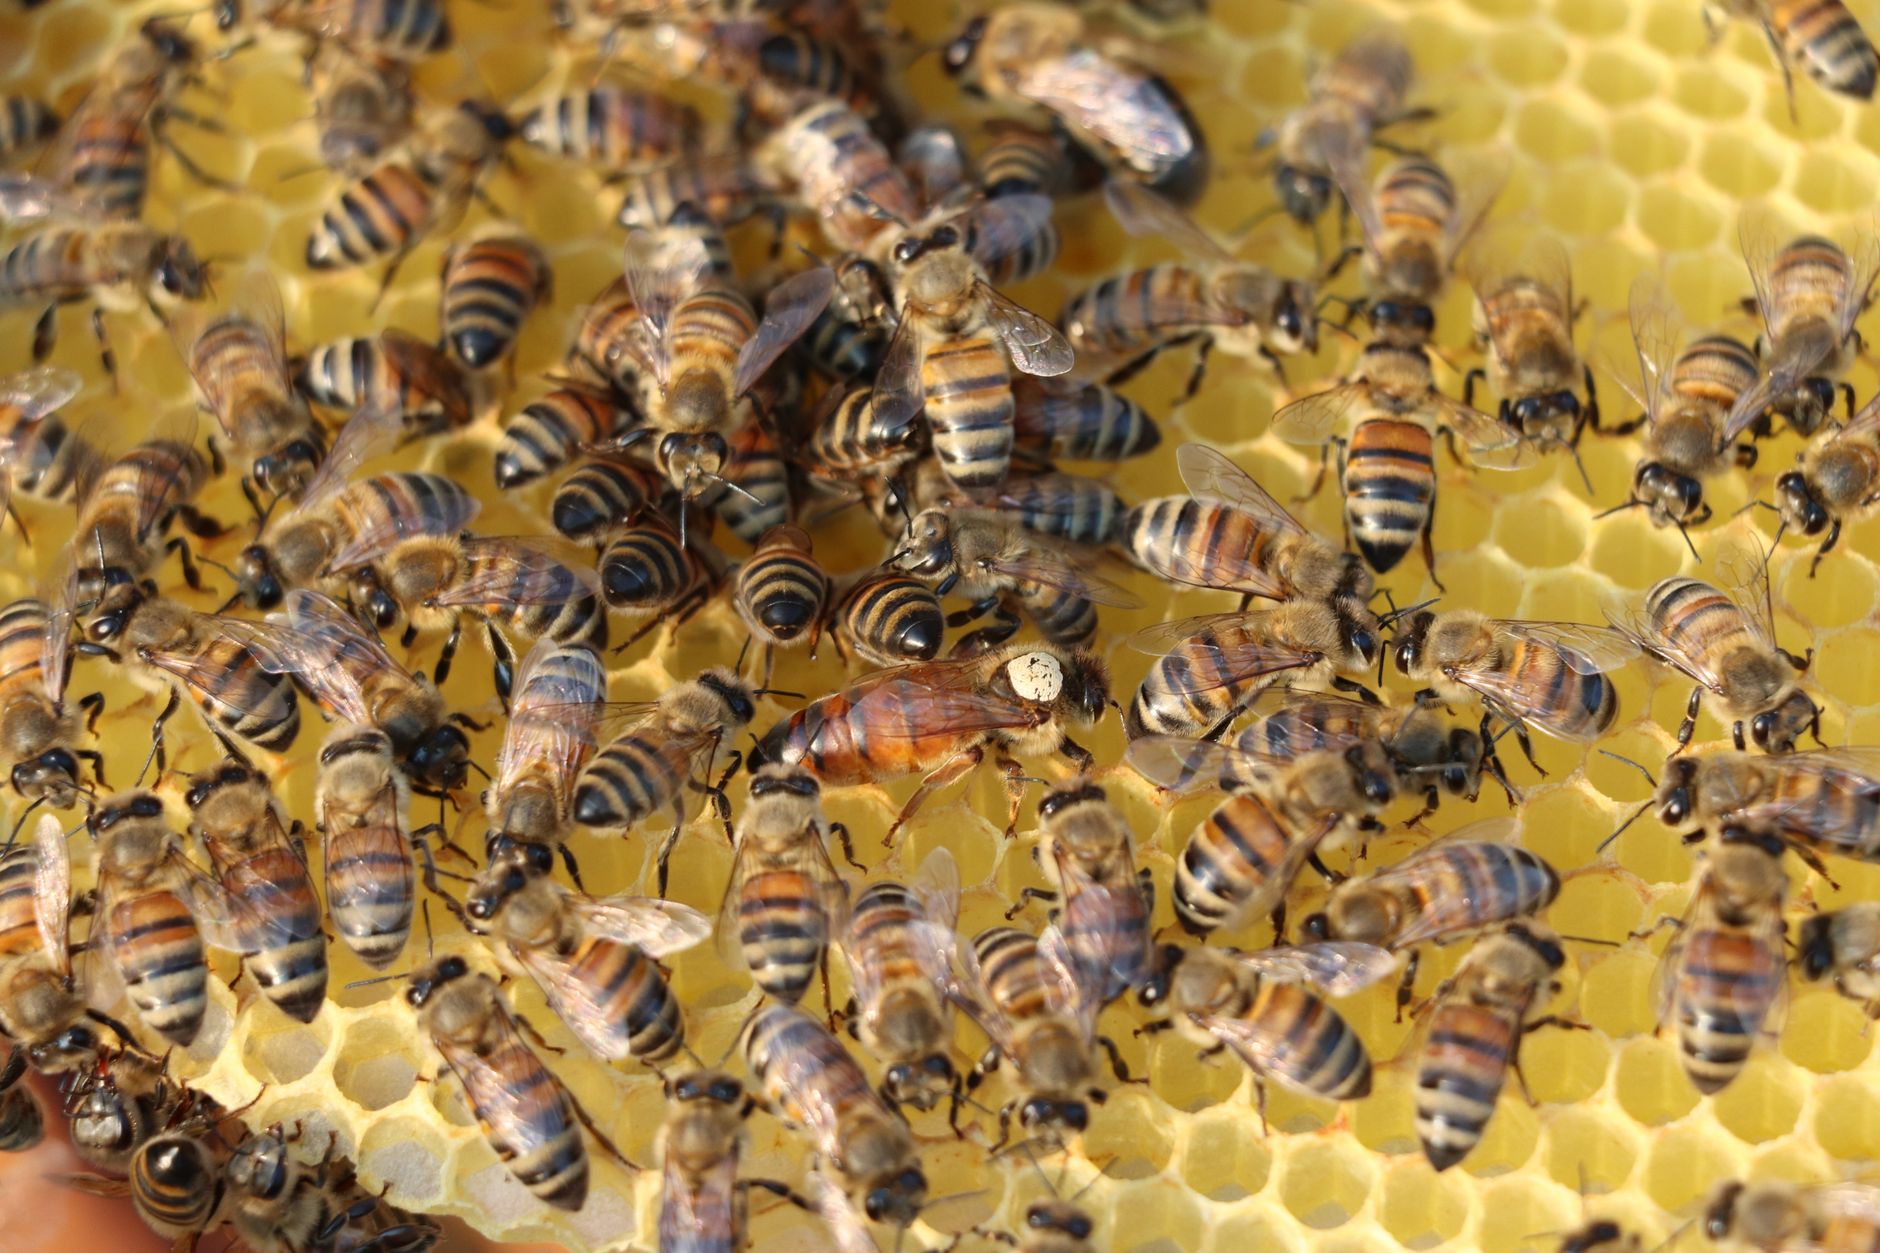
New bees come as a package, a nucleus colony, or a split from another beekeeper. A package is a screened box with about three pounds of worker bees and a caged queen. A nucleus, or nuc, is five frames of drawn comb with brood, honey, pollen, and a laying queen. A split is made from an existing hive and is best suited to your second year. For a detailed comparison, see our guide on buying bees: packages, nucs, and splits.
Order bees early. Most breeders sell out by February for spring delivery. Expect package bees to arrive in April or May, depending on your region. If you buy a nuc, pick it up from the breeder in person so you can check that the queen is laying and the frames are covered with bees. Ask for local stock or bees raised by a local beekeeper. Local bees are better adapted to your climate and disease pressures.
When your bees arrive, keep the package in a cool, dark place for a few hours. Spray the screen lightly with sugar syrup to settle them. Do not leave a package in a hot car or in direct sun. If the queen cage has a candy plug, the workers will eat through it and release her over a couple of days. You can also direct release if you are confident, but most beginners should let the candy do the work.
A nuc installs faster because the bees already have brood and stores. You simply transfer the five frames into your hive body, add empty frames on each side, and feed. Packages start with no comb, no brood, and no stored honey, so they need more feeding and careful monitoring during the first six weeks.
- Install bees into the hive
Set up your hive before the bees arrive. Level the stand, assemble frames, and have your feeder, smoker, and hive tool ready. The hive entrance should be reduced to the smallest opening. Fill the feeder with 1:1 sugar syrup made by mixing equal parts white sugar and water by weight or volume. Warm water helps dissolve the sugar. Never use honey as feed; it can carry American foulbrood spores.
To install a package, first spray the bees with sugar syrup through the screen. Then remove the feeder can and the queen cage. Set the queen cage aside, still plugged, where it won’t get lost. Shake or pour the worker bees into the hive body over the frames. Some bees will fly, but most will fall in a clump. Place the queen cage between two frames with the candy plug facing up or to the side. Put the inner cover and outer cover on. The workers will cluster around the queen cage and begin releasing her.
For a nuc, smoke the entrance lightly, remove the nuc frames one by one, and place them in the center of your hive body in the same order. Add empty frames on both sides. Gently brush or shake any remaining bees from the nuc box into the hive. Replace the covers and reduce the entrance. The colony will expand into the empty frames as the population grows.
Feed the new colony until it has drawn most of the frames and has stored nectar. In a package on foundation, that can take four to six weeks. Check the feeder every few days and refill as needed. Stop feeding only when the colony stops taking syrup or when you add a honey super and want the bees to store real nectar instead of sugar water.
- Conduct regular hive inspections
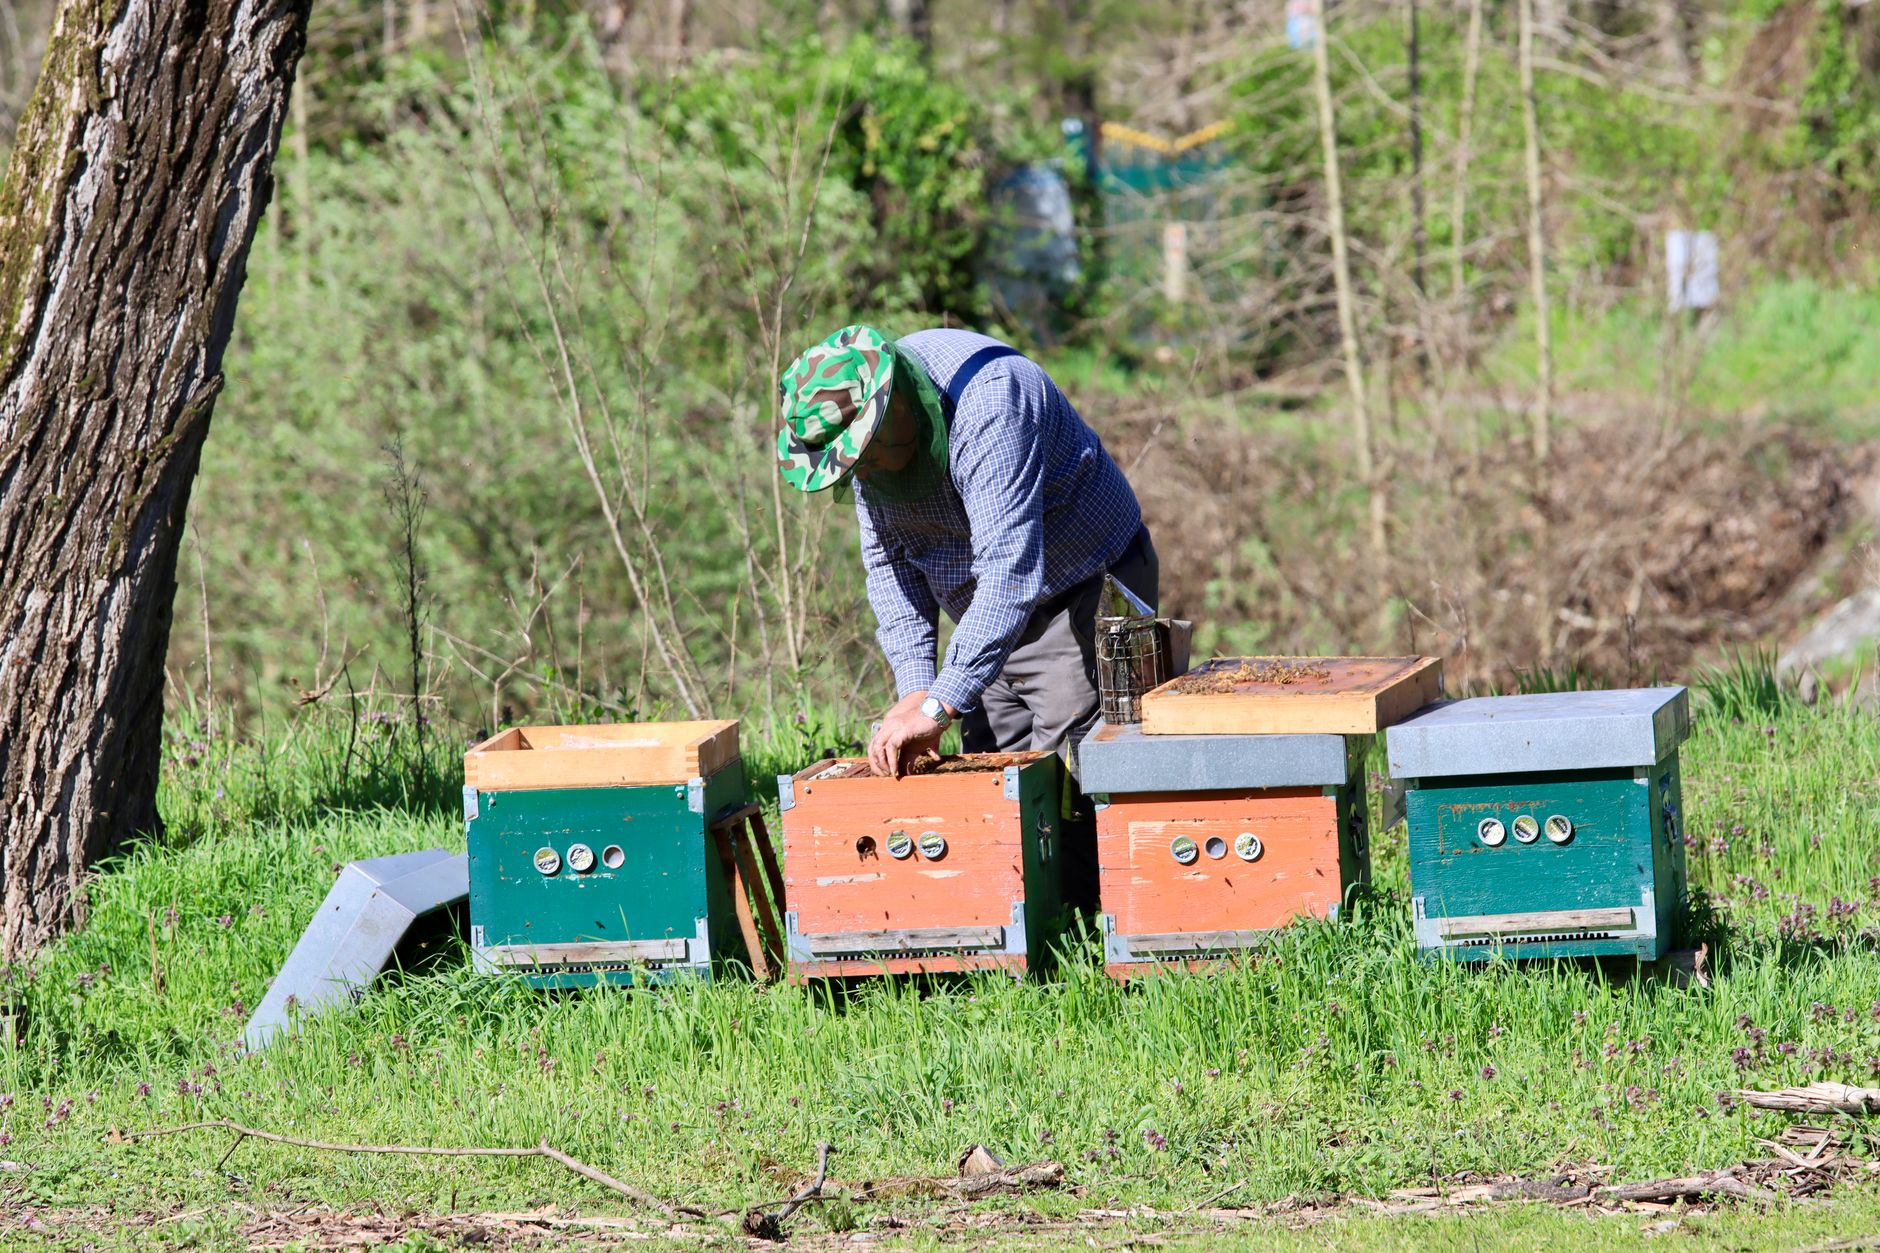
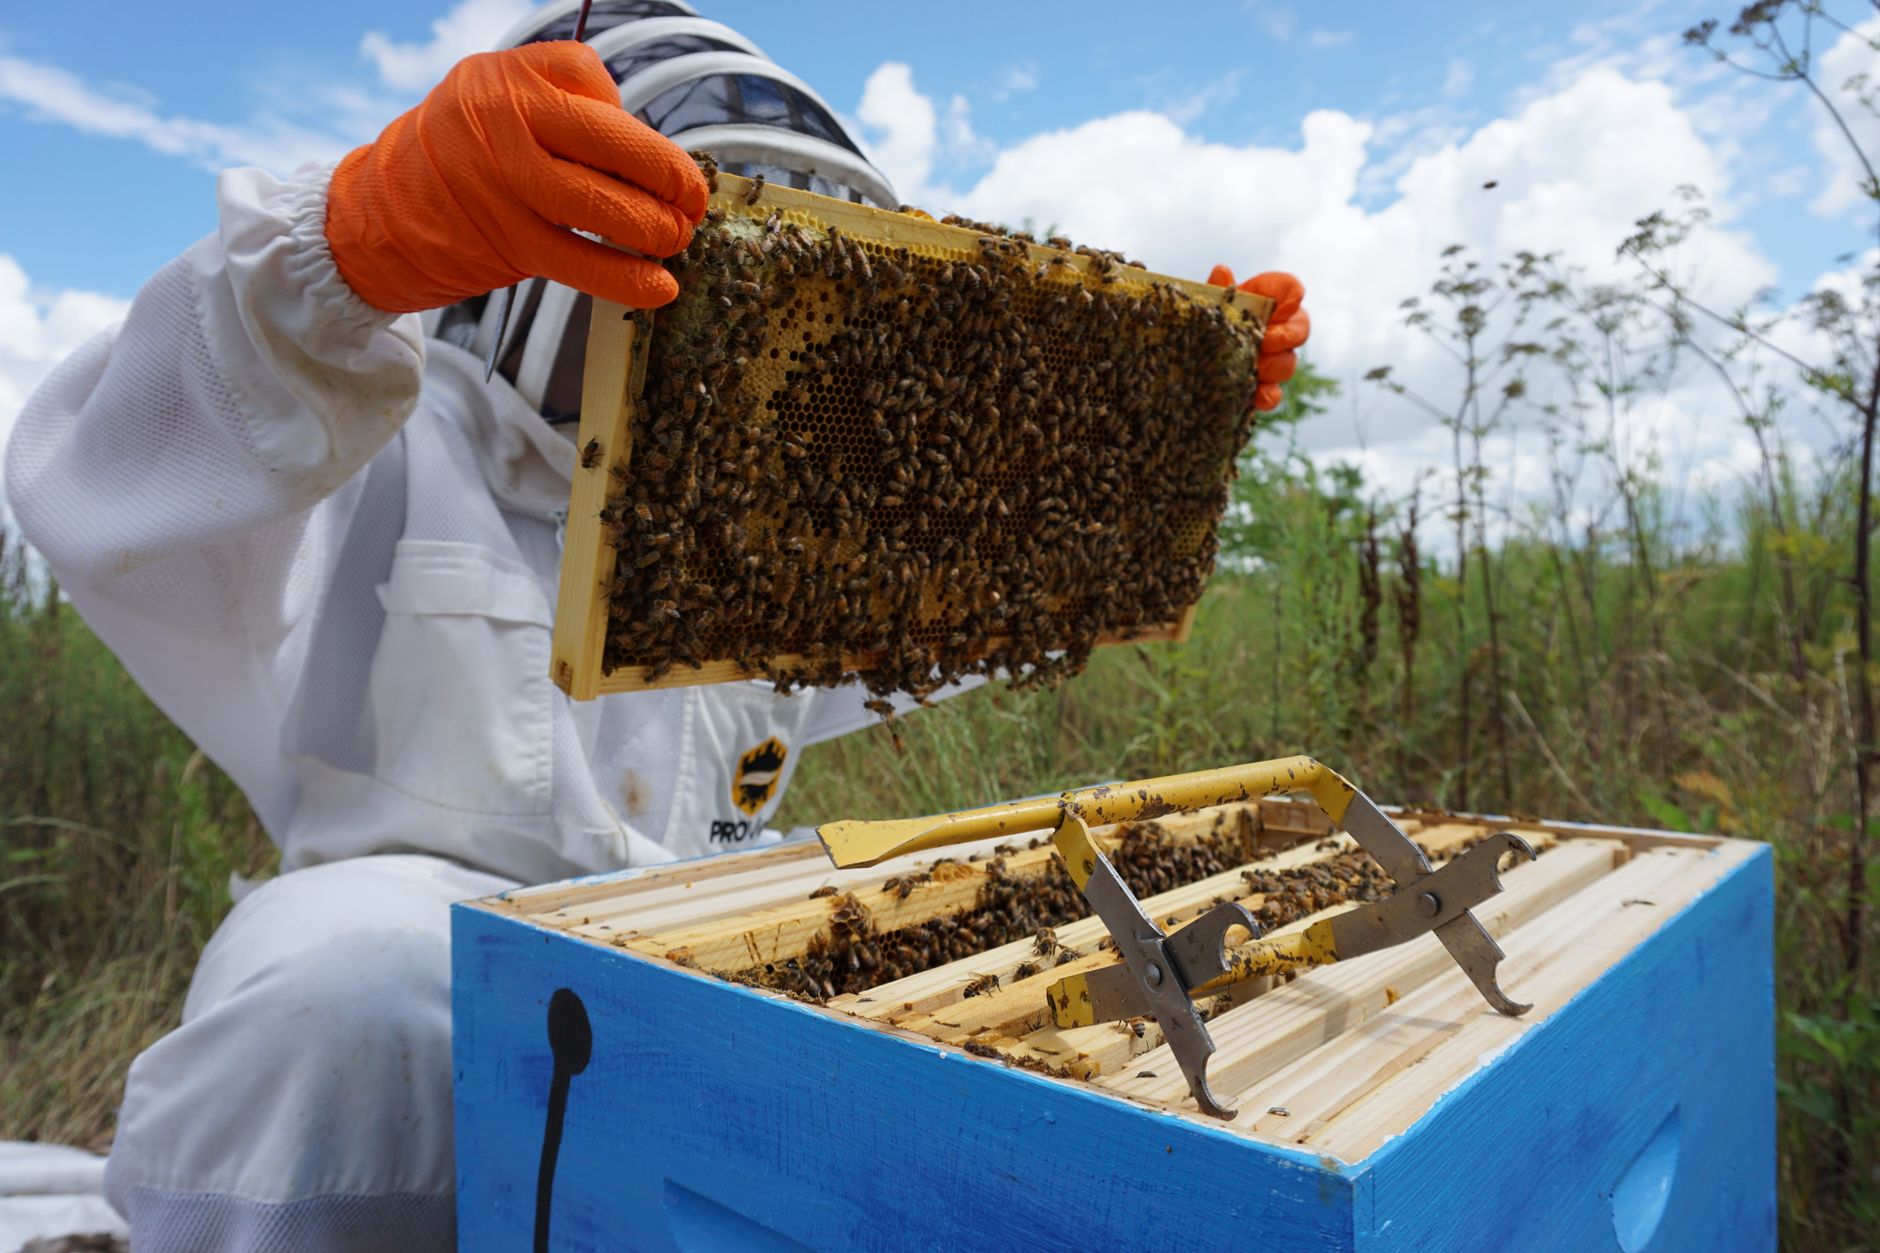
Inspect your hive every 7 to 10 days during the active season. Choose a warm, sunny afternoon when foragers are out. Light your smoker and puff a few gentle clouds into the entrance, wait one minute, then open the hive. Use your hive tool to crack the propolis seal between boxes. Read our step by step guide on how to do a hive inspection before your first attempt.
During each inspection, look for the queen or signs of her work. Fresh eggs stand upright in the bottom of cells, one per cell. A good laying pattern is solid, with few empty cells. Check for nectar, pollen, and capped honey around the brood nest. Look for swarm cells, which hang from the bottom of frames. If you see queen cells, the colony may be preparing to swarm.
Do not use too much smoke. A few puffs at the entrance and a light puff over the top bars is enough. Heavy smoke makes bees run and can mask the queen. Move slowly and keep frames over the hive so any falling bees land inside, not on the ground. If you drop a frame, do not panic. Place it back gently. Most bees will stay on the frame if you handle it smoothly.
After each inspection, record what you saw. Note the queen, brood pattern, food stores, temperament, and any signs of disease. A simple notebook or phone app works. These records help you spot changes week to week. If you are unsure whether you saw eggs, ask a mentor to look with you. It is normal to miss the queen when you are new; eggs are more reliable.
- Manage varroa mites and diseases
Varroa mites are the number one killer of honey bee colonies. A mite infestation can destroy a colony in one to two years if left untreated. The mites feed on developing brood and adult bees, spreading viruses and weakening the immune system. The Honey Bee Health Coalition provides free resources on integrated mite management.
Test for mites monthly during the active season. The alcohol wash and sugar roll are the two most accurate field methods. For an alcohol wash, you collect about 300 adult bees from a frame of brood, shake them in alcohol, and count the mites. For a sugar roll, you coat bees in powdered sugar and shake mites through a screen. Treat when mite counts exceed three mites per hundred bees, which is three percent. That threshold is used by many extension services.
Treatment options include oxalic acid dribble or vaporization, formic acid pads, and thymol gel. Each has temperature windows and colony size restrictions. Do not treat with the same chemical every year, or mites may develop resistance. Rotate treatments with different modes of action. Also remove drone brood traps if you use them, and replace old comb regularly. Good beekeeping reduces mites without chemicals, but most beginners need at least one chemical treatment in year two.
Other pests include wax moths, small hive beetles, and American foulbrood. Strong colonies usually manage wax moths on their own. Keep hives in sunny locations, use entrance reducers, and do not leave unused frames lying around.
- Harvest honey and winterize
Most beginners will not harvest honey in year one. The colony needs every drop to draw comb, feed brood, and store winter reserves. In year two, a healthy hive can produce 25 to 60 pounds of surplus honey. Wait until frames are at least 80 percent capped before extracting. Use a refractometer to check moisture content; it should be between 16 and 18 percent.
Leave enough honey for the bees. In northern climates, a colony needs 60 to 80 pounds of honey to survive winter. In warmer regions, 40 to 50 pounds may be enough. Weigh the hive or inspect the frames in late summer. If stores are low, feed thick 2:1 sugar syrup in fall. Do not harvest from the brood boxes, only from honey supers you added on top.
Winter preparation starts in late summer. Reduce the entrance, ensure the hive is level, and add a windbreak if needed. In very cold climates, wrap hives with tar paper or insulated hive wraps. Do not seal the hive completely; condensation kills more bees than cold. Tilt the hive slightly forward so water drains out.
Once your colony survives winter, you can split it in spring to prevent swarming and increase your apiary. But for now, focus on the basics: feed new bees, inspect monthly, treat mites, and leave enough honey. Each season will teach you more. By year three, you will be the mentor new beekeepers call with their first swarm.
Red Flags & Warnings
- 🚨 Never install bees before you have all equipment assembled. Bees can overheat or abscond if left in a package too long.
- 🚨 Do not skip varroa mite monitoring. An untreated mite infestation can kill a colony in one to two years, even if the hive looks healthy from the outside.
- 🚨 Avoid opening the hive more than once every 7 to 10 days during your first season. Over inspection stresses the colony and can cause the queen to stop laying.
- 🚨 Feed new colonies with 1:1 sugar syrup until they draw comb and store nectar. A package installed on bare foundation has no food reserves.
- 🚨 Do not harvest honey in the first year unless the colony has filled at least two deep boxes and has surplus above the brood nest. Taking too much can starve the bees over winter.
- 🚨 Check local laws before buying bees. Some municipalities prohibit beekeeping or require licenses and setbacks that you must know in advance.
Frequently Asked Questions
How much does it cost to start a beehive?
Budget $400 to $800 for a complete starter setup, including hive bodies, frames, protective gear, tools, and bees. High quality suits and extractors cost extra. You can reduce costs by buying unassembled kits and joining a local bee club.
When is the best time to start a beehive?
Spring is best, specifically when daytime temperatures stay above 50°F and nectar sources are available. Order bees in January or February for April delivery. Starting too late in summer gives the colony little time to build winter stores.
How much honey will my first hive produce?
Do not expect honey in the first year. The colony needs all its resources to draw comb and build population. In year two, a strong hive can produce 25 to 60 pounds of surplus honey, depending on forage and weather.
Do I need a mentor as a beginner?
A local mentor or bee club membership is the single best investment you can make. Extension offices and the American Beekeeping Federation can connect you with regional groups. Hands on help with inspections prevents many beginner mistakes.
Can I keep bees in my backyard?
Yes, if your municipality allows it. Bees fly up to three miles for food, so a typical backyard can support one or two hives. Provide water, afternoon shade in hot climates, and a flight path away from patios and sidewalks.
What is the biggest mistake new beekeepers make?
Ignoring varroa mites. Many beginners focus on honey and miss the slow decline caused by mites and viruses. Monthly mite testing and timely treatment are the most important habits for colony survival.
What Should You Remember?
- Plan first: Check local ordinances, choose a mentor, and order bees in January for spring delivery.
- Hive style matters: Langstroth hives are the most beginner friendly because frames are standardized and widely available.
- Protect yourself: Buy a well fitting bee suit, gloves, and use a smoker calmly during inspections.
- Source local bees: Purchase bees from a local breeder or bee club to get queens adapted to your climate.
- Inspect regularly: Check frames every 7 to 10 days for eggs, brood pattern, food stores, and signs of pests.
- Manage varroa: Test monthly and treat at threshold levels. Varroa is the leading cause of colony death.
- Leave honey for winter: In most climates, a colony needs 60 to 80 pounds of honey to survive winter. Harvest only surplus.
This article is for general information only and is not veterinary or legal advice. Beekeeping is regulated in most regions and involves live animals with their own health needs , always follow local regulations and best practices, and consult a qualified apiarist, extension service, or veterinarian for bee-health or disease concerns.