You inspect a hive to learn what is happening inside. Honey bees manage most colony tasks on their own, but they cannot fix everything. Disease, queen failure, starvation, and crowding can destroy a colony quietly. The common bee diseases and pests guide lists many silent problems. A beginner often feels nervous during the first inspection. That feeling fades with a clear plan and calm hands.
Regular inspections are not optional for a responsible beekeeper. You should check a production hive every 7 to 10 days during the active season. That frequency gives you time to catch a failing queen, a heavy varroa load, or a swarm impulse before the colony crashes. University extension programs and beekeeping associations stress this routine. A missed inspection can mean the difference between a healthy hive and a deadout.
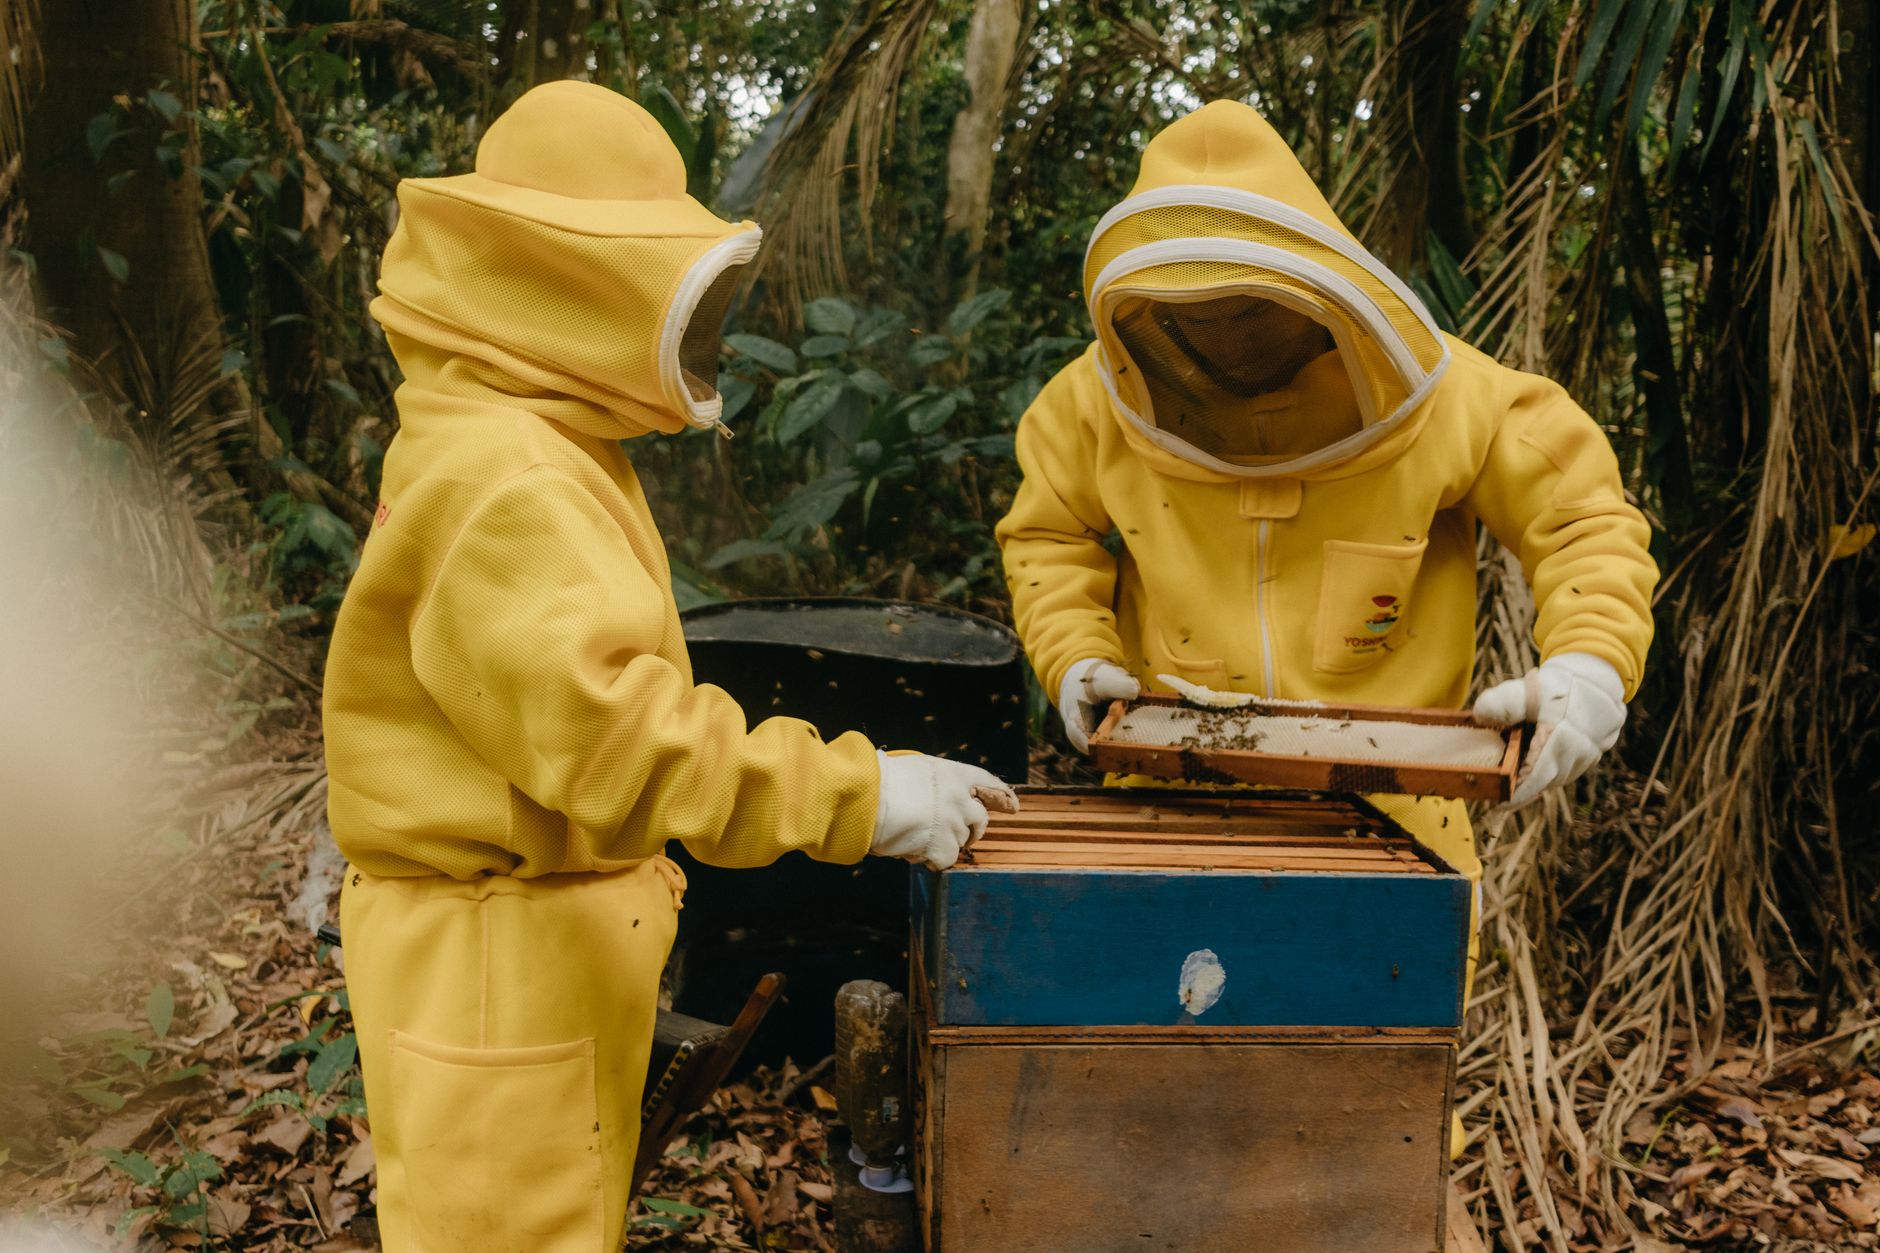
Before you open a hive, gather the right protective gear and tools. A good bee suit or jacket, gloves, a smoker, a hive tool, and a notebook cover most jobs. If you are still buying equipment, the beekeeping tools and accessories guide walks through what you need. You also want a clear work area and a plan for which frames to remove first. Good preparation keeps the inspection short and less disruptive.
This guide covers the full beginner inspection from first smoke puff to final notes. Use it as a checklist until the rhythm feels natural. According to the Honey Bee Health Coalition, regular colony checks give you the data needed to manage varroa and other stressors before they spiral. Learn the steps now, and you will read a hive like a field report.
What You’ll Need
- Bee suit or jacket with veil
- Beekeeping gloves
- Smoker and fuel such as pine needles, wood chips, or burlap
- Hive tool, ideally stainless steel
- Frame rest or a clean place to lean frames
- Notebook or hive inspection app
How Do You Do a Hive Inspection?
- Gather Your Inspection Gear and Pick a Warm Afternoon
Start with timing. Inspect when outside temperatures are at least 60 degrees Fahrenheit and bees are flying. A sunny afternoon with light wind is best. Cold or rainy openings chill brood and trigger defensiveness. Wear light-colored clothing and full protective gear. A beekeeping tools and accessories guide can help you assemble the basics.
You will need a lit smoker, a hive tool, and a frame rest or a clean spot to lean frames. A stainless steel hive tool is durable and easy to clean. Check the stainless steel hive tool on Amazon. A bee smoker with cool, thick smoke works better than one that billows hot sparks. Check the bee smoker on Amazon.
Fuel your smoker with dry pine needles, wood chips, or burlap. Light it before you approach. Test the smoke on your wrist so it feels cool. Hot smoke stresses bees and can burn comb. Also close zippers and cuffs on your suit. Keep your notebook ready. You cannot remember every frame after you close the hive.
Write the date, temperature, and weather. Prepare your gear before lighting the smoker. This step connects to smoke use because a well-fueled smoker makes the next part safer.
- Approach the Hive from the Side and Use Smoke Gently
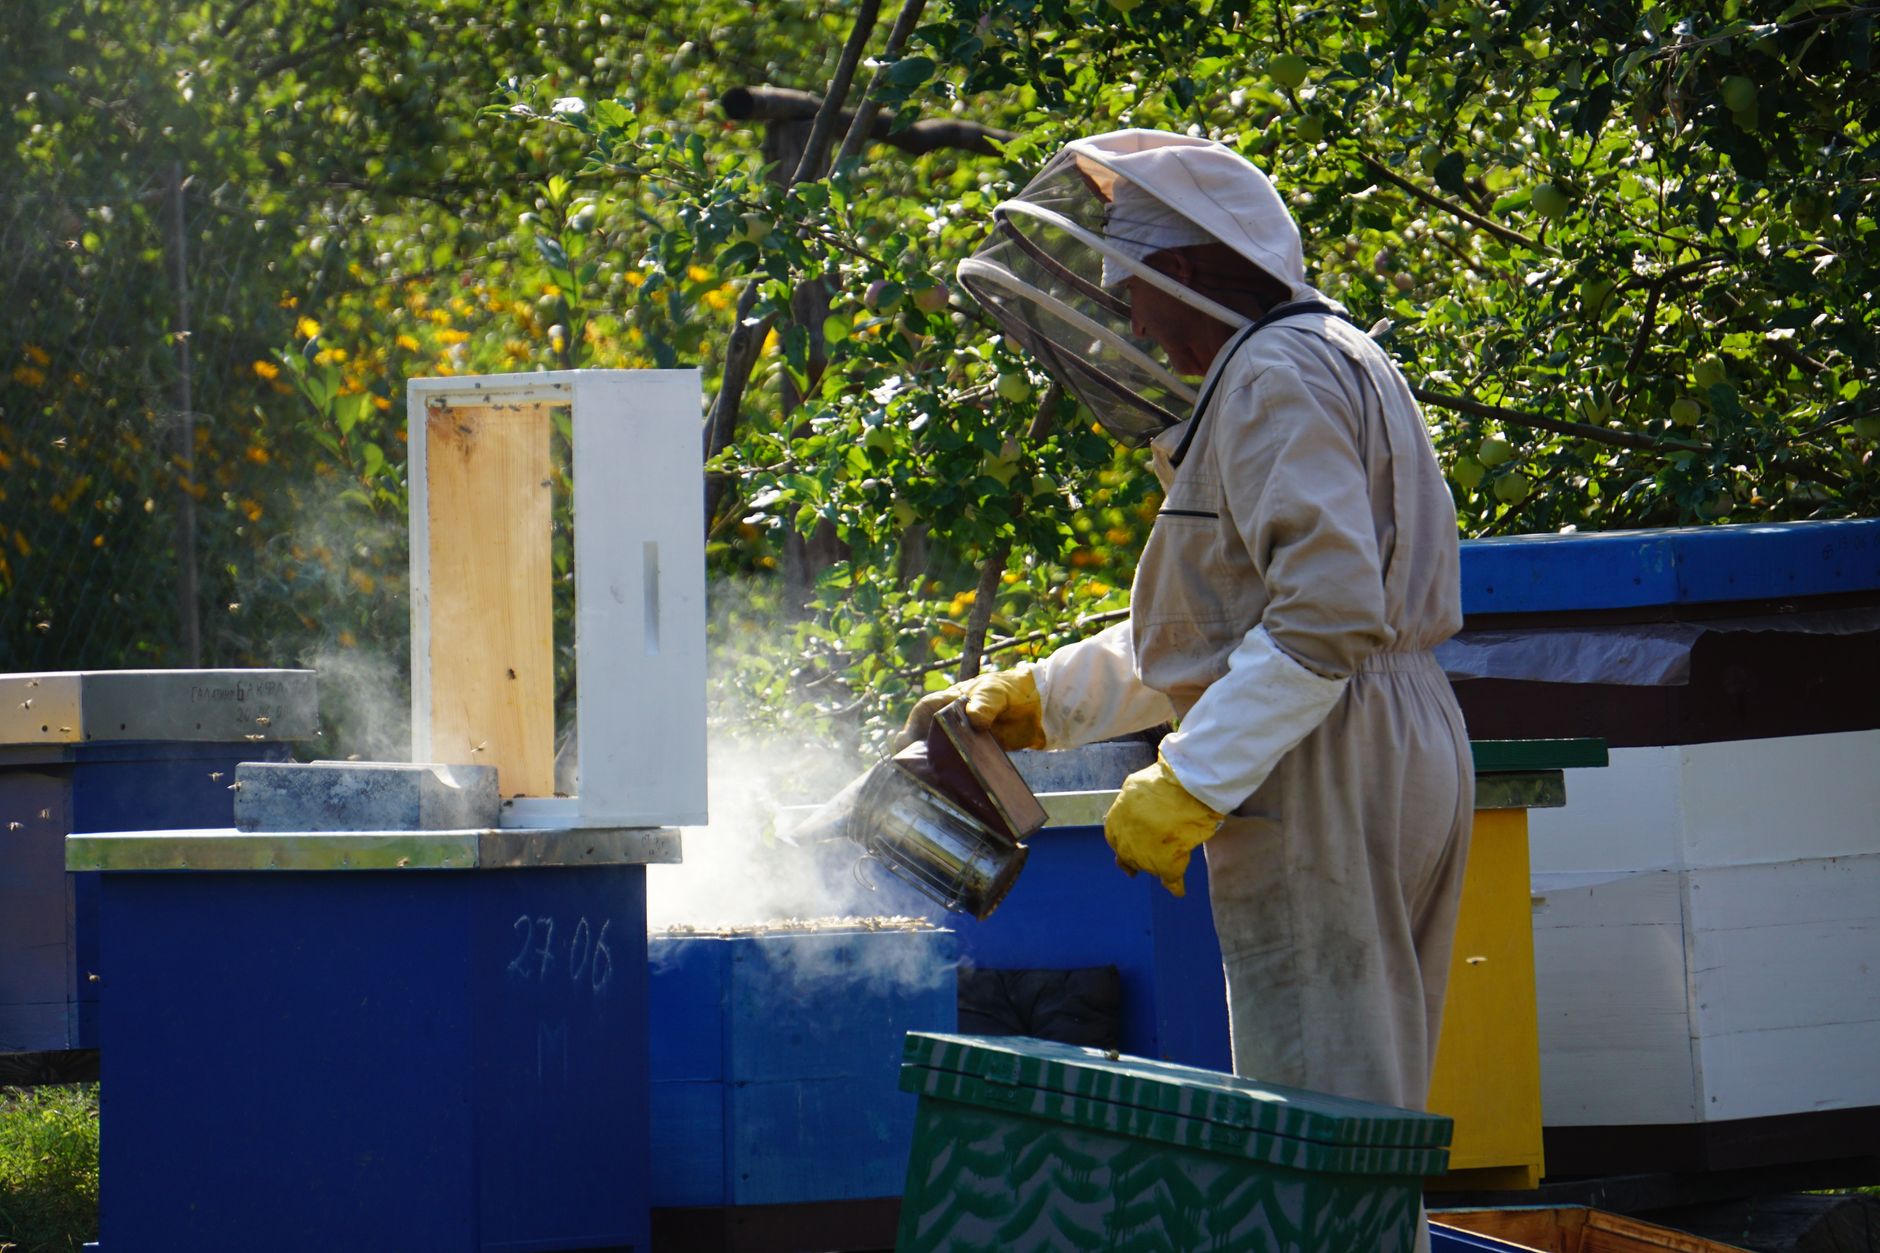
Stand behind or beside the hive, never in front of the entrance. Bees entering and exiting use that flight path. Give them room. Set your gear down away from the entrance too. A direct approach in the flight path alarms guard bees and makes the whole colony defensive.
Puff two or three cool smoke clouds into the entrance. Wait about a minute. Then lift the outer cover at a corner and puff a little smoke under it. Smoke masks alarm pheromones, but less is often more. Too much smoke makes bees run and hide, which can look like a problem that is not there.
Remove the outer cover slowly. Set it upside down on the ground or on an upturned lid. If bees are on the inner cover, puff a small amount of smoke and use your hive tool to lift it. Do not scrape bees hard. They will move if you give them time.
Keep your movements slow and deliberate. Fast, jerky motions trigger defensive behavior. This step sets the tone for the entire inspection. If the colony roars, pause and give more smoke.
- Remove the First Frame with a Hive Tool and Keep It Outside the Brood Nest
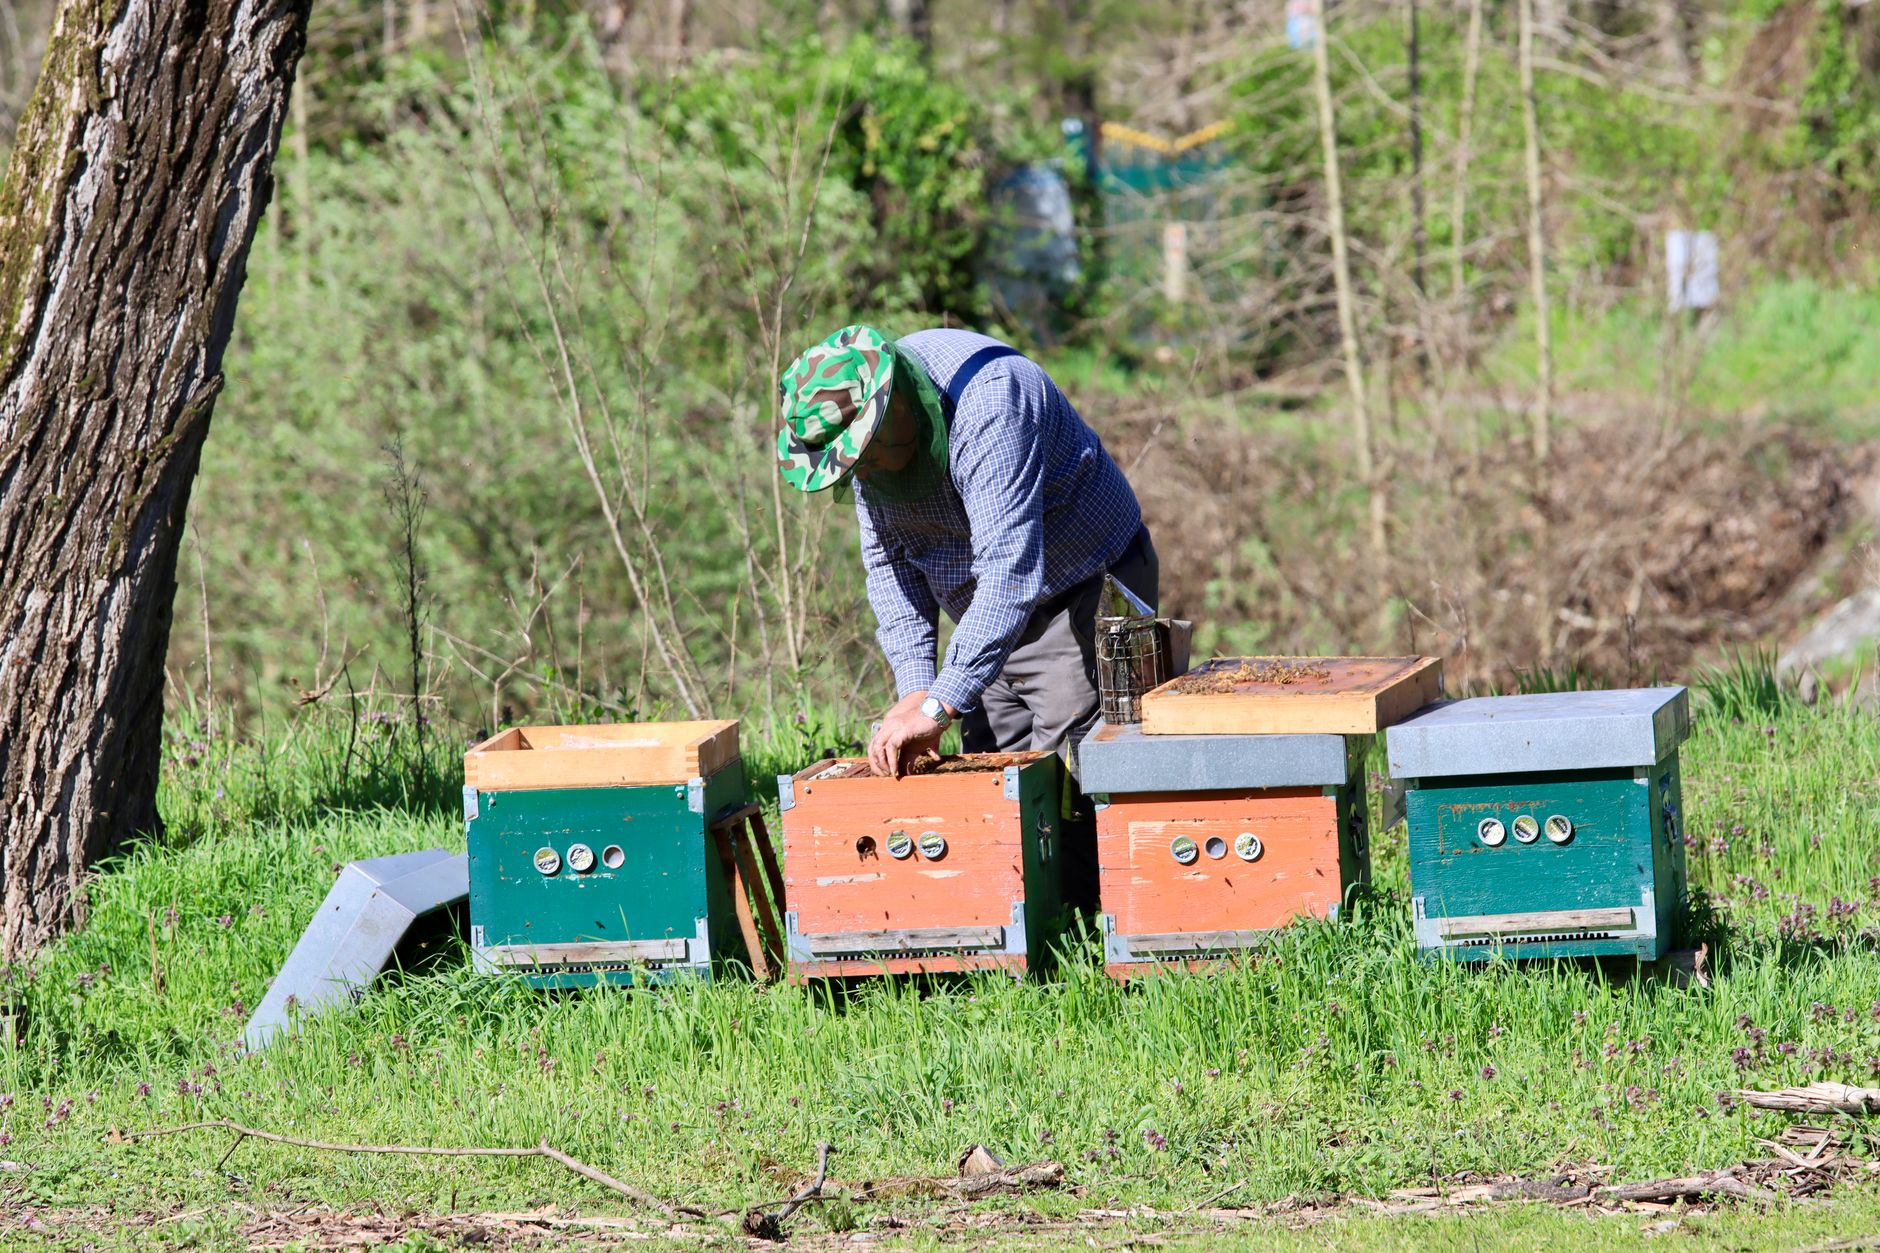
Stand at the back or side of the box, not directly in front. Use your hive tool to loosen the frame nearest the outside wall. Bees glue frames with propolis. Twist the tool gently between the top bars or between the frame rest and end bar. This gives you the first outside frame without crushing bees.
Lift the first frame straight up. Avoid rolling bees against the side. This first frame is usually honey or pollen and not brood. Inspect it for food and build. Then lean it against the hive or set it in a frame rest. Removing an outside frame first gives you room to slide other frames without crushing bees.
Work through the box one frame at a time. Keep the frame over the open hive when possible. If a bee drops, she falls back inside. If you carelessly move frames over the grass, you can lose the queen or young bees. The beekeeping mistakes beginners article covers common handling errors.
When lifting, hold the frame by the top bar and keep it vertical. Do not tilt it until you have looked. Honey and pollen frames can be heavy. A frame grip can help, but clean hands and a firm hold also work. Check the frame grip on Amazon if you struggle with slippery fingers.
Always return frames in the same order and orientation. Bees build comb on each side. If you reverse a frame, you disrupt brood and stores. This step finishes with free space to inspect the brood nest.
- Check for Eggs, Larvae, and Queen Rightness
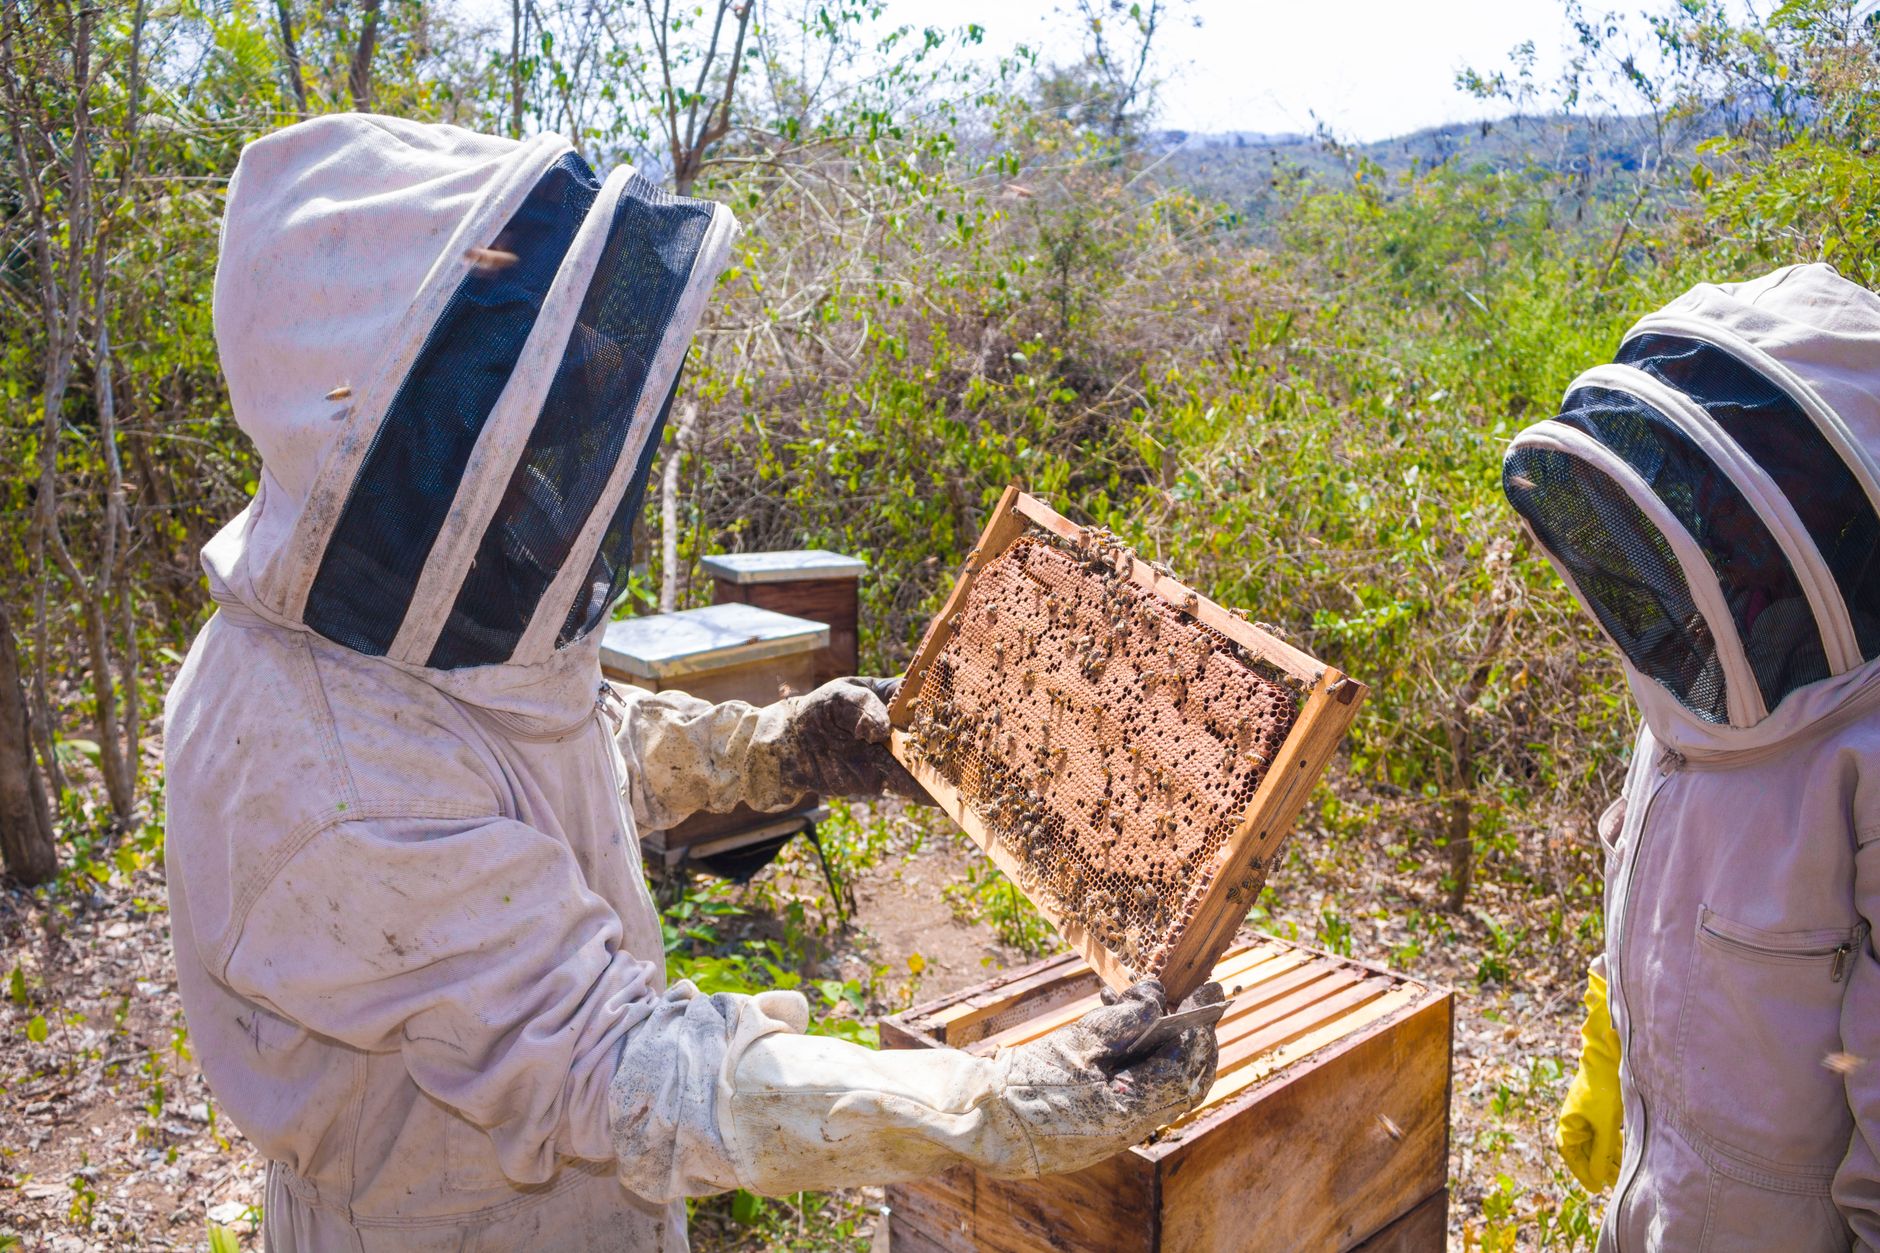
Find the queen if you can, but do not panic if you miss her. Eggs are proof she was there within the last three days. Hold the frame up near your face with the sun over your shoulder. Look for tiny white grains standing upright in the base of cells. A queen can lay 1,200 to 1,500 eggs per day at peak season.
A healthy brood pattern looks dense and even. Spotty brood with scattered empty cells can signal disease, a failing queen, or inbreeding. Larvae should be pearly white and curled in a C shape. Discolored, twisted, or sunken larvae need a closer look. Use the queen bee identification guide to learn the difference between queen cells and drone cells.
Note queen cells. Queen cells can mean swarming, supersedure, or emergency. Swarm cells often hang from frame bottoms. Supersedure cells sit on the face of the comb. If you see eggs and no queen cells, the colony is likely queenright.
Do not overstay. Brood exposed too long loses heat and can be damaged. If you cannot find eggs, return the frame and check other frames. Connect this step to food stores in the next step because brood health depends on incoming nectar and pollen.
- Evaluate Honey, Pollen, and Space for the Colony
Look at the outside frames. They should have honey or pollen, not brood. A strong summer colony has between 30,000 and 60,000 worker bees and enough stored energy. Pollen appears as colorful cells in yellow, orange, or gray. Capped honey is white or tan and slightly sunken.
If you see very little honey or pollen during a nectar flow, the colony may be starving or nose-diving. A full-size hive can consume 50 to 100 pounds of honey over winter in northern climates. During spring and summer, a strong hive may produce 60 to 100 pounds of surplus honey in a good year. The how much honey does one hive produce article breaks down realistic yields.
Check for enough drawn comb. If the brood nest is packed and the outer frames are all honey, the colony may need another box. Add a super before they get crowded. Too little space encourages swarming. Too much space can chill the brood if nights are cold.
If stores are low, feed sugar syrup or pollen patties according to local guidance. Do not overfeed during a strong nectar flow, because it can encourage robbing or syrup-bound nests. Food and space link directly to swarm prevention in the next step.
- Look for Varroa Mites, Disease, and Swarm Preparations
This is the monitoring step. Varroa mites are the top colony stressor, according to the USDA Agricultural Research Service. A heavy mite load weakens bees and spreads viruses. Mite populations can double every month during brood rearing, so twice-a-season inspection is often not enough.
Use an alcohol wash or a sugar shake on a sample of nurse bees to estimate varroa levels. Follow the varroa mite treatment guide for thresholds and treatment options. If you see deformed wings or mites on adult bees, your load is already high.
Watch for chalkbrood mummies, foulbrood odors, or slimy larvae. If you suspect American foulbrood, stop the inspection and contact your local apiary inspector. Not all issues are visible, so use a systematic check.
Check for swarm cells again. Crowded bees, queen cups with eggs, and reduced egg laying all point to swarm prep. If you find them, make a note and act quickly. That step connects to recording your findings.
- Reassemble the Hive Slowly and Tidy Up
After you inspect the last frame, slide it back into the box with care. Keep the same frame order and orientation. Use your hive tool to create space if needed. Never force frames together. Listen for a grinding sound. That sound means you are crushing bees.
Replace the inner cover and outer cover. Check for bees at the edges before setting covers down. Puff a small amount of smoke if bees are in the way. Close the hive gently. A dropped cover can alarm the whole colony for hours.
Clean your hive tool and smoker after each yard visit. Bee diseases can travel on sticky propolis and wax. Light a clean smoker next time. If you visited another apiary, change gloves or wash your hands. Some keepers keep a spray bottle of rubbing alcohol for tool sanitation.
Put your notes in order before you take off your suit. Cool down and observe the entrance for a few minutes. Bees should return to normal flight patterns. If robbing breaks out, reduce the entrance and pause future inspections.
- Record Observations and Schedule the Next Inspection
Write down the date, colony, queen status, brood pattern, stores, pests, and temperament. Good records turn a vague inspection into useful data. You can compare this week with last week. If you are managing multiple hives, use a notebook or a hive inspection app.
Note any colony that needs follow-up. A weak colony may need feeding, requeening, or splitting. If you saw swarm cells, consult the bee swarm guide for options. If the queen was missing and eggs were absent, plan a recheck in a few days.
Schedule the next inspection 7 to 10 days out. Do not open more often. Brash inspections disrupt brood nest temperature and rob time from foraging. Still, swarming season may require weekly visits. The catch is that every inspection costs the colony a few hours of calm.
Review your records for trends. A strong spring buildup, a heavy mite load, or a queen that has stopped laying all become easier to spot over time. Use what you learn to make better decisions each season.
Red Flags & Warnings
- 🚨 Never inspect a colony when the temperature is below 60 degrees Fahrenheit or winds are strong. Chilling brood can kill developing bees and trigger defensive behavior.
- 🚨 Do not put your hands or fingers where bees are being pressed. Slow frame movement prevents queen death by crushing.
- 🚨 Avoid heavy cologne, perfume, or banana-scented products. These smells can mimic alarm pheromones and make bees more defensive.
- 🚨 If you see robbing, fighting at the entrance, or a ragged queen cup, close the hive. Do not leave frames or honey exposed outside the hive.
- 🚨 Never over-smoke a hive. Too much smoke drives bees to run across the comb, making eggs and the queen harder to see.
- 🚨 If you suspect American foulbrood, do not move frames to other hives. Contact your state apiary inspector before using shared equipment again.
Frequently Asked Questions
How often should a beginner inspect a hive?
Every 7 to 10 days during the active season. Weekly checks catch queen loss and swarm cells early without disrupting the colony too often. In late fall and winter, do not open the hive unless you suspect starvation or another emergency.
What temperature is safe for a hive inspection?
At least 60 degrees Fahrenheit, ideally 65 to 80 on a sunny afternoon. Cold temperatures chill brood and make bees more defensive. Avoid rainy or extremely windy days because they make the colony harder to work.
Do I need to find the queen during every inspection?
No. Seeing eggs is enough proof that a queen was present within the last three days. If you find eggs and no queen cells, the colony is likely queenright. Still, a marked queen is easier to spot and saves time.
How much smoke should I use?
Two or three cool puffs at the entrance and a little under the cover are usually enough. Wait a minute between puffs. Over-smoking makes bees run and hides eggs and the queen.
Why is my hive aggressive during inspections?
The colony may be queenless, hungry, robbed, or you may be working in cool or cloudy weather. Heavy-handed movements and strong scents also increase defensiveness. Use more smoke if needed and close the hive if aggression becomes unsafe.
What should I do if I accidentally squash the queen?
Close the hive and check for eggs after a few days. If bees build emergency queen cells, let them raise a new queen. You can also introduce a mated queen if no eggs or larvae remain. The colony will normally recover if the worker population is strong.
What Should You Remember?
- Inspect every 7 to 10 days during active season to catch queen failure, pests, and swarm intent early.
- Use cool smoke and slow movements from the side or rear of the hive to keep the colony calm.
- Work from the outside frames inward and keep frames over the open hive to avoid dropping the queen.
- Look for eggs, not just the queen to confirm the colony is queenright without a long search.
- Check varroa mite loads regularly since mite populations can double monthly during brood rearing.
- Record every inspection in a notebook or app so you can track colony trends and follow-up tasks.
This article is for general information only and is not veterinary or legal advice. Beekeeping is regulated in most regions and involves live animals with their own health needs , always follow local regulations and best practices, and consult a qualified apiarist, extension service, or veterinarian for bee-health or disease concerns.