Introducing a new queen bee can fix a weak or aggressive colony, but the process has pitfalls. According to the USDA Agricultural Research Service, a healthy queen may lay up to 1,500 eggs per day during peak season. This rate directly affects colony size and honey production. A strong hive can produce 60 to 100 pounds of surplus honey in a good flow. That is why beekeepers replace failing or old queens. The introduction must be slow enough for workers to accept her pheromones. A rushed introduction often ends with the workers balling and killing the queen.
Before you begin, learn to spot the difference between a queen, a virgin queen, and queen cells. Our queen bee identification guide walks you through key markers. You also need to understand why the colony is queenless. Sometimes a queen dies naturally. Other times the beekeeper removes a laying worker or a failing queen. If you skip this step, the colony may reject the new queen. Start with a full inspection. Look for signs of a current queen or emergency queen cells. The goal is to give the new queen a colony that is ready for her.
Many new beekeepers ask how soon they can introduce a queen after making a split or buying bees. The timing depends on whether the colony knows it is queenless. A colony that lost its queen a few hours ago may still treat a new queen as an intruder. The catch is that those old queen pheromones linger. Wait 24 to 48 hours after removing the old queen before you introduce the replacement. If you are working with packages or nucs, see our buying bees guide for queen-source options. This article explains each step with tools, checks, and warning signs.
What You’ll Need
- hive tool
- smoker
- queen introduction cage
- sugar syrup spray bottle
- queen marking pen or disc (optional)
- frame of open brood for queenless test
How Do You Introduce a New Queen Bee?
- Confirm the colony is truly queenless
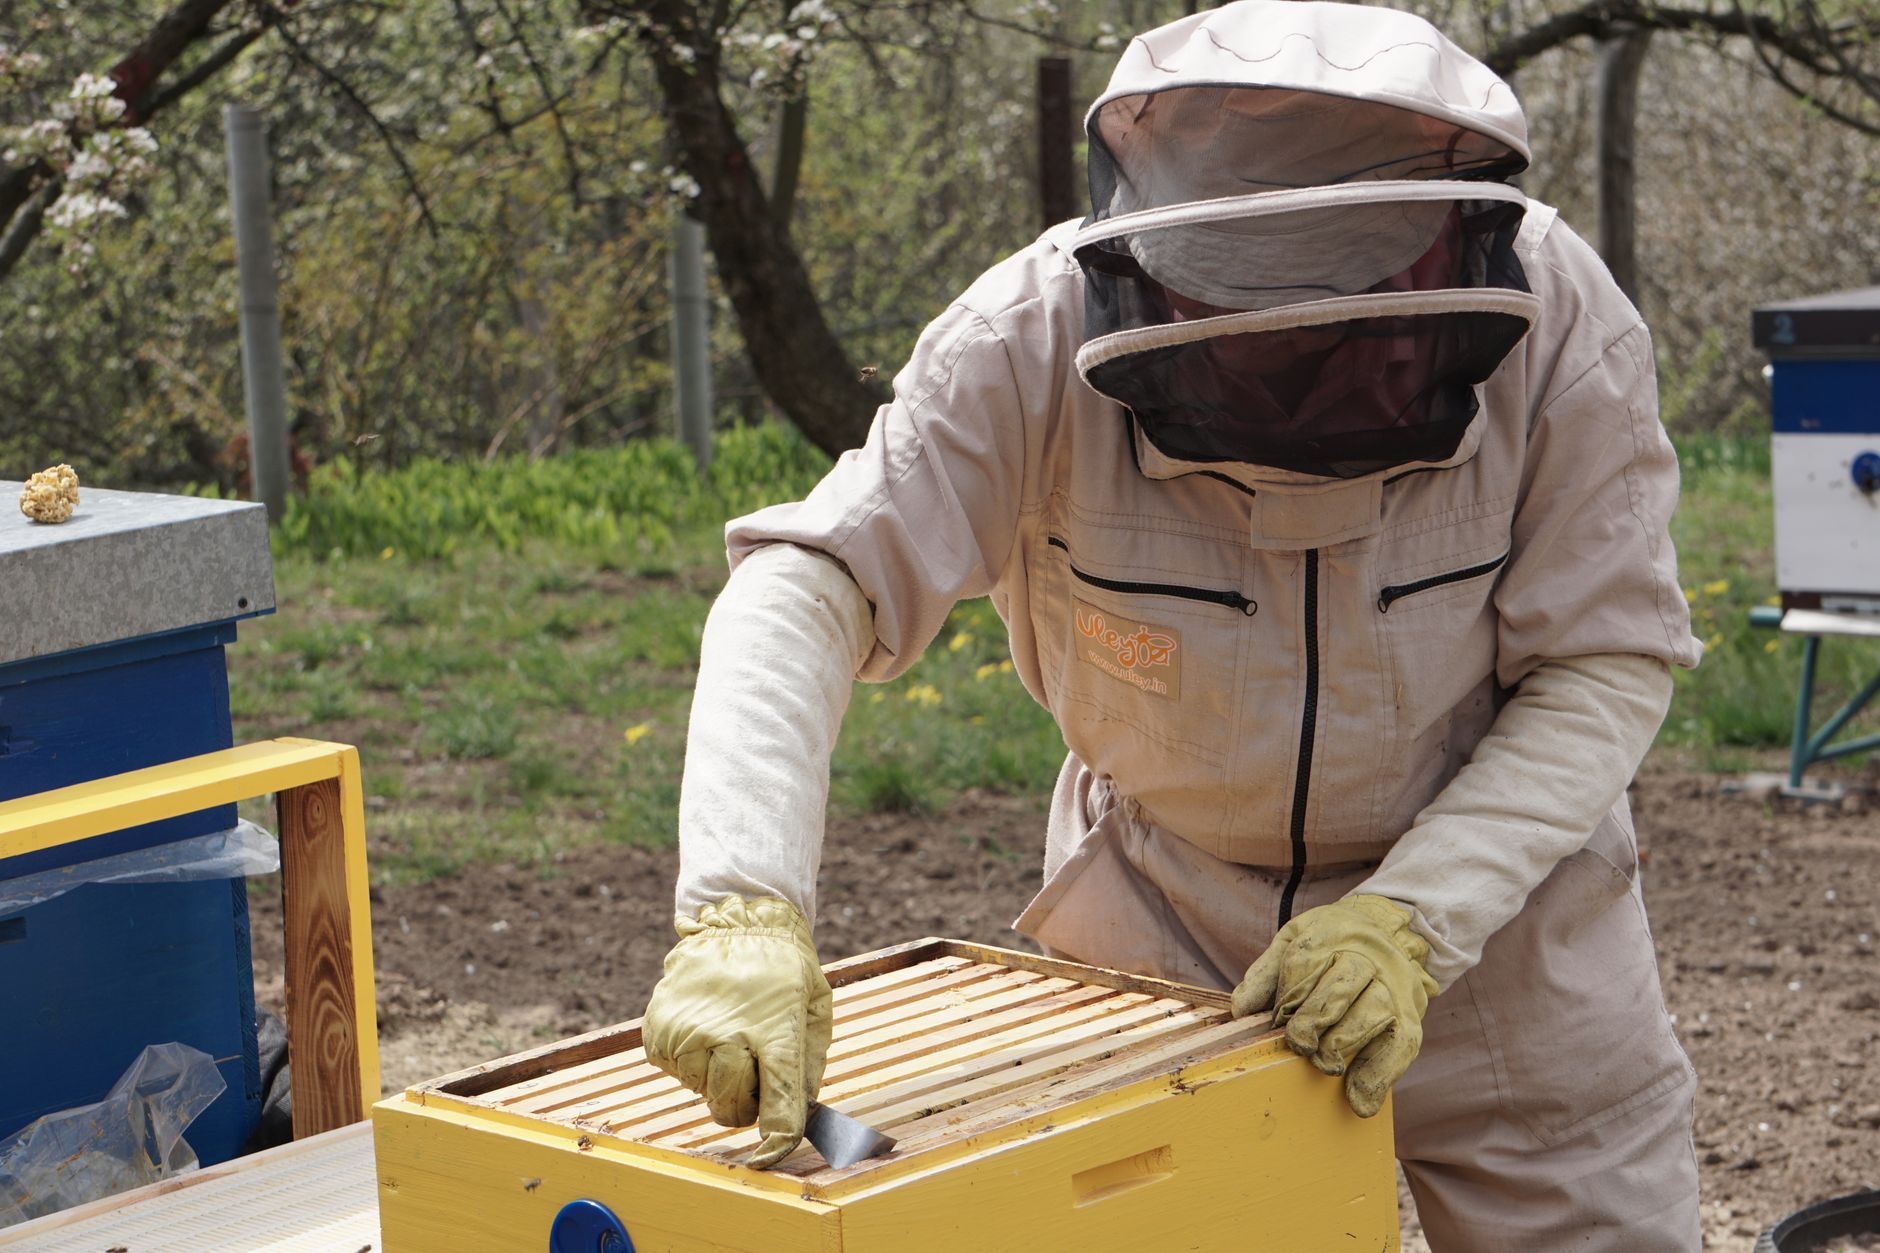
Open the hive on a warm, sunny afternoon when foragers are out. This reduces the number of young bees inside and makes the inspection less defensive. Use a hive tool to gently pry frames apart. Check every frame for the queen, fresh eggs, or queen cells. A proper inspection takes time. You can learn the full frame-by-frame method in our hive inspection guide.
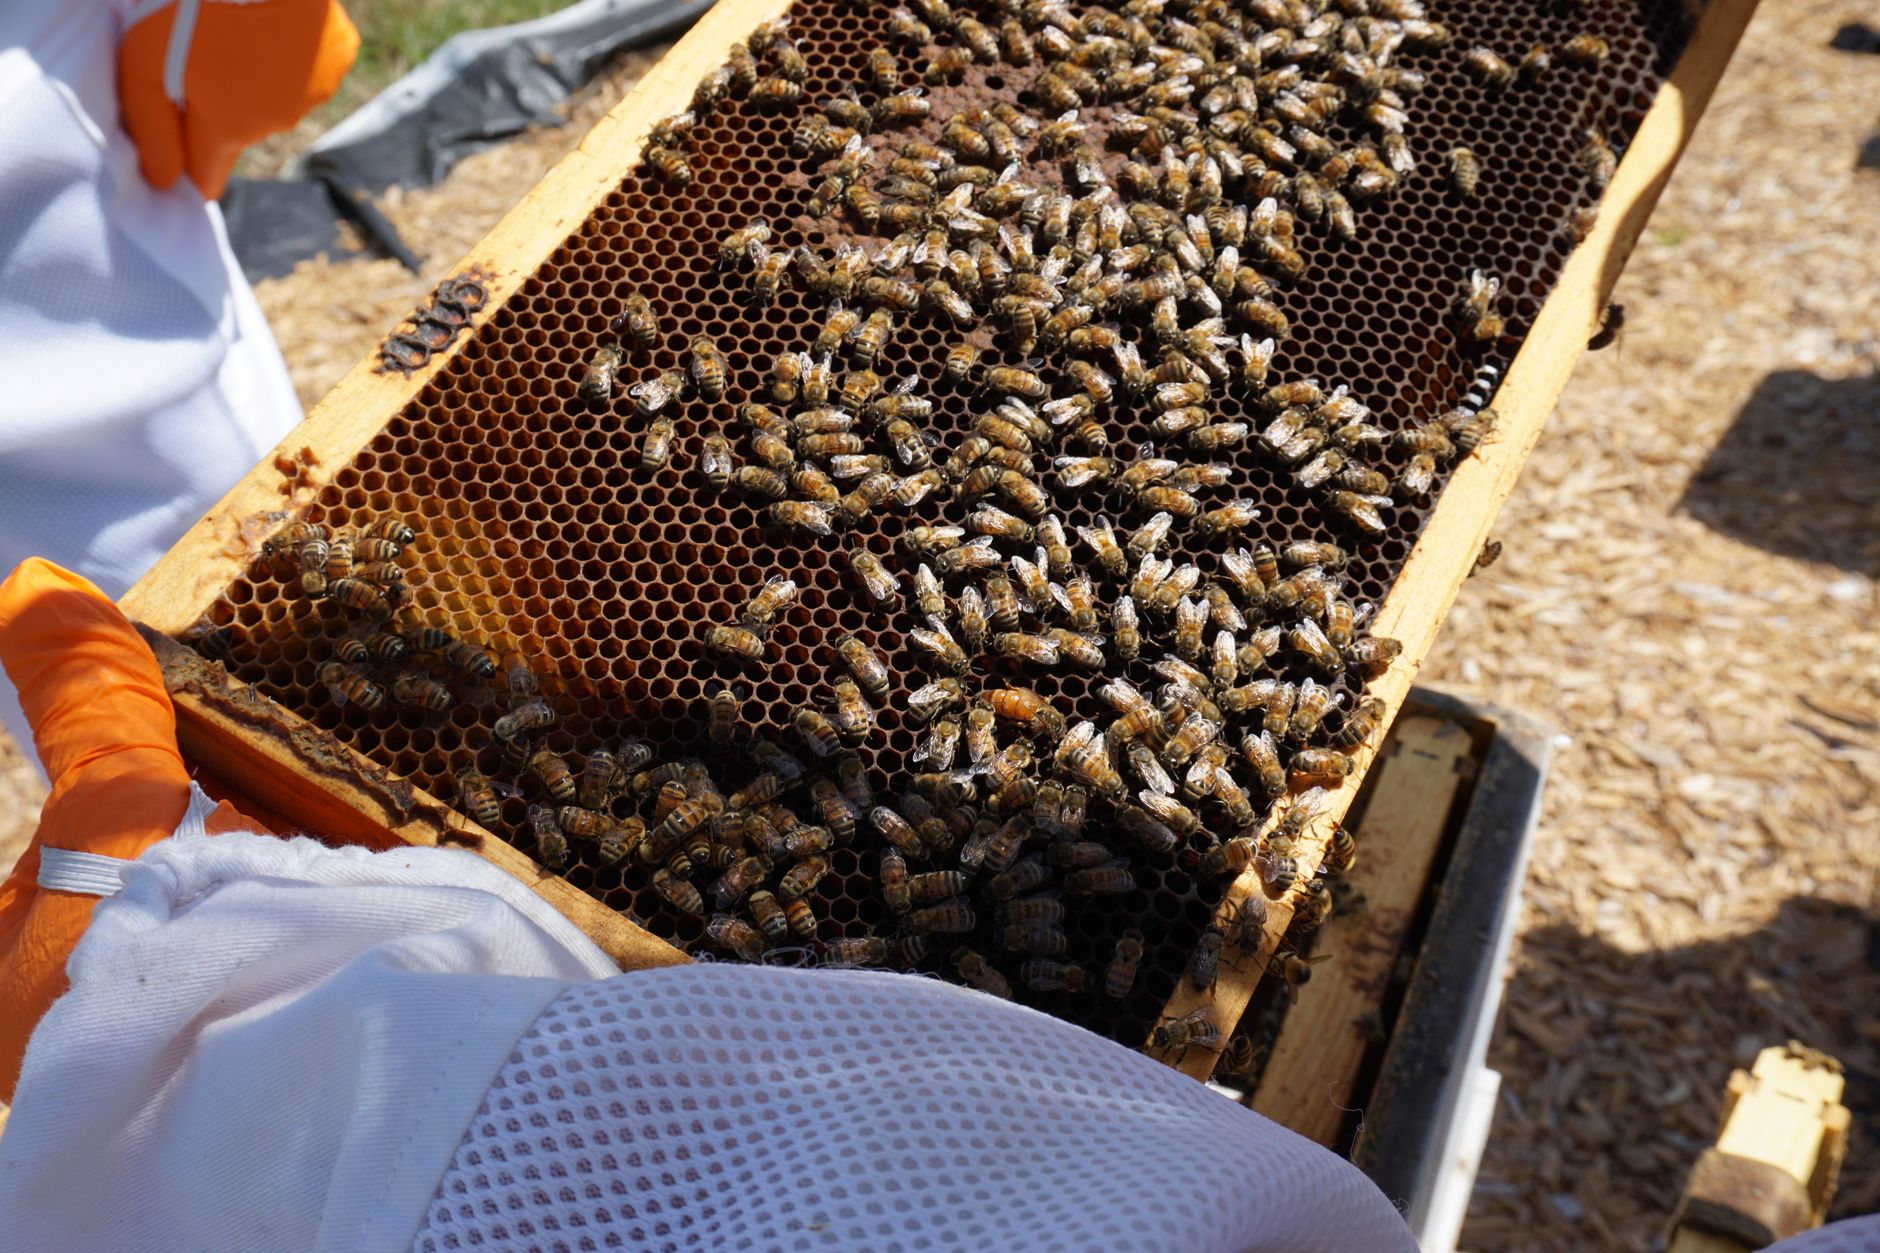
A colony with a healthy queen shows eggs standing upright in cells and young larvae in a tight pattern. If you see eggs, do not introduce a new queen. The workers will see the new queen as a rival and kill her. If you only see older sealed brood and no eggs, the colony may have been queenless for several days. Test by inserting a frame with eggs from another hive. If they build emergency queen cells on that frame, they are queenless and ready for a new queen.
Do not rely on seeing the queen herself. Queens are often hidden by clustering workers. Instead, look for the result of her work. Eggs, young larvae, and fresh brood are proof she was there within the last three days. A queen can lay many eggs, but you may still miss her. That is normal. Still, if no eggs or larvae are present after a careful check, proceed with the steps below. Move slowly and use smoke only when needed.
- Choose the right queen and prepare her cage
Order a mated queen from a reputable supplier or local breeder. A mated queen has already bred and can start laying within days. A virgin queen must first fly and mate, which adds risk. Ask for a queen with a calm and productive line, especially if you want to reduce aggression. Inspect the cage upon arrival. The queen should be alive, walking, and attended by several worker bees. Replace any dead or sluggish queen immediately.
Most queens ship in a wooden or plastic introduction cage with a candy plug. This plug is designed to release her slowly as workers eat through it. If the plug is hard or melted, soften it slightly with a drop of warm water. Use a queen introduction cage if you need to move her between hives. Keep the cage away from direct sun and extreme temperatures. A queen can overheat or chill quickly.
Some beekeepers prefer to remove the attendant workers from the cage before installation. Attendant workers sometimes carry foreign hive odors, which can trigger aggression. If you keep them, make sure none are dead. Dead attendants can block the candy or spread disease. You can also dab a tiny amount of sugar syrup on the screen to feed the queen during a short holding period. But do not coat the screen so much that workers cannot exchange pheromones.
- Remove queen cells and inspect for laying workers
Before introducing the queen, remove all queen cells from every frame. Emergency queen cells are often built along the edges or bottom of frames. Swarm cells hang from frame bottoms. Any existing queen cell can produce a rival queen. That new queen may fight your introduction and destroy the colony’s acceptance window. Use your hive tool to scrape them clean. Check both sides of every frame.
Also check for laying workers. A queenless colony can develop workers whose ovaries activate and begin laying eggs. Laying workers produce a scattered pattern of eggs, often with multiple eggs per cell. Drone brood is raised on worker comb, which looks bumpy. If you see this, simply adding a queen rarely works. The colony may ignore or kill her. You may need to shake the bees out some distance away or combine them with a stronger queenright colony. See our split guide for options.
If you find laying workers, reintroduce the frames to a strong nuc or use newspaper combine method. If the colony is merely queenless with no laying workers, proceed. The presence of open brood helps suppress laying worker development. But once it has started, pheromones from a queen alone often cannot reverse it. The earlier you act, the better.
- Install the queen cage in the brood nest
Lightly smoke the hive entrance and under the inner cover. Use a beekeeping smoker with cool, white smoke. Too much smoke can drive the bees into a frenzy. Too little smoke may make them defensive. Place the queen cage between two frames of open brood if possible. Young nurse bees are more likely to accept her than older foragers. The cage should hang with the candy plug facing up or slightly downwards depending on the cage design. Follow the supplier’s orientation.
Push the frames gently together around the cage so it stays in place. The bees need access to the screen to exchange pheromones. Do not bury the cage too deep or too shallow. If the cage falls to the bottom, the queen may chill or be ignored. If it is squeezed too tightly, the workers may be unable to chew the candy. Use a small piece of frame wire or a toothpick to wedge it if necessary.
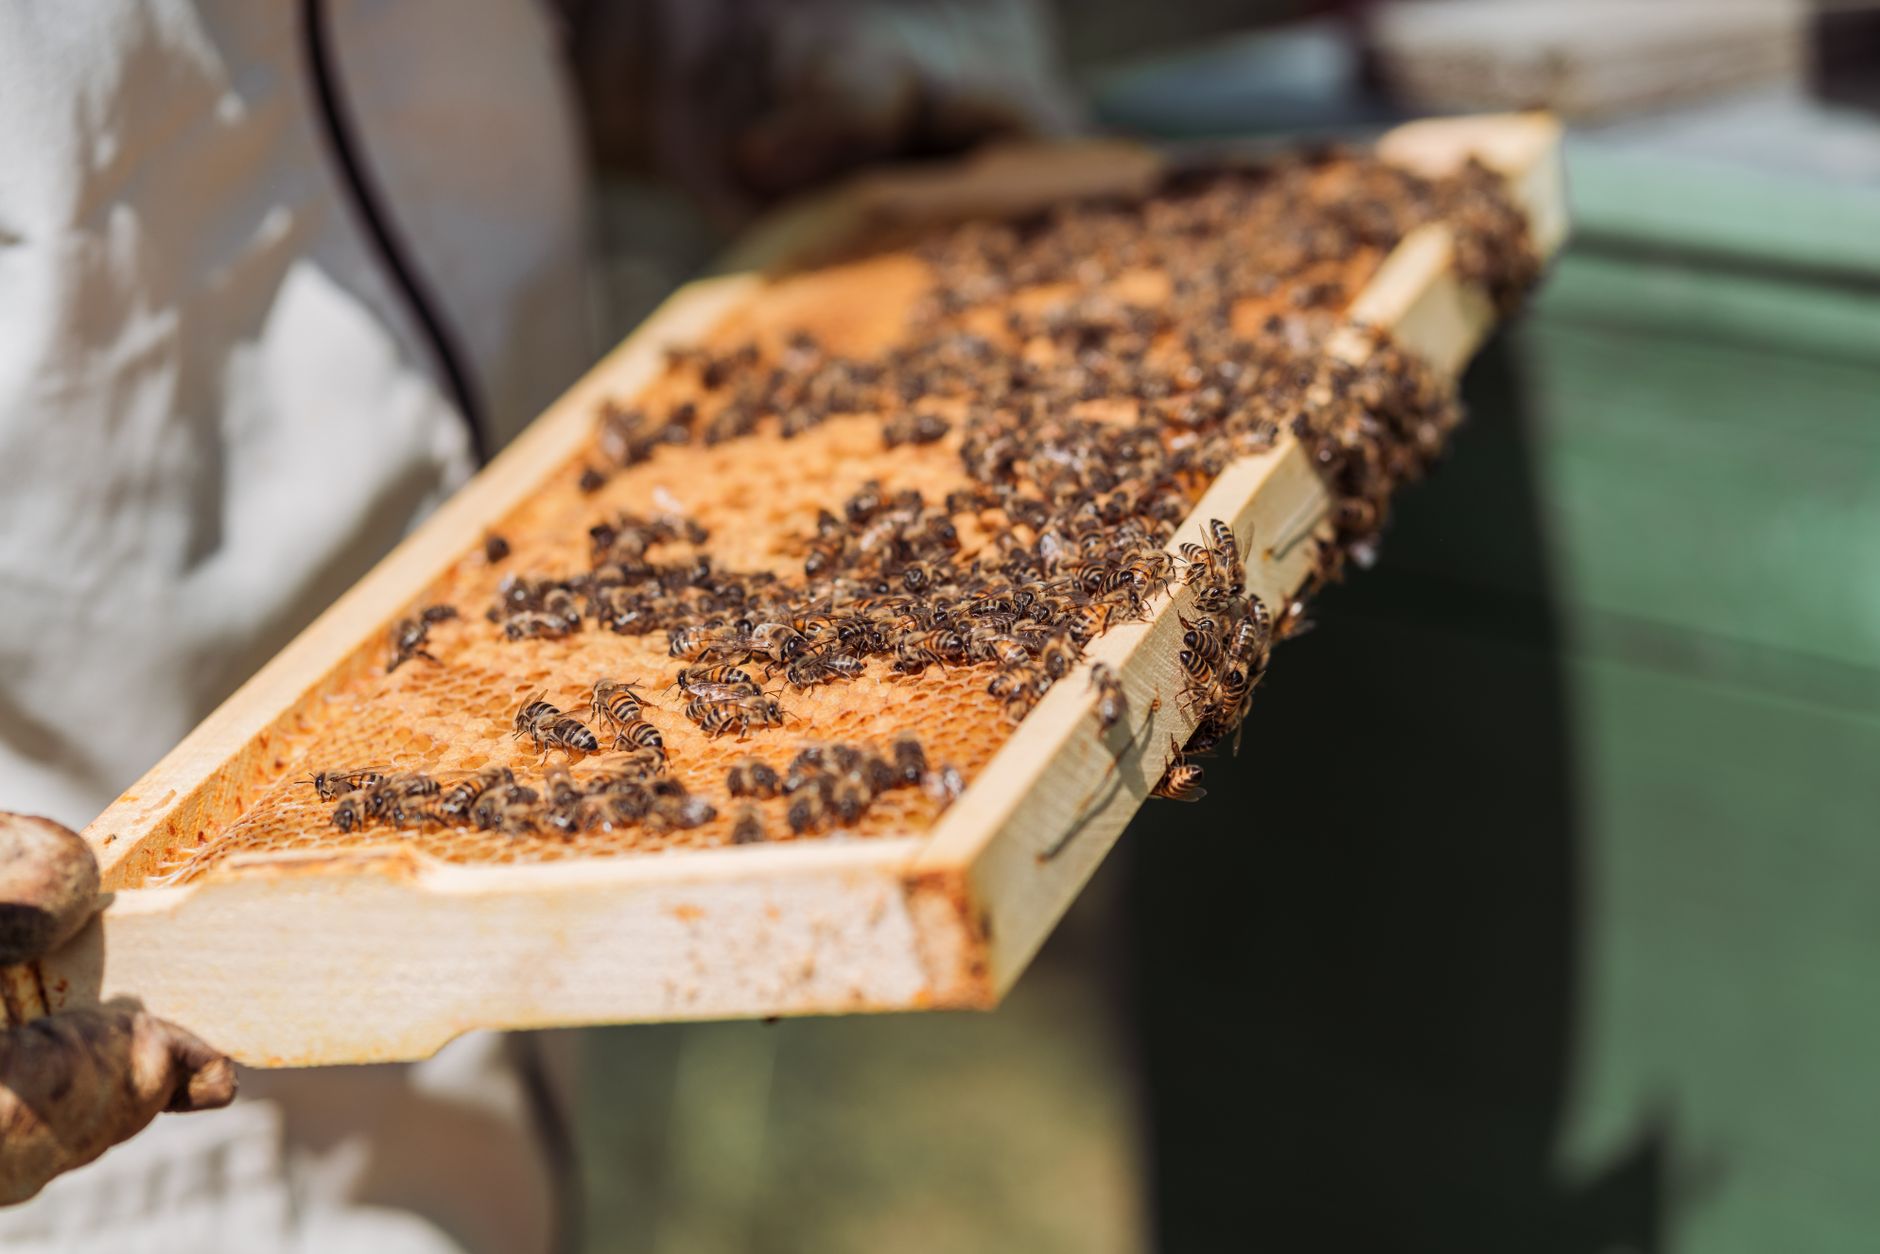
Do not open the hive for the next three to five days, unless absolutely necessary. Every inspection disrupts the acceptance process. The bees need quiet to get used to the queen’s scent. During that time, workers will eat through the candy and gradually release her. The slow release is the whole point. It prevents the colony from seeing her as an invader and balling her.
- Wait the required release period
Release time varies by cage type and colony strength. A standard candy plug takes between three and seven days to dissolve. Strong colonies may eat the candy faster. Weak colonies may take longer. The queen usually emerges once the hole is large enough. Do not accelerate the process by poking the candy. If you do, the queen may walk out before the workers have accepted her. This is the most common cause of queen introduction failure.
During the wait, keep the hive level and avoid moving it. If you must check from outside, watch the entrance for calm, steady traffic. Fighting at the entrance, unusual roaring, or balls of dead bees can signal rejection. But do not open the hive just because you are curious. Patience is the main skill here. According to the Honey Bee Health Coalition, strong colonies with adequate nutrition accept queens more consistently. So keep a feeder on if nectar is scarce.
Mite pressure also affects queen introduction. Colonies with high varroa loads may be stressed and more likely to reject a new queen. If you have not tested recently, see our varroa mite treatment guide. Treat mites before or after introduction, not during the critical acceptance window. Some treatments can lower queen survival. Time treatments for at least two weeks before you introduce her.
- Check for acceptance and release
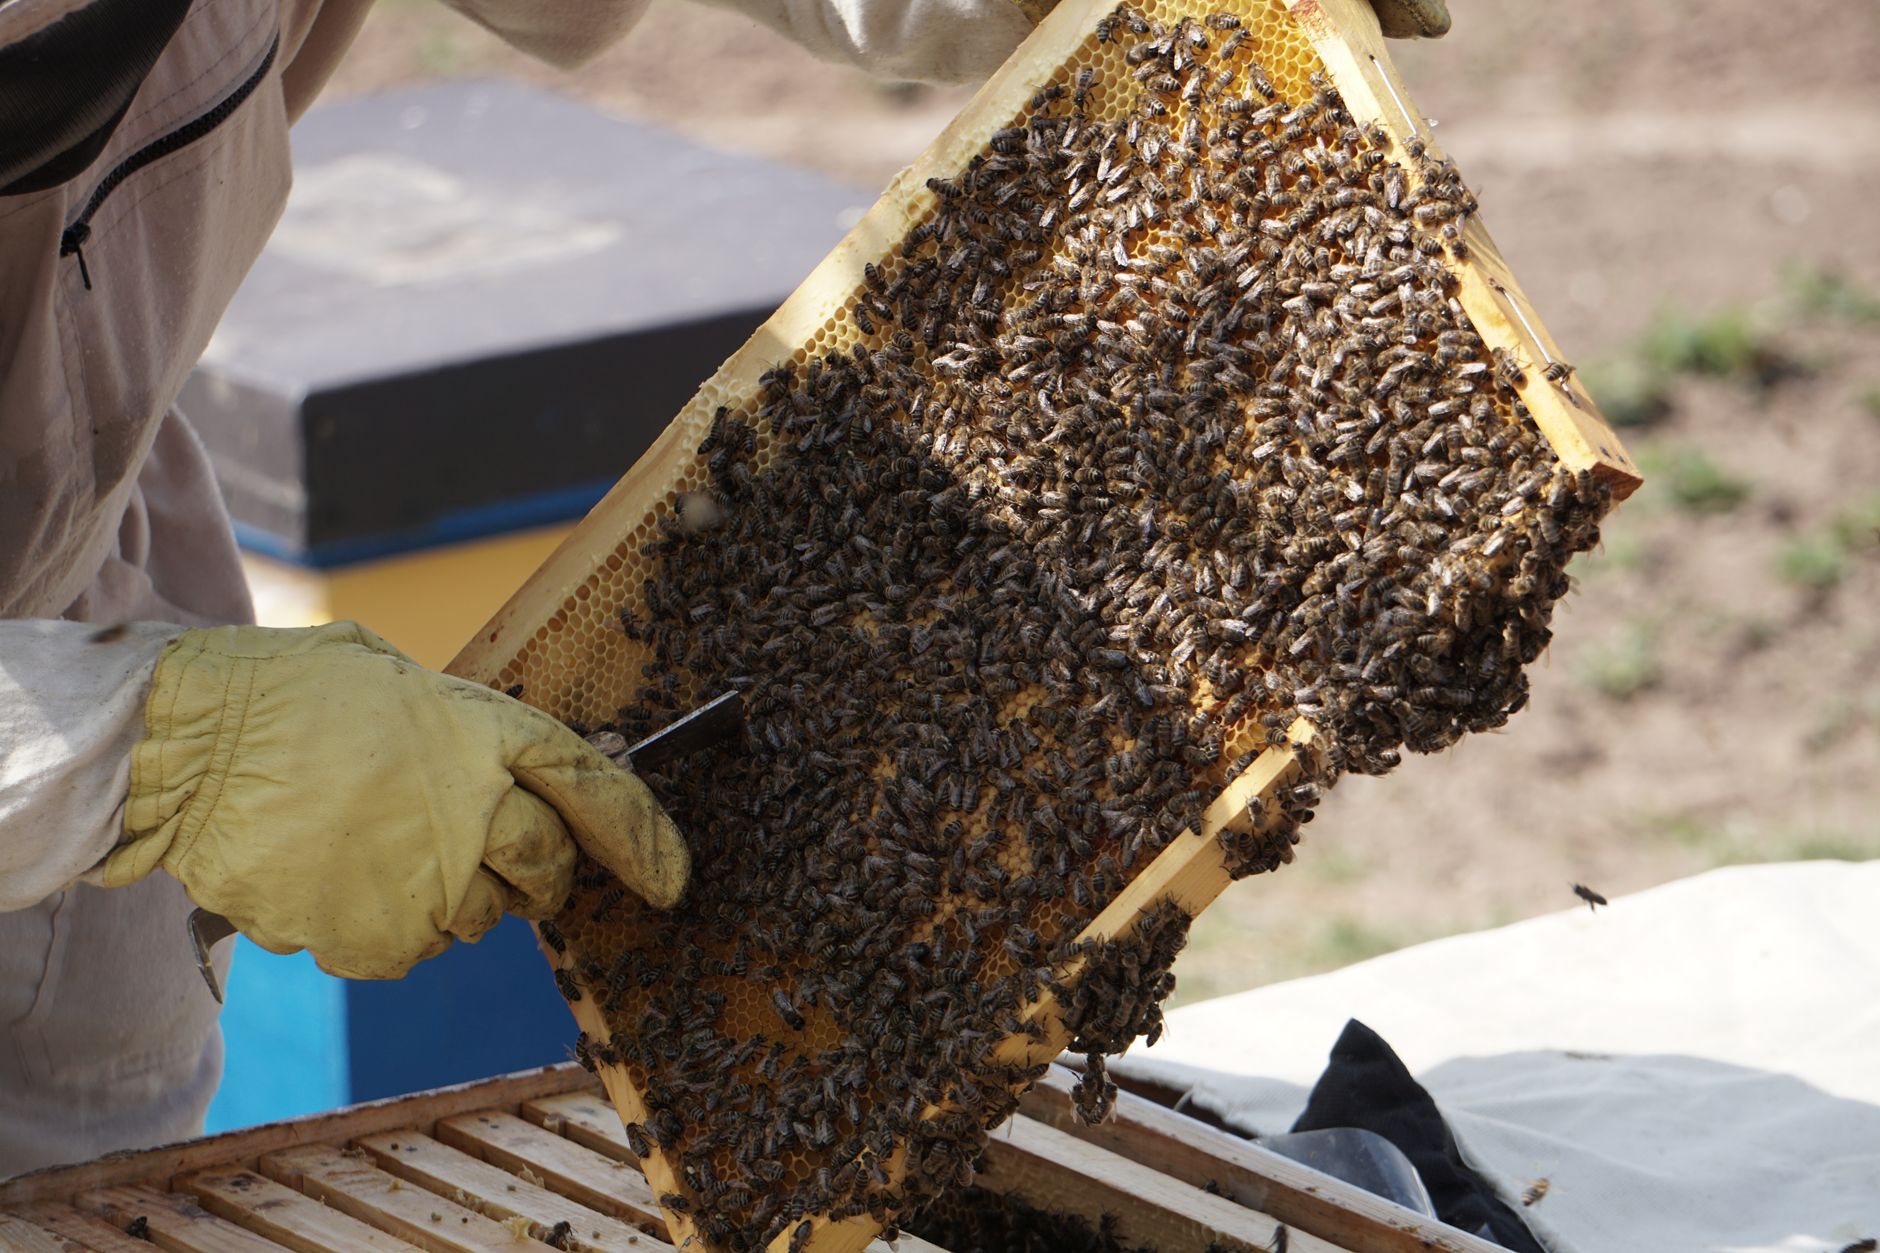
After five to seven days, open the hive for a brief check. Bring a small amount of sugar syrup spray. A light mist can distract workers and keep them from rolling the queen. Carefully remove the frame next to the cage and look for the queen. She may still be inside the cage if the candy was hard or the colony was weak. If she is inside but alive, you can leave her another day or two. If she is out, find her on the frame or nearby.
Observe the workers around her. Accepting bees face her, feed her, and groom her. Rejecting bees may bite her wings, climb on her back, or form a tight ball. If you see workers clustering tightly around her in a ball, do not try to pull them off with your hands. Spray the ball lightly with sugar water or smoke to break them up. Then recover the queen and re-cage her if possible. A few aggressive bees are normal. A large ball means real trouble.
If the queen was released and missing, search frame by frame. She may be hiding in a corner. A marked queen is easier to spot. If you cannot find her, close the hive and check for eggs in two or three days. Eggs will tell you whether she survived and started laying. A missing queen with no new eggs means you may need to start the introduction process again. Do not wait too long. Queenless colonies can decline quickly.
- Confirm egg laying and mark the queen if needed
Seven to ten days after introduction, look for fresh eggs. They appear as tiny white grains standing upright in the bottom of cells. One egg per cell is a good sign. Multiple eggs per cell may mean a new queen is laying normally at first but can also mean laying workers. Check the placement. The new queen starts with a small patch, then expands. See our queen bee identification guide to confirm you are seeing eggs and not just nectar.
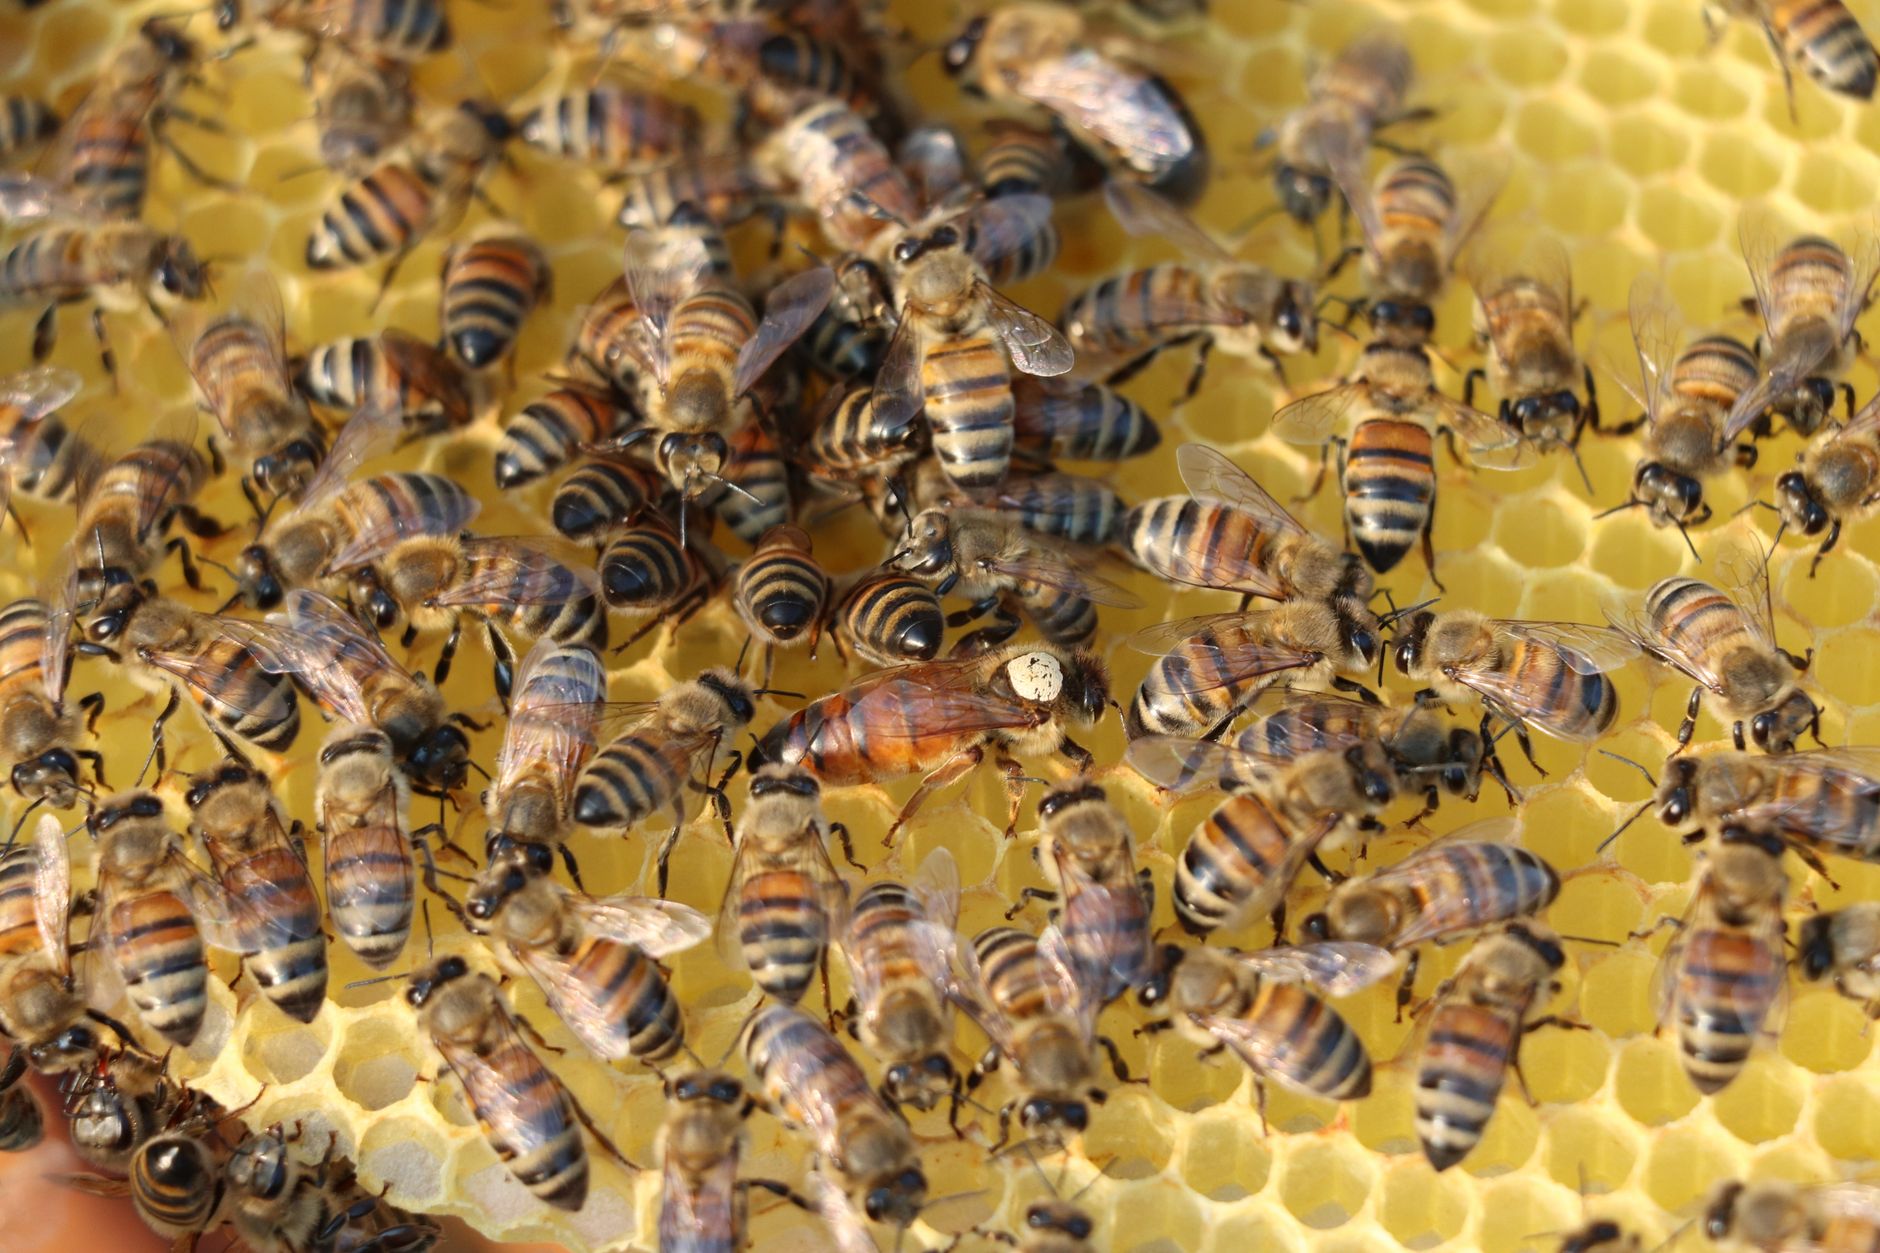
If eggs are present, the new queen has been accepted and is laying. You can choose to mark her with a dot of non-toxic paint or a pre-marked queen if you ordered one. A queen marking pen or disc makes future inspections easier. Use the year color code if you want to track her age. Capture her gently with a queen catcher or your fingers, then dab a small dot on her thorax. Release her back onto a brood frame immediately.
Do not mark a queen if you have never handled one before. The risk of crushing her is real. If she is unmarked, that is still okay. You can identify her by her longer abdomen and distinct movement. The key sign is eggs. Once you see a good brood pattern, you know the introduction worked. Continue feeding if the flow is light. A newly accepted queen needs strong nurse bees to build up the brood nest.
- Monitor the colony for the next three weeks
Check the colony every seven to ten days for the next month. Do not open the hive too often. Young queens need calm to settle into a laying rhythm. Look for a solid brood pattern with few empty cells. A spotty pattern can indicate disease, poor queen quality, or cooling of the brood. If the pattern does not improve after two weeks, consider replacing her again.
Watch the colony’s temperament. A new queen from a gentle line can reduce aggression within a few weeks as her offspring replace older workers. But this takes time. Older aggressive workers remain for up to six weeks. If the colony is still hot after that, the issue may be genetic or environmental. Do not rush to requeen again before the older bees age out.
Prepare the colony for the next season. Strong brood production now leads to a larger foraging force later. A healthy queen may lay up to 1,500 eggs per day in peak flow. That builds colonies strong enough to produce 60 to 100 pounds of honey per year. If your region has cold winters, see our winterizing guide to protect the new queen and her brood. A successful introduction sets the hive up for months of steady production.
Red Flags & Warnings
- 🚨 Do not introduce a new queen into a colony that already has a healthy laying queen. The workers will kill the newcomer.
- 🚨 Never speed up candy release by poking a hole. The queen can emerge before acceptance, leading to balling.
- 🚨 Check for laying workers before introduction. A queenless colony with laying workers often rejects a new queen.
- 🚨 Avoid opening the hive during the 3-7 day acceptance window. Disturbance can cause the bees to blame the caged queen.
- 🚨 Use only smoke and gentle movement when handling the queen. Do not spray her with cold syrup or water. Sudden temperature shock can kill her.
- 🚨 If you see a tight ball of bees around the queen, do not pull it apart with bare hands. Spray with sugar water first, then recover her.
Frequently Asked Questions
How long does it take for bees to accept a new queen?
Most colonies accept a mated queen within 3 to 7 days. The workers need time to spread her pheromones through the colony. During this period, keep the hive closed. If you open the hive too soon, you may interrupt the process. Strong colonies sometimes accept faster, while weak or queenless-too-long colonies may take longer.
What are signs the new queen was rejected?
Look for a tight ball of worker bees around the queen, often near the bottom board or on the frames. You may also see dead queen outside the hive entrance. Workers may bite her legs or wings. If you find the queen dead after 5 to 7 days, the introduction failed. You can try again after removing the dead queen and waiting 24 hours.
Can I introduce a virgin queen instead of a mated queen?
You can, but it is riskier. A virgin queen must take mating flights, which exposes her to birds, rain, and getting lost. If she fails to mate, the colony becomes hopelessly queenless. Mated queens are the safer choice for most beekeepers. If you do use a virgin, allow a full two weeks before you expect eggs.
What if the queen is still in the cage after 7 days?
First check the candy plug. It may be too hard or too dry. Sometimes the cage is blocked by dead attendant bees. You can carefully remove the blockage or add a tiny drop of water to soften the candy. Do not open the cage completely unless you are certain the workers are calm and not aggressive. For most situations, leave the cage one more day and recheck.
Should I feed bees during queen introduction?
Yes, light feeding can help if nectar flow is weak. A 1:1 sugar syrup gives nurse bees energy to tend brood and build comb. But do not use a boardman feeder that drips near the queen. A top feeder or internal division board feeder is safer. Stop feeding if robbing starts.
What is the best time of year to introduce a new queen?
Spring and early summer are best. Drones are present for mating if you use a virgin queen. Nectar and pollen are usually abundant, which supports brood rearing. Late summer and fall introductions are harder because brood rearing slows and workers are less receptive. If you must replace a queen in fall, use a mated queen and feed the colony well.
What Should You Remember?
- Confirm queenlessness: Never introduce a new queen into a queenright colony. Check every frame for eggs and queen cells first.
- Use a mated queen: A mated queen starts laying faster and skips risky mating flights. Virgin queens are for advanced beekeepers.
- Remove all queen cells: Scrape every emergency and swarm cell so no rival queen emerges and fights the new queen.
- Let workers eat the candy: Slow release over 3-7 days is essential. Poking the candy causes rejection.
- Check for eggs after 7-10 days: Fresh eggs are the surest sign of acceptance. Eggs also confirm she is laying.
- Monitor brood pattern: A solid pattern means success. Spotty brood suggests queen quality or disease issues.
- Feed and reduce stress: Light syrup and minimal hive openings improve acceptance odds, especially in weak nectar flows.
This article is for general information only and is not veterinary or legal advice. Beekeeping is regulated in most regions and involves live animals with their own health needs , always follow local regulations and best practices, and consult a qualified apiarist, extension service, or veterinarian for bee-health or disease concerns.