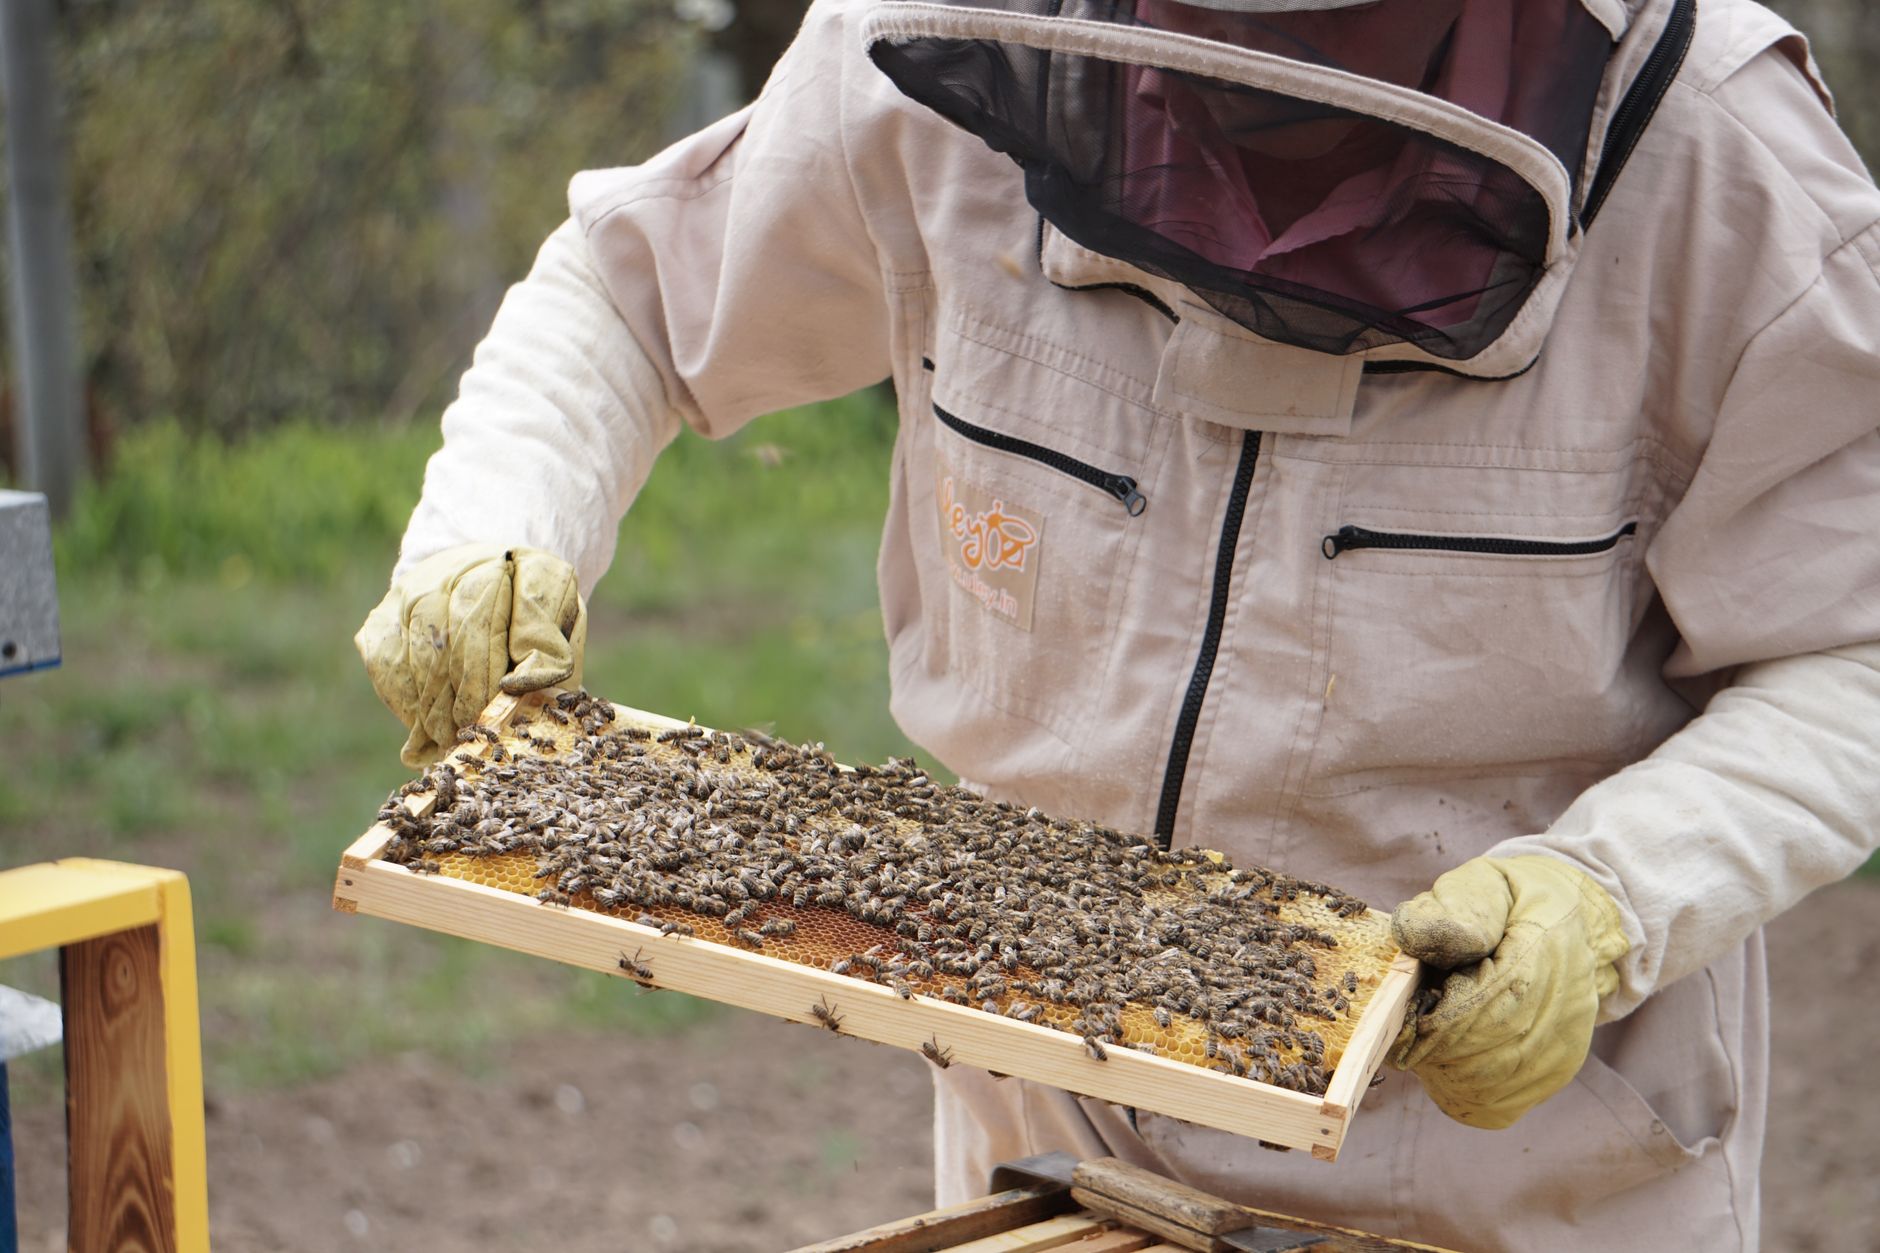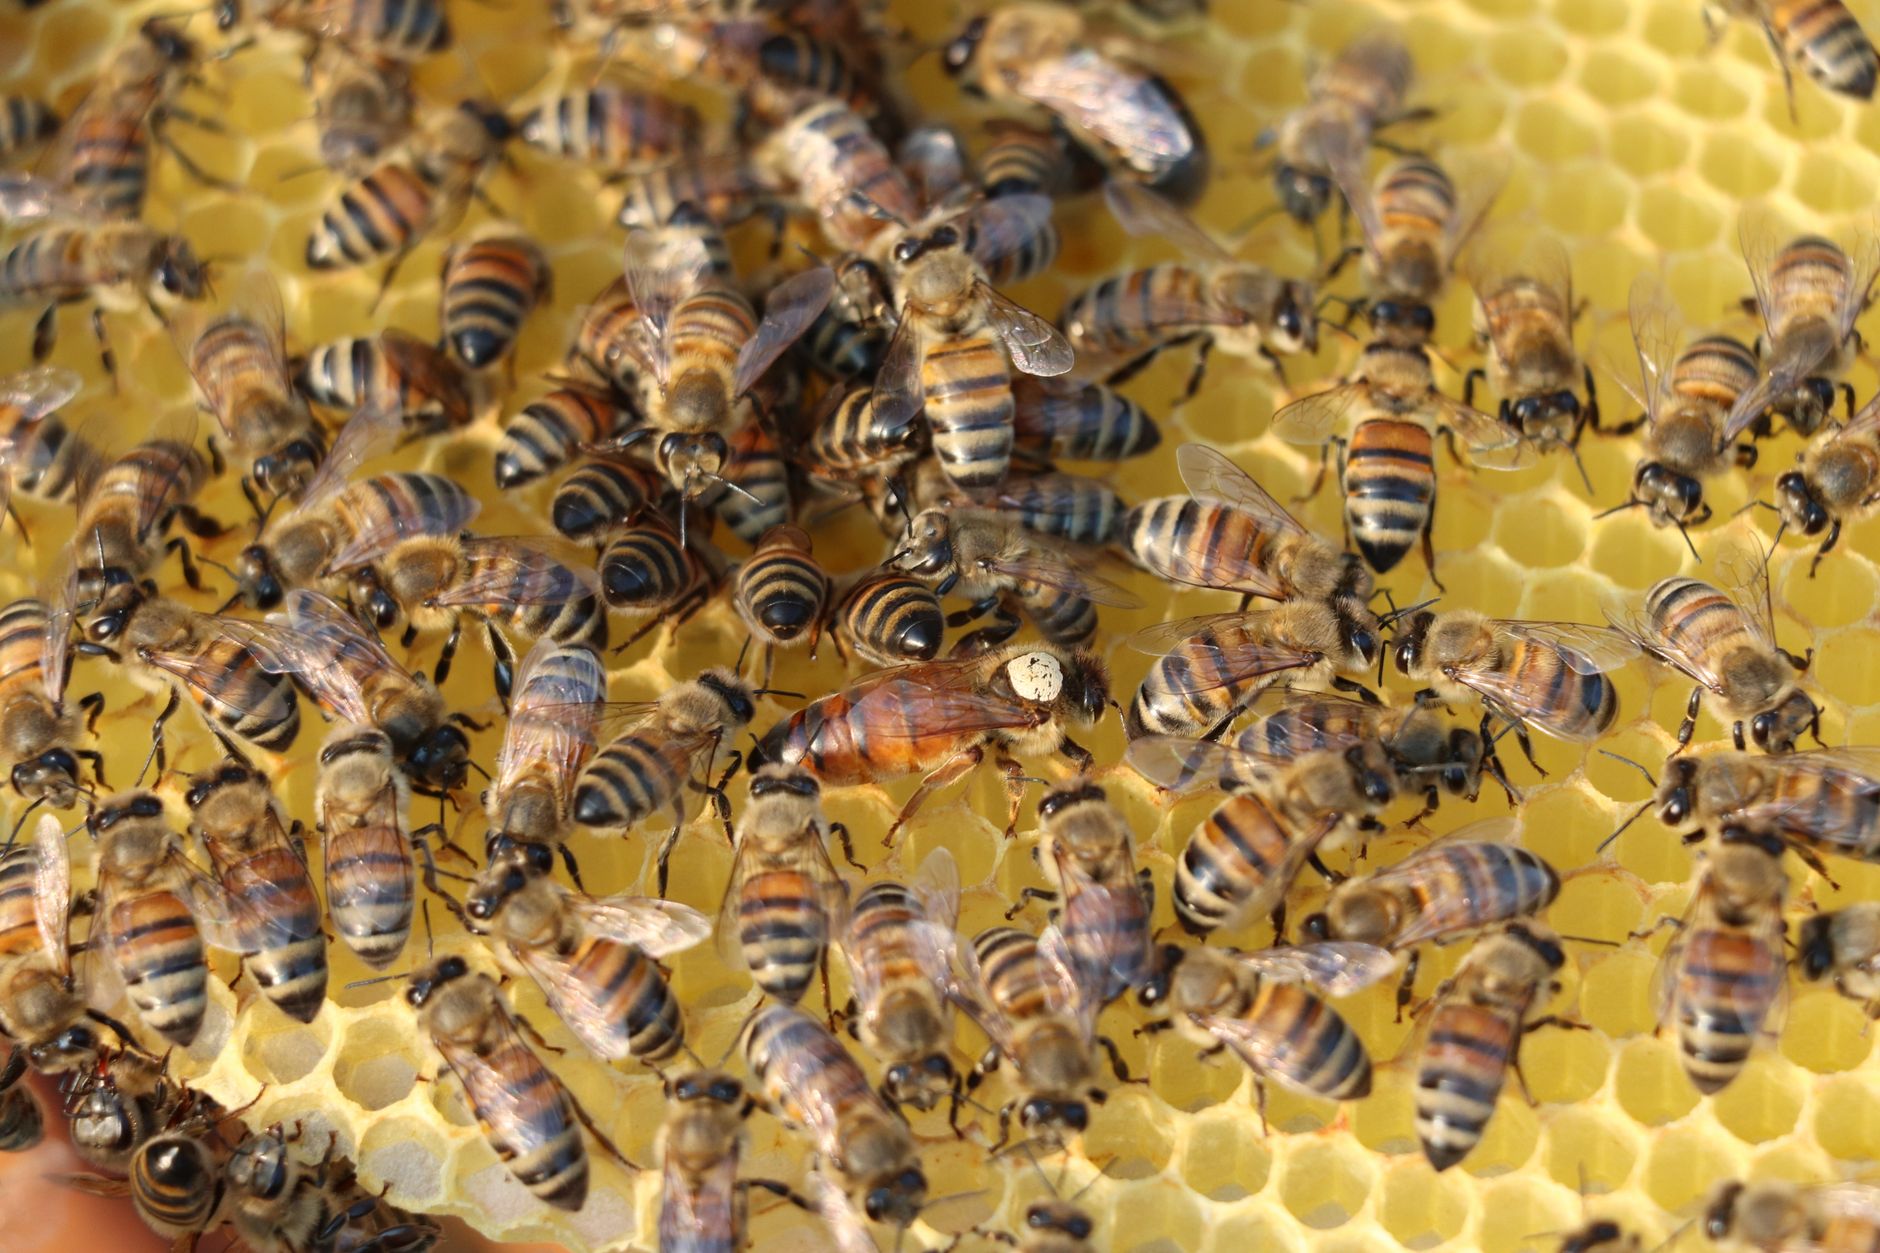
Splitting a beehive is one of the most valuable skills a beekeeper can learn. A split, also called a divide or artificial swarm, creates a second colony from one strong parent. Most healthy colonies build up to 50,000 to 60,000 worker bees during peak season. That growth often triggers swarm preparations. Instead of losing half your bees to a swarm, you can split them on your own schedule. The American Beekeeping Federation explains that colony increase through splits helps beekeepers replace winter losses and reduce swarm pressure. Our swarm prevention guide covers why bees swarm in the first place.
A split works because honey bees reproduce at the colony level. When you move frames of eggs, open brood, and nurse bees into a new box, the queenless half detects the missing queen. Young worker bees then raise emergency queen cells from selected larvae. You can also install a mated queen to speed up the process. Both approaches work well in spring and early summer. If you are still deciding where to get bees or replace losses, read our buying bees guide. It compares packages, nucs, and splits so you understand the options.
Timing matters more than many beginners expect. The parent colony must be strong enough to donate brood and bees without collapsing. You also need enough drones in the air for a new queen to mate well. Most beekeepers split when daytime temperatures stay above 60 degrees Fahrenheit and nectar or pollen is coming in. Before you open the hive, be sure you can identify a queen and spot eggs. Our queen bee identification guide helps you find her without panic. A calm, methodical inspection is the foundation of a successful split.
This guide walks through each step from strength checks to post-split feeding and disease control. You will learn how to build the new box, split brood frames, move the colony, and monitor for a laying queen. We also flag the most common mistakes that lead to weak splits. Use the tool list and image examples throughout to prepare before you open your hives. Splitting is not complicated, but it does require patience and a clear plan.
What You’ll Need
- Second brood box or 5-frame nuc
- Bottom board, inner cover, outer cover
- 10 frames with foundation or drawn comb
- Hive tool
- Smoker
- Protective veil and gloves
- Feeder and 1:1 sugar syrup
- Queen marking cage or clip (optional)
- Queen introduction cage (if installing a queen)
- Pollen patties (optional)
How Do You Split a Beehive?
- Confirm the parent colony is strong and disease-free
Start with a thorough inspection of the parent colony on a warm, sunny afternoon. Worker bees should cover at least 6 to 8 deep frames. Look for a solid brood pattern with eggs, young larvae, and capped brood. A strong colony during spring can hold 50,000 to 60,000 bees. If the hive has fewer than 5 frames of bees or brood, wait two to three weeks before splitting. Splitting a weak colony often produces two weak colonies that struggle to build up.
Check for signs of disease while you inspect. Look for chalkbrood mummies, foulbrood scale, or deformed wings. Varroa mite levels matter here. The Honey Bee Health Coalition notes that a threshold of 2 to 3 mites per 100 bees can require treatment. If your mite load is high, treat the parent colony before you split. Healthy donor bees give the new split a much better start. See our varroa mite treatment guide for options.
Also assess food stores. The parent hive should have at least 3 to 4 frames of honey or stored nectar. A split will rob the parent of bees and brood, so the remaining colony needs resources. If the parent is light on food, feed sugar syrup for a week before you split. Strong stores also help emergency queen cells develop well.
Finally, think about the season. Early spring splits work best after drone brood appears. You want mature drones flying for queen mating. If you split too early, a new queen may mate poorly and fail. Late summer splits are possible, but they need more feeding and protection before winter. Read our common bee diseases and pests guide to learn what to look for during inspection.
- Gather tools and prepare the new equipment
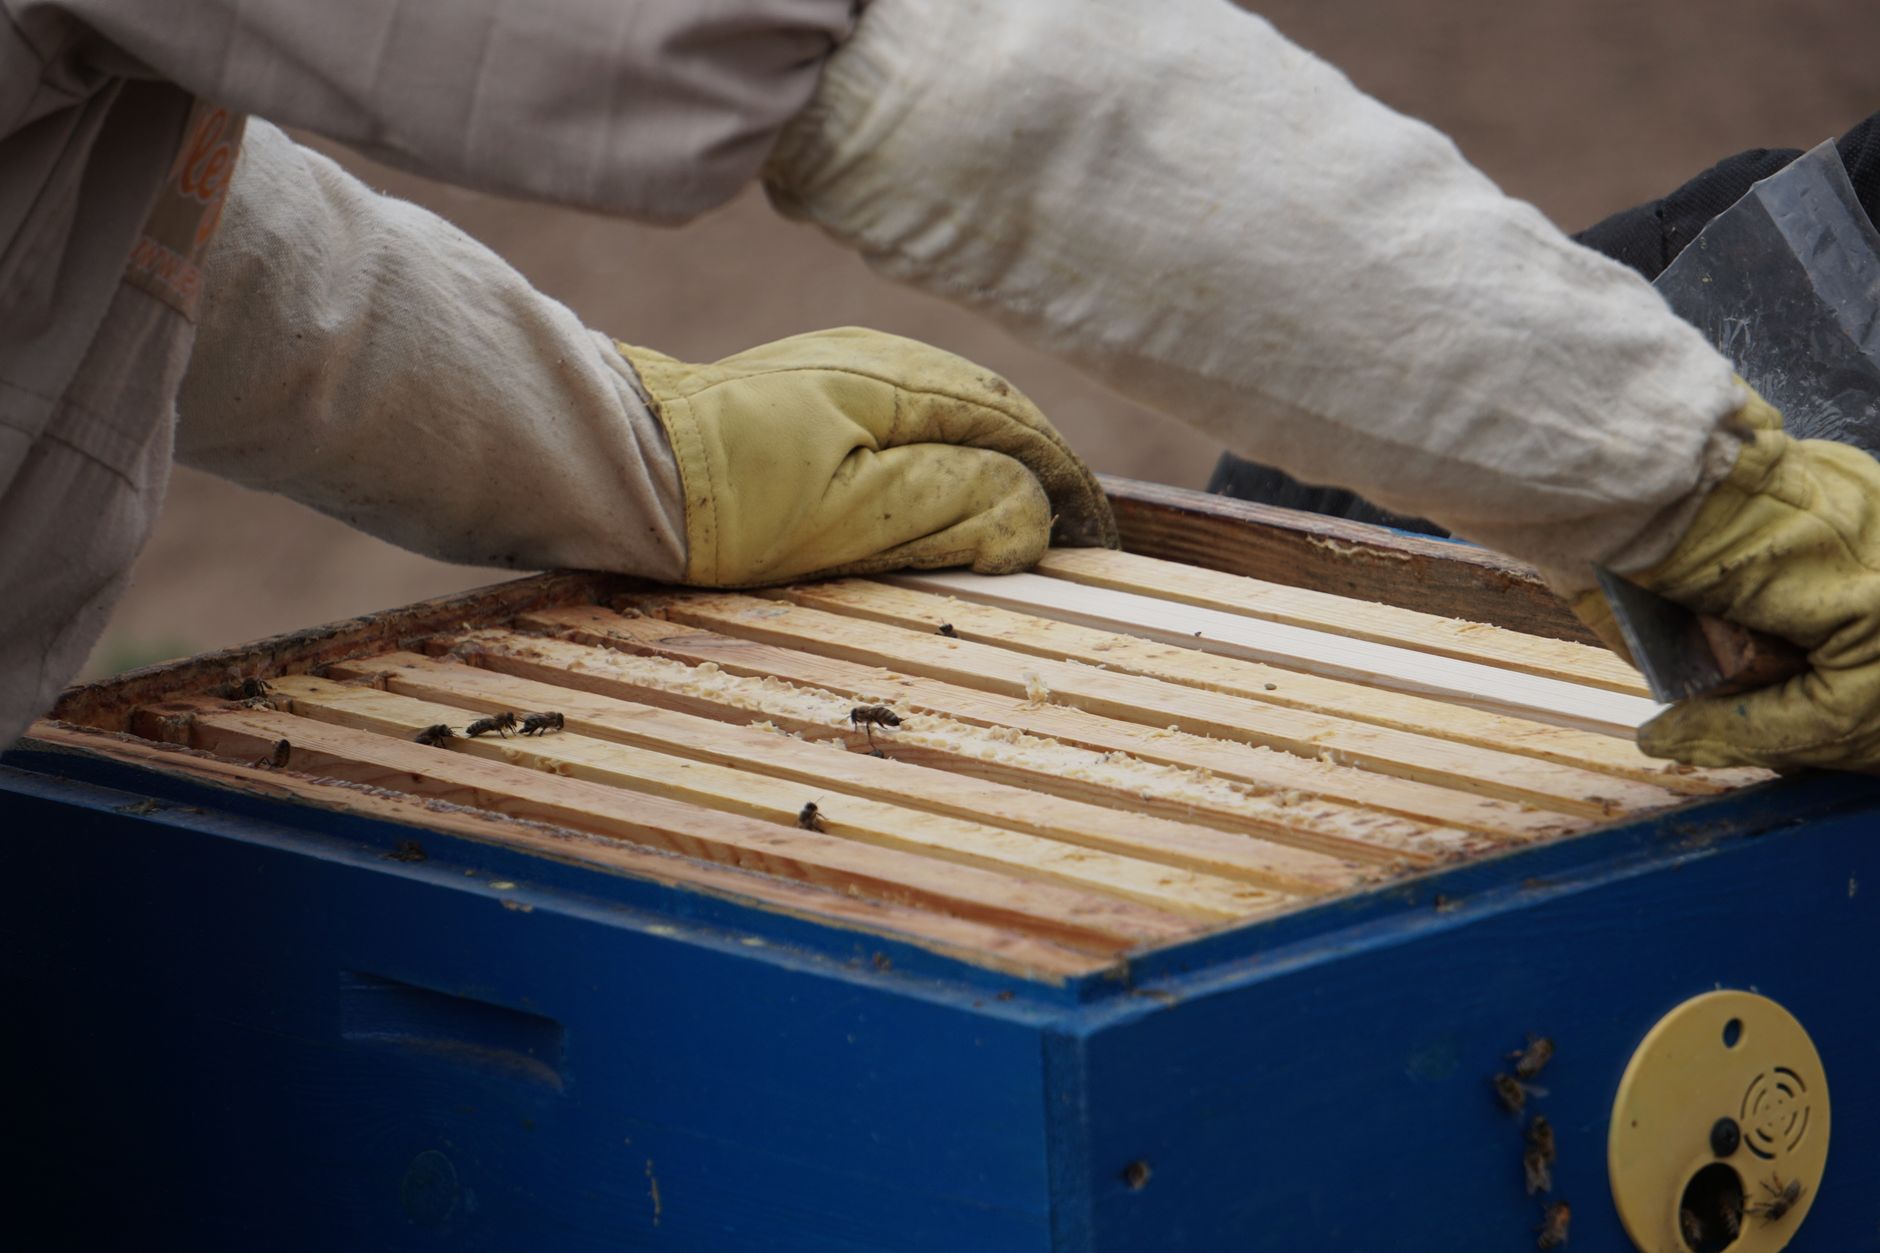
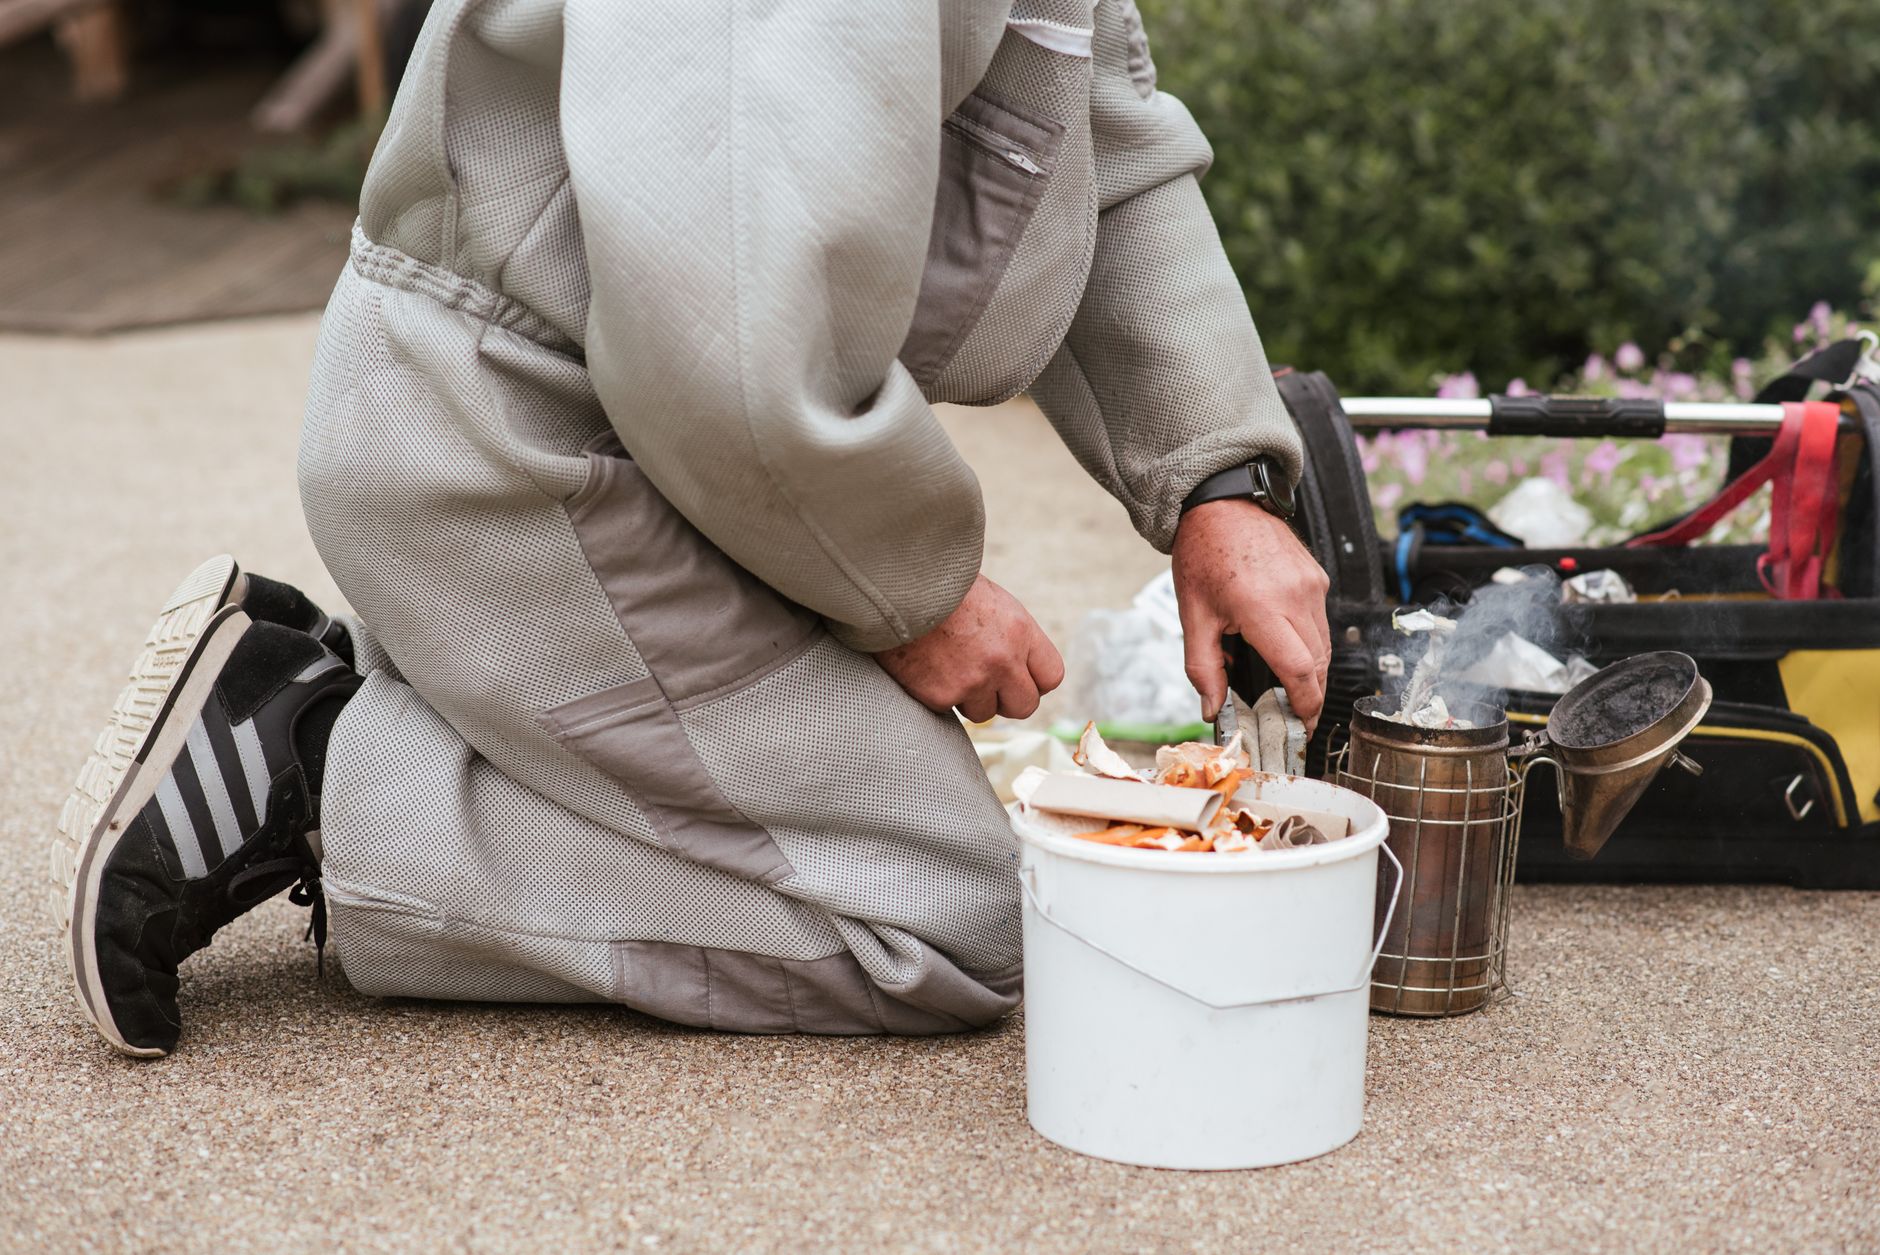
Set up your second hive before you disturb the parent colony. You need a bottom board, a deep brood box, an inner cover, an outer cover, and 10 frames with foundation or drawn comb. Many beekeepers prefer a nuc box for the split. A 5-frame nuc is easier to keep warm and defend. If you use deep equipment, fill empty space with follower boards. See our beekeeping tools and accessories guide for a full checklist.
You also need basic hive tools and protective gear. A sturdy hive tool helps you pry apart propolized frames. Wear a veil and gloves to reduce stings while shaking bees. If you want a full kit, our best beehive starter kits 2026 review covers boxes, tools, and entry-level gear.
Prepare feeders ahead of time. Both the parent hive and the new split will benefit from 1:1 sugar syrup for a few weeks. Have an entrance feeder, frame feeder, or top feeder ready. Pollen patties help during early spring when natural pollen is scarce. Pick a feeder style that matches your equipment.
Place the new box near the parent hive but in a shaded or wind-protected spot. You will move the split later, so keep it close at first. Working on a stand or cinder blocks prevents back strain. Ensure the new bottom board has a reduced entrance to help the smaller colony defend itself. A wide-open entrance invites robbing from stronger hives in the apiary.
- Locate the queen and decide on a split method
You must know where the queen is before you move frames. If you plan to leave the queen in the parent colony, you may not need to find her on every frame. Look for eggs instead. Eggs confirm a laying queen was present within the last three days. If you need to move the queen to the new split, you must find her directly. Use slow, gentle movements and inspect one frame at a time. Our queen bee identification guide shows her shape, color, and movement.
There are two common split methods. The walk-away split leaves the queen in one box and moves frames with eggs to the other. The queenless half raises its own queen from young larvae. This method is simple and requires no queen purchase. The controlled split keeps the queen and adds a mated queen to the queenless half. Some beekeepers prefer this because the new queen starts laying faster.
Decide which method fits your goals. Walk-away splits save money and use local genetics. The downside is a delay of about 3 to 4 weeks before the new queen lays. Controlled splits cost more because you must buy a queen. But they avoid a brood break, which can reduce varroa growth. Read our how to introduce a new queen guide before you buy a queen.
Mark or isolate the queen if you plan to move her. A queen clip or marking cage helps. If you use a walk-away split, simply note which box holds the queen. The queenless box must contain eggs or very young larvae so the bees can rear a new queen. Frames with only capped brood will not work for emergency queen cells.
- Divide brood frames and bees into the new box
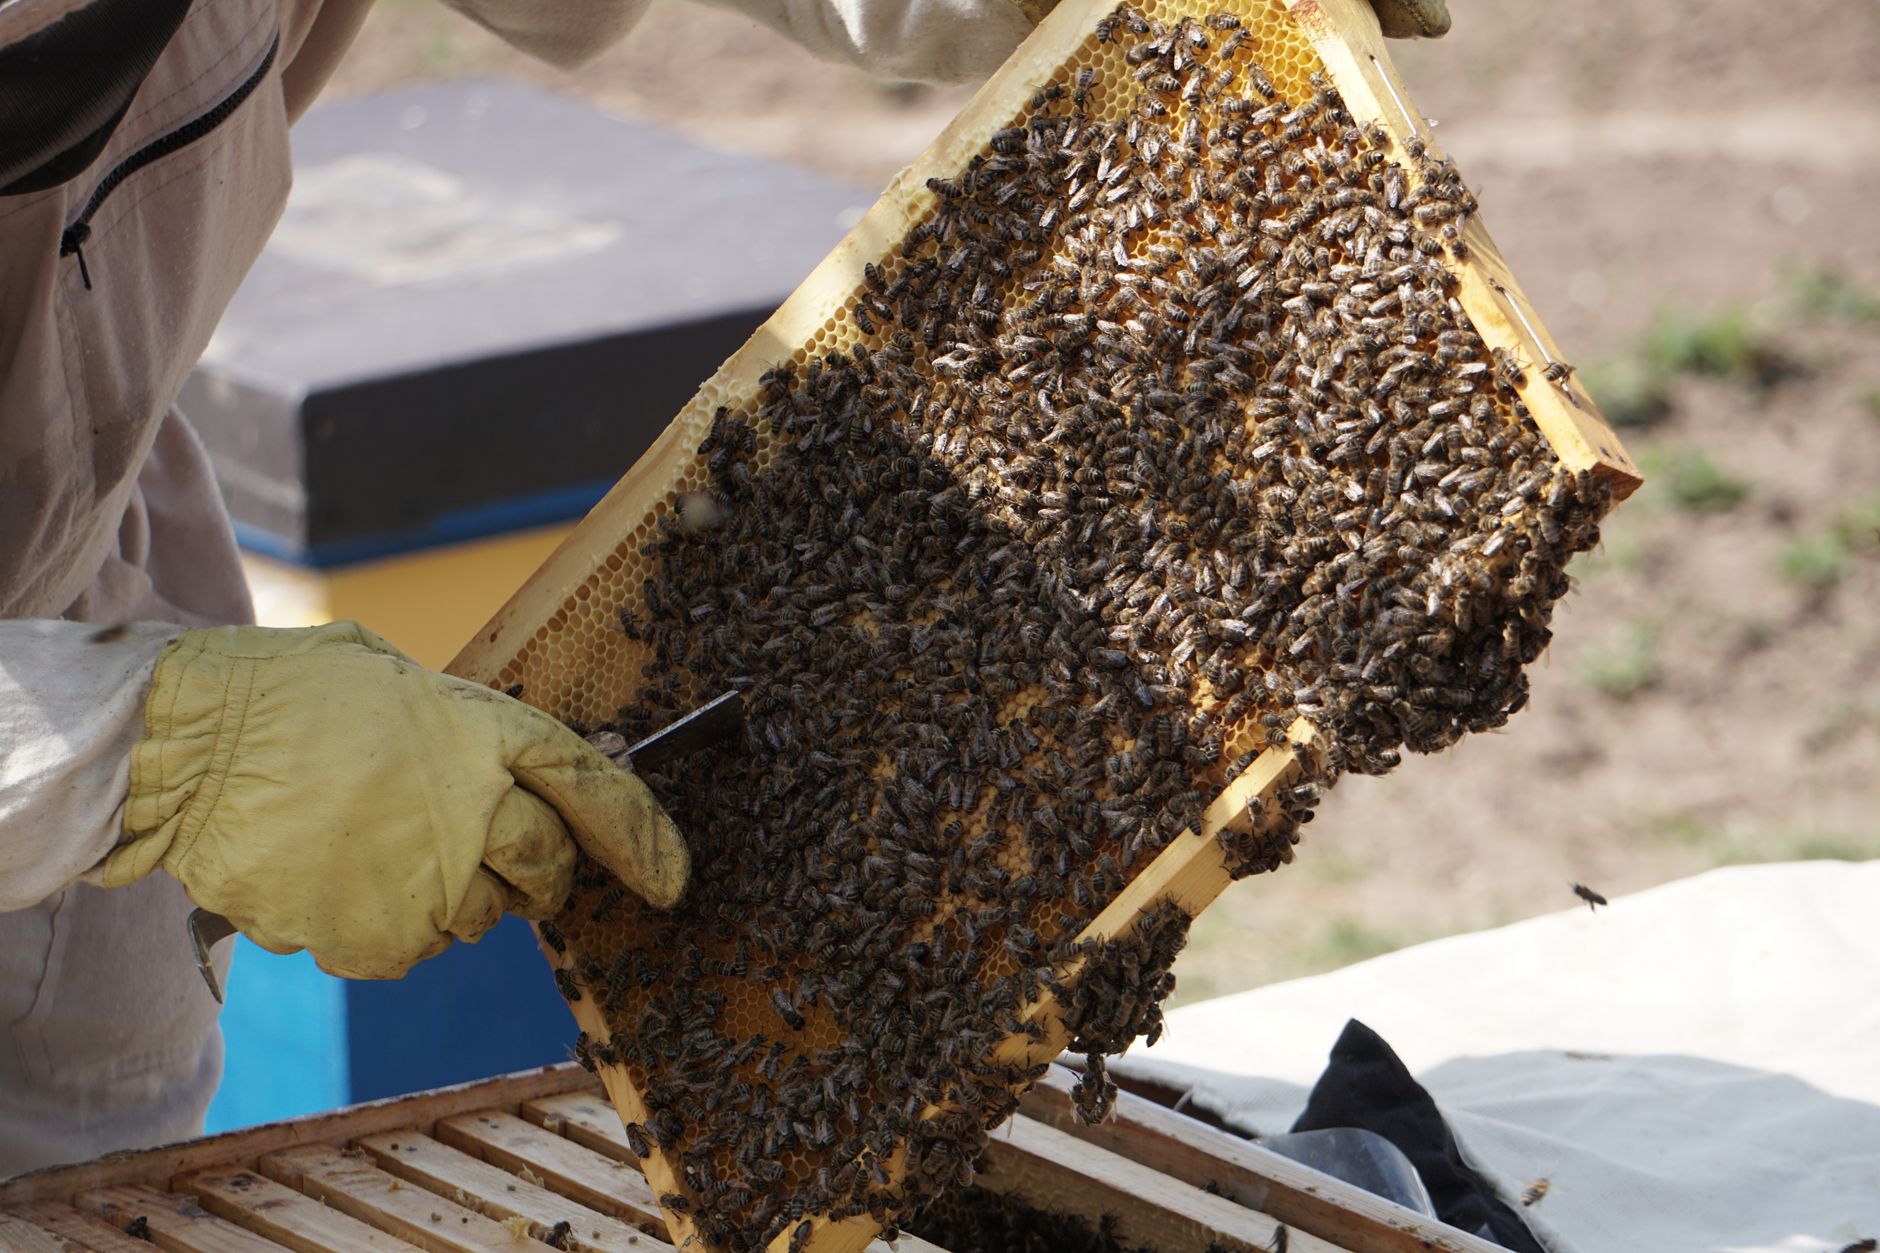
Select 3 to 5 frames from the parent colony for the split. Choose frames with eggs, open brood, and capped brood. Include at least one frame with fresh eggs or larvae less than three days old. The nurse bees on these frames will build queen cells if the split is queenless. Also add one or two frames of honey and pollen. Avoid taking the queen unless that is your plan.
Shake extra nurse bees into the split box. Nurse bees are the young bees clinging to brood frames. They produce royal jelly and accept a new queen more easily than older forager bees. Brush or shake 2 to 3 extra frames of bees into the split to boost its population. Be careful not to shake the queen into the wrong box. If you are unsure, return to the parent hive and check for eggs later.
Fill the rest of the new box with empty frames or drawn comb. Drawn comb gives the split a head start, but foundation works. Arrange brood frames in the center and food frames on the outside. Keep the brood nest tight. A small split struggles to keep brood warm if frames are spread out. Reduce the hive entrance to about 1 inch so the colony can defend against robbers.
Take notes as you work. Record which frames came from where and whether you saw the queen. If you are using the walk-away method, mark the queenless box. Later inspections will be much easier with good records. See our how to do a hive inspection guide for log sheets and inspection tips.
- Move the split and reduce drifting
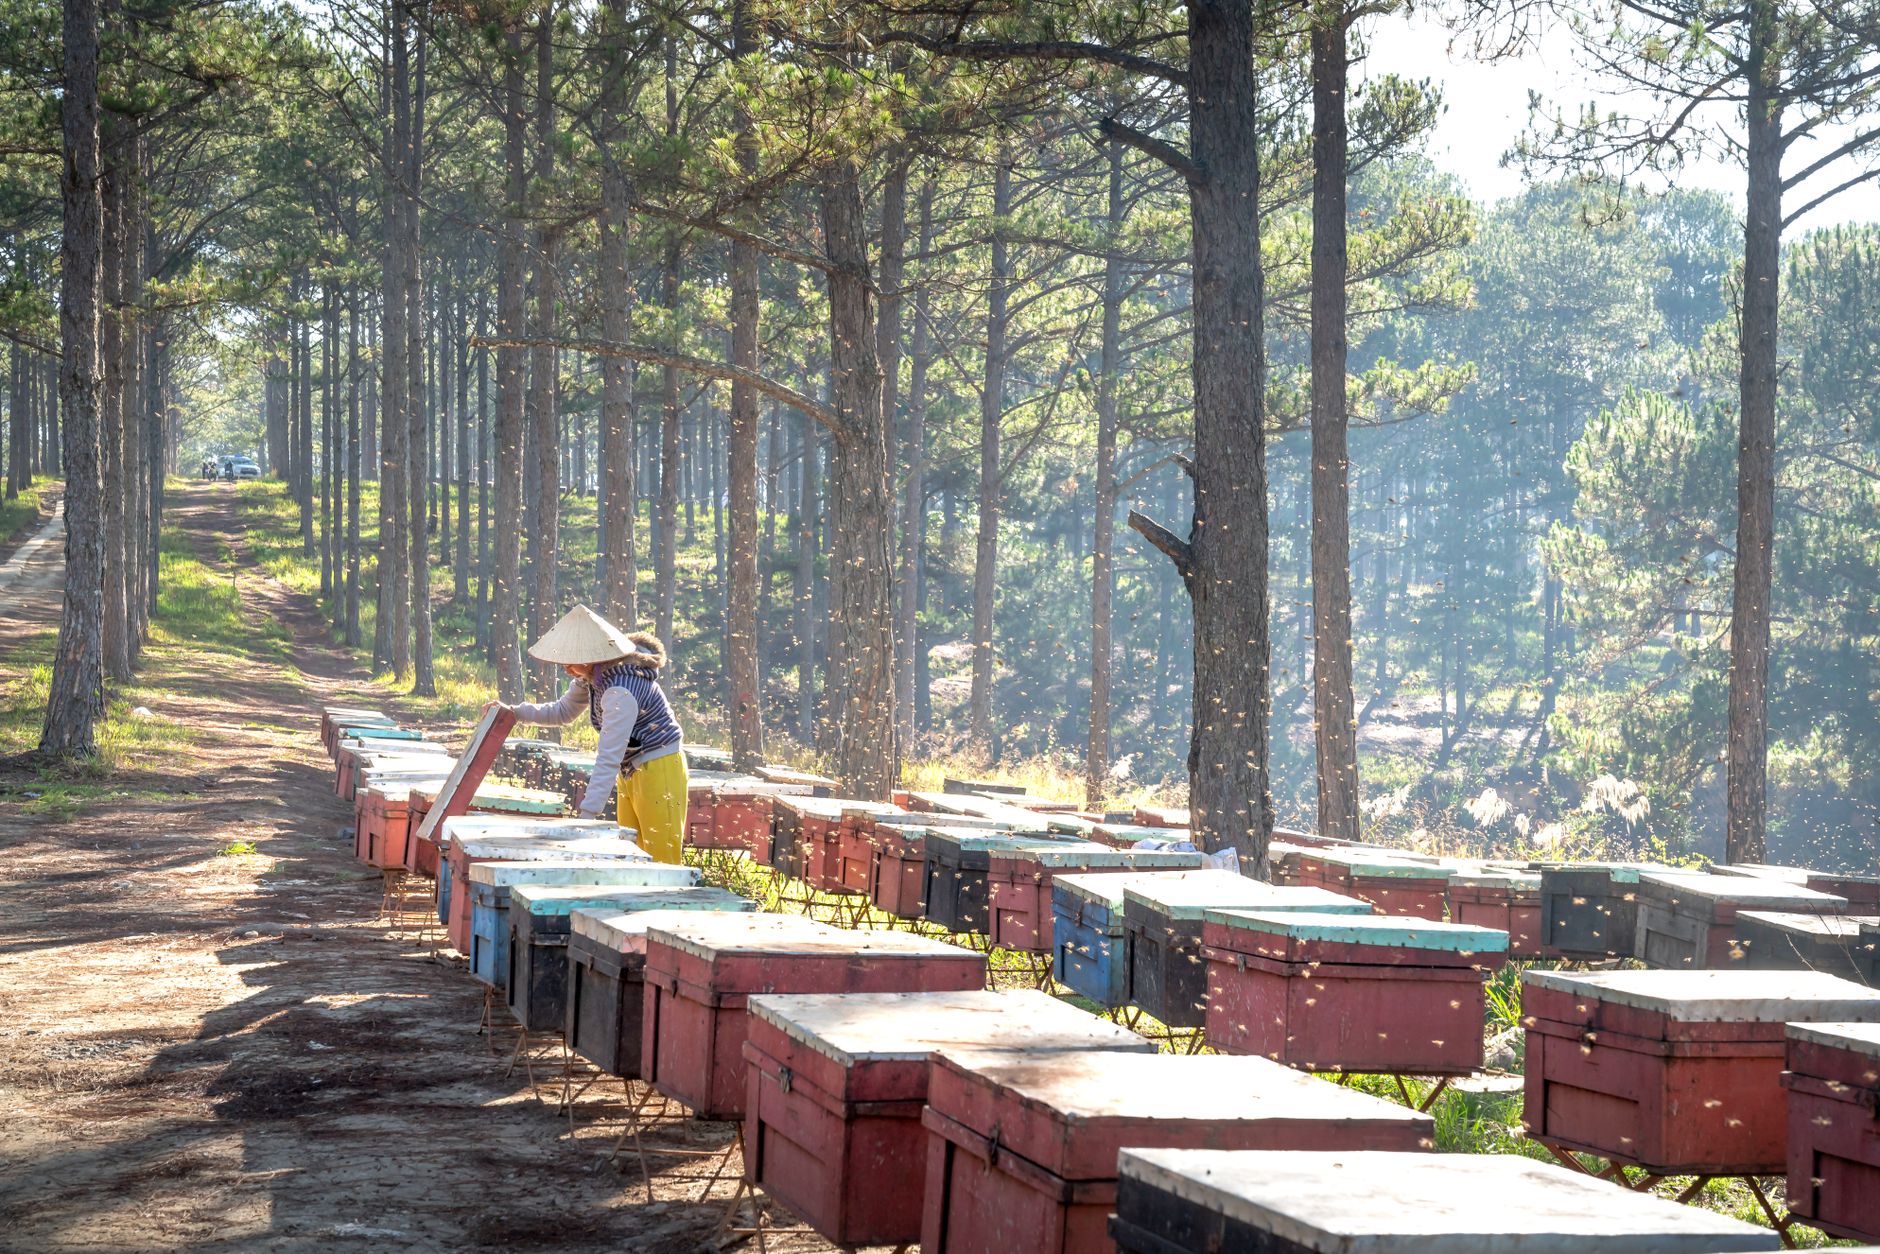
After the split is built, move it to its final location. If the new location is within the same apiary, place it at least 3 feet from the parent. Bees orient to the exact hive location, so close placement causes foragers to drift back to the old hive. You can also move the split to a new apiary at least 2 miles away. That distance forces all field bees to reorient to the new spot.
For same-apiary splits, block the entrance loosely with grass or a branch for one night. This encourages the bees to reorient the next morning. Some beekeepers swap hive positions between splits to equalize forager drift. Forager bees returning to the parent location will enter whichever box is there. This can boost a weak split, but it also confuses the queen if you are not careful. Use this technique only with queenright splits.
Feed the new split immediately. A small colony burns energy to build comb, rear brood, and regulate temperature. 1:1 sugar syrup is the standard spring feed. Pollen patties help if natural pollen is low. Place the feeder at the top or inside the hive to reduce robbing. A split with 3 to 4 frames of bees can consume a quart of syrup every few days. Check the feeder every three days during the first two weeks.
Monitor the entrance for signs of robbing or drifting. Fighting bees, wax cappings on the landing board, and bees trying to enter through cracks are red flags. Reduce the entrance further if robbing starts. A healthy split will show orientation flights by day three. Young bees circle the entrance and learn the location. After a week, you can remove the grass blocking the entrance. For more on orientation flights and swarming behavior, read our bee swarm guide.
- Feed both colonies and monitor acceptance
Both the parent colony and the split need steady food after the split. The parent lost bees and brood, so it may build up slower. The split has fewer foragers and depends on stored food and syrup. Feed both for at least two to three weeks. Stop feeding only when nectar flows are strong and frames show nectar coming in.
Check the split for queen acceptance if you installed a mated queen. Leave the queen cage in place for three days. After that, inspect the cage. If the candy plug is chewed and workers are not balling the queen, she is likely accepted. If bees are tightly balling her, remove her and check for queen cells. Our how to introduce a new queen guide covers release timing in detail.
For walk-away splits, do not open the hive for the first seven days. The bees need quiet to build queen cells. Disturbance can cause them to abandon cells or chill brood. After one week, you can gently check for queen cells on the frames with eggs. Look for peanut-shaped cells hanging from the comb. Do not shake frames hard. You can easily damage developing queens.
Watch for queenlessness in both halves. A queenless colony becomes nervous and loud. You may see no eggs after two weeks or multiple emergency queen cells. If no queen cells appear, you can add a frame of young eggs from another hive. This gives the bees another chance to raise a queen. Common split failures come from poor feeding, cold shock, or opening too often. Our beekeeping mistakes beginners guide lists more.
- Check for queen cells and new laying pattern
Seven to ten days after the split, inspect the queenless half for capped queen cells. A good split may produce several queen cells. Leave the two largest, well-shaped cells. Remove extra cells if you want to prevent after-swarms. Bees often make too many cells, and the first queen to emerge may leave with a small cast swarm. Cutting extra cells reduces that risk.
Use a gentle touch when handling frames with queen cells. Queen cells are fragile, especially near the cap. Keep them vertical and avoid jarring the frame. If a queen cell is damaged, the colony may fail. After the first queen emerges, she may tear down remaining cells herself. You do not need to remove all cells in every case, but many beekeepers prefer to keep only one or two strong cells.
Three to four weeks after the split, look for eggs and young larvae. A mated queen usually begins laying within 10 to 14 days after emergence. The pattern may be patchy at first. By week five, it should become solid and consistent. If you see only drone brood or scattered cells, the queen may have mated poorly. You can replace her with a mated queen or combine the split back with a strong colony.
During these checks, evaluate the bees’ behavior. A calm, steady hum is normal. A high-pitched, anxious roar can mean queenlessness. You can also place a frame of young eggs in to test. If the bees build queen cells on it, they are queenless. If they ignore it, a queen is present. Our common bee diseases and pests guide can help you rule out disease if brood looks poor.
- Manage varroa and disease after the split
New splits are vulnerable to varroa mites because they have less brood and fewer bees to tolerate mites. The Honey Bee Health Coalition recommends monitoring mite levels monthly during the active season. A common action threshold is 2 to 3 mites per 100 bees, but local recommendations vary. Use an alcohol wash or sugar roll to get a reliable count. Do not guess based on visible mites alone.
If mite counts exceed the threshold, treat both the parent and the split. Newly mated queens create a brood break, which can suppress mite reproduction. But mites from the parent frames can still overwhelm a small split. Treatments like formic acid, oxalic acid, or thymol work when temperatures and hive conditions match the label. See our varroa mite treatment guide for timing and safety.
Watch for brood diseases during the first month. A split with a failing queen may show spotty brood, chalkbrood, or sacbrood. Remove any frames with heavy disease. If you see American foulbrood signs, contact your state apiary inspector. Most states require reporting. Healthy brood frames from strong colonies rarely carry active foulbrood, but never transfer frames from a colony with a known infection.
The goal is to build both colonies to at least 6 frames of bees by the end of the season. If the split remains small by late summer, consider combining it with the parent or another strong colony before winter. Small colonies can survive, but they need more insulation and feeding. Our how to winterize beehives guide explains how to prepare weak colonies for cold months.
Red Flags & Warnings
- 🚨 Do not split a colony with fewer than 5 frames of bees or brood. Weak splits starve, chill, and fall to robbing.
- 🚨 Never move queen cells roughly. A damaged queen cell can kill the developing queen and doom the split.
- 🚨 If you treat for varroa, read the label twice. Some miticides cannot be used with honey supers on.
- 🚨 Do not open a walk-away split during the first seven days. Frequent disturbance can cause bees to abandon queen cells.
- 🚨 Do not add a new queen to a split that already has emergency queen cells. The workers may kill the introduced queen.
Frequently Asked Questions
When is the best time to split a beehive?
Spring and early summer are best, after drone brood appears and daytime temperatures stay above 60 degrees Fahrenheit. The parent colony should be strong and nectar should be coming in. Late summer splits can work, but they require more feeding and winter preparation.
Can I split a hive without finding the queen?
Yes. The walk-away split only requires frames with eggs or very young larvae. You can note which box has eggs after the split. If both boxes have eggs after a few days, the queen is in that box.
How long does it take a split to raise a new queen?
A queenless split builds emergency queen cells within one to two days. The new queen emerges around day 15 to 16. She mates and begins laying about 7 to 10 days later, so expect eggs roughly 3 to 4 weeks after the split.
Will splitting reduce my honey harvest?
Yes. Both colonies spend energy rebuilding brood and comb. A strong parent that produced 80 pounds may produce 30 to 40 pounds after a split, while the new split may produce little honey that season. Splitting is for colony increase, not maximum honey.
Should I buy a queen or let the bees raise their own?
Both work. Walk-away splits using local queens cost less and adapt to your climate. Buying a mated queen speeds up laying and gives known genetics. Choose based on your budget, goals, and willingness to wait.
How do I know if my split is queenless?
After three weeks, look for eggs. If there are no eggs, insert a frame with young eggs from another hive. If bees build queen cells on it, they are queenless. High-pitched, nervous buzzing is another clue, but the egg test is more reliable.
What Should You Remember?
- Colony strength first: Only split a hive with 6 to 8 frames of bees and brood. Weak splits rarely recover.
- Walk-away method: Let the queenless half raise emergency queen cells from eggs or young larvae.
- Controlled split: Install a mated queen to reduce the wait and control genetics.
- Feed both halves: Give 1:1 sugar syrup and pollen patties for at least two to three weeks.
- Reduce entrances: A small split needs a small entrance to defend against robbing and wasps.
- Check for eggs: Around week four, eggs and a solid pattern confirm the split is queenright.
This article is for general information only and is not veterinary or legal advice. Beekeeping is regulated in most regions and involves live animals with their own health needs , always follow local regulations and best practices, and consult a qualified apiarist, extension service, or veterinarian for bee-health or disease concerns.