You have kept your colony alive through inspections and now you see heavy frames. Harvesting honey for the first time can feel intimidating, but the process is manageable if you move slowly and pay attention to moisture and bee behavior. This guide walks through the full extraction path, from checking capped frames to bottling clean honey. If you are still building your first hive, revisit complete beginners guide to starting your first honey beehive before harvest day.
Honey harvest is not only about pulling frames. It is a harvest of surplus that bees spent millions of flower visits to produce. A single honey bee produces about 1/12 teaspoon of honey in her lifetime, so a full super represents enormous colony effort. Your job is to take only what the colony can spare and protect the bees from stress and robbing.
The first rule is simple. Harvest capped honey only. When bees ripen nectar, they fan it below 18 percent water and seal each cell with wax. Uncapped honey can ferment after extraction. Experienced beekeepers wait until 80 to 90 percent of frames in the super are capped before removing them. That one check prevents most beginner problems.
This guide covers the decisions, equipment, and cleanup. It also includes warnings about moisture, pests, and winter stores. Check regional guidance from your state extension service before harvest because local nectar flows change timing.
What You’ll Need
- Hive smoker
- Bee brush or fume board
- Uncapping knife or fork
- Honey extractor
- Food-grade buckets
- Double strainer or nylon filter
- Bottling bucket with honey gate
- Clean jars and lids
How Do You Harvest Honey for the First Time?
- Check the hive before you pull a single frame
Start with a morning inspection when foragers are active. Use a hive tool and smoker from your how to do a hive inspection routine. Look for a strong queen, brood in all stages, and no signs of American foulbrood or heavy varroa. A colony that is weak, queenless, or heavily mite infested should not be stripped of honey stores. Treat or requeen first, then harvest later if appropriate.
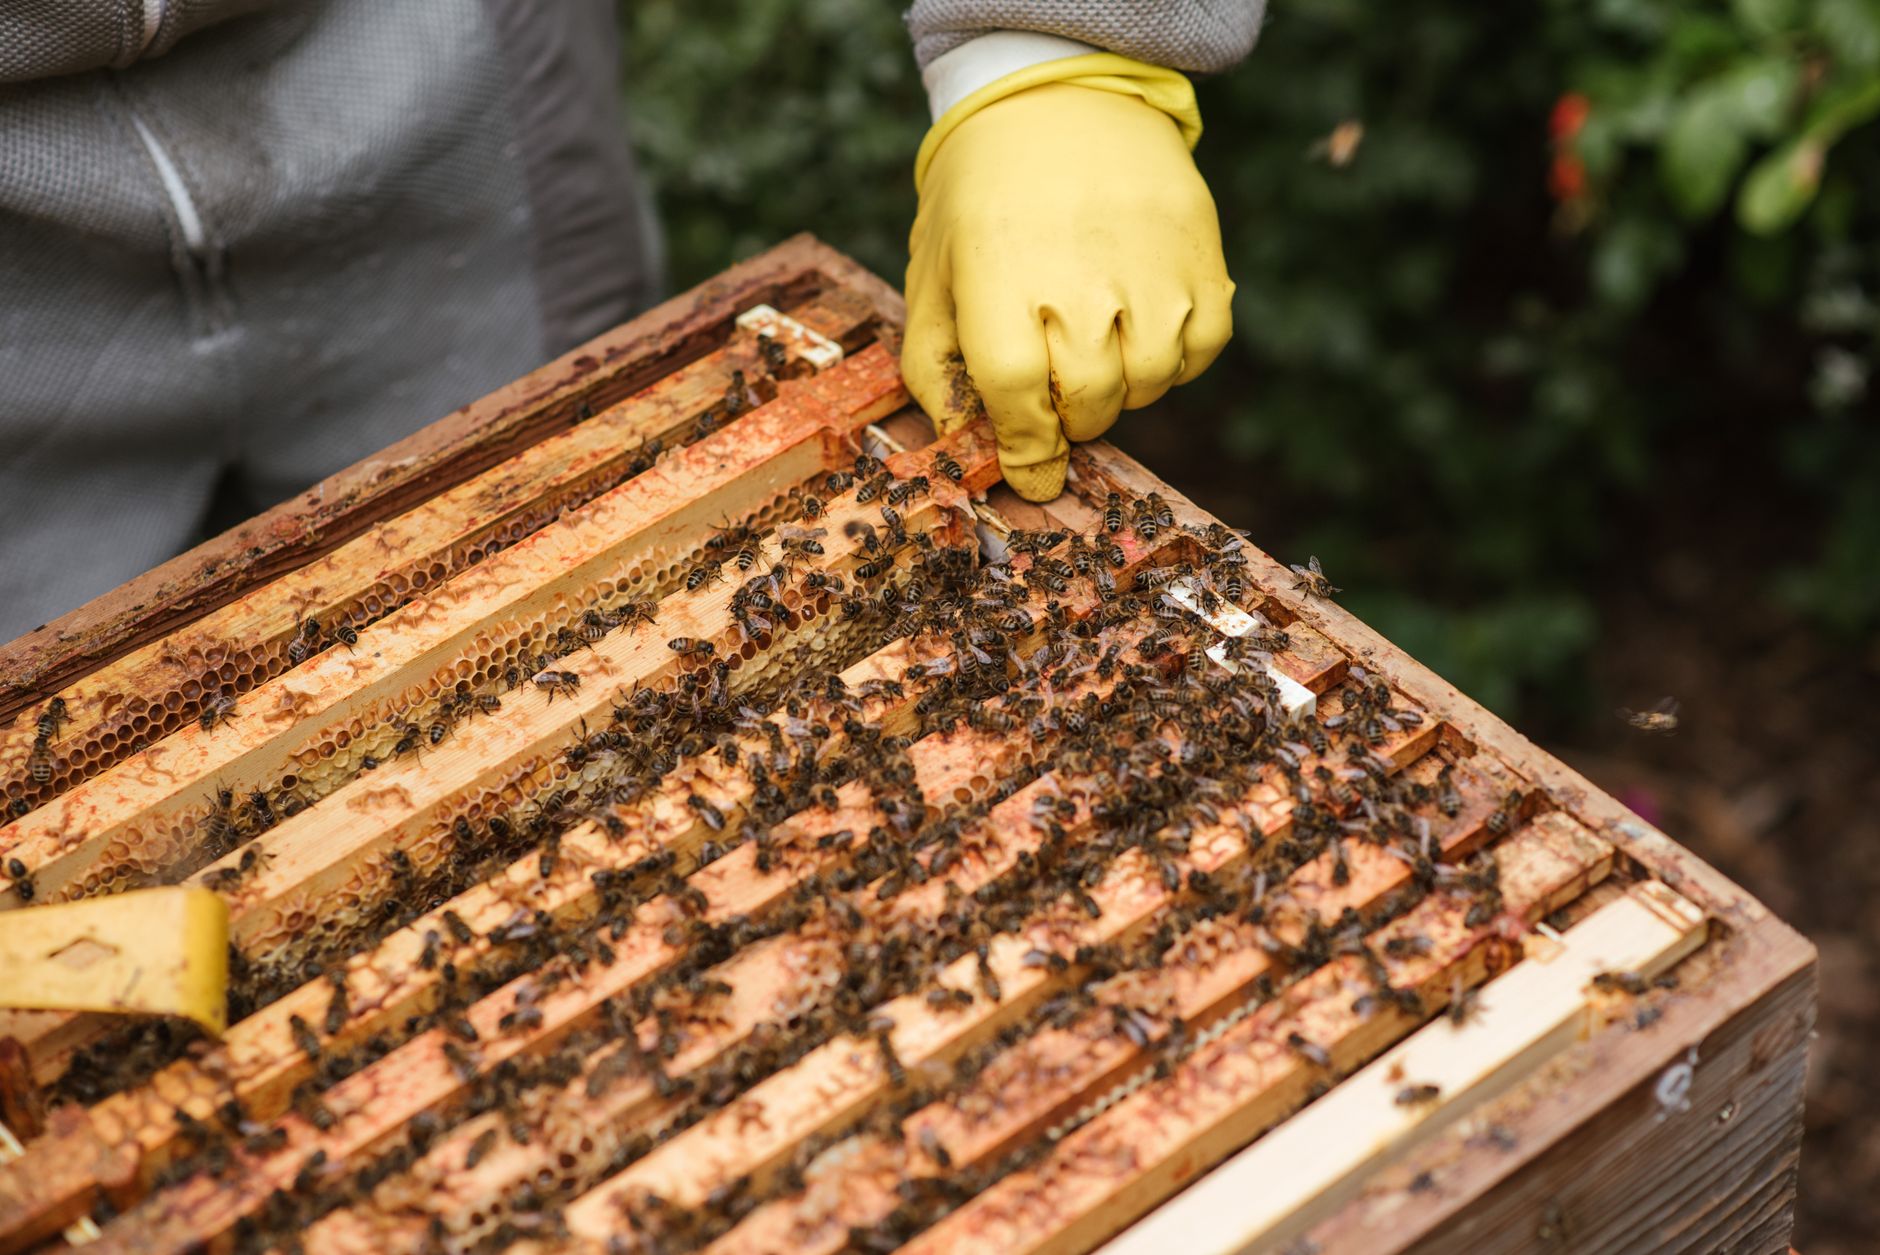
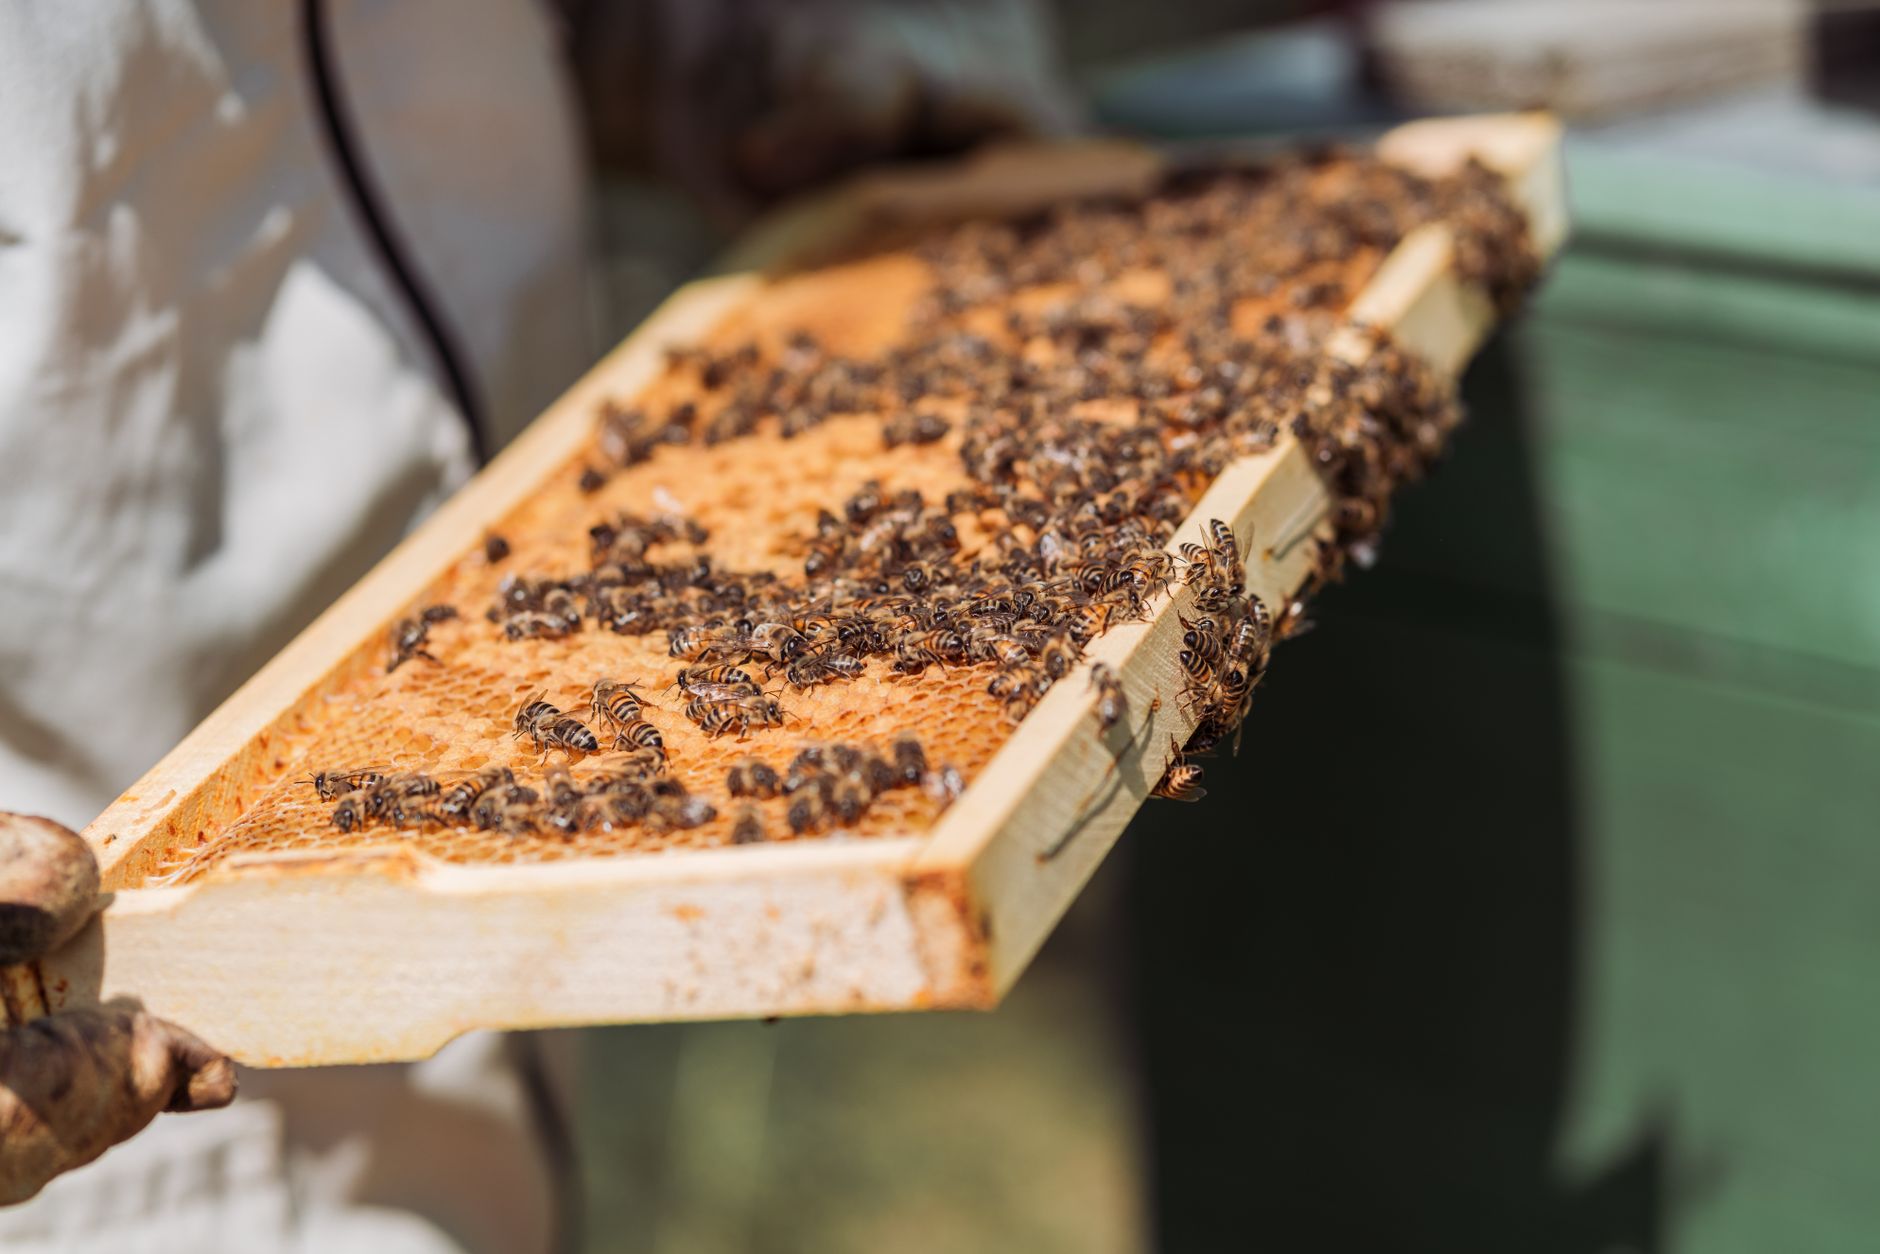
Next, pull an outside frame from the top honey super. Hold it with the frame lugs level. Check the cap pattern. Capped cells look creamy white or light tan and are slightly domed. If 8 or 9 out of 10 cells are capped on both sides, that frame is ready. This 80 to 90 percent cap rule is one of the most reliable harvest checks.
If many frames are still uncapped, wait five to seven days and check again. During a strong flow, bees can cap a super quickly. In a slow flow, wait longer. Your local state extension office can provide regional nectar flow calendars. University Extension Services publishes dates for clover, basswood, and goldenrod. Aligning harvest with those windows prevents pulling unripe honey.
Also check colony stores below the excluder. You must leave enough for the bees. In northern states, a healthy colony needs 60 to 90 pounds of honey for winter. In warmer regions, the amount may be lower. Never take every frame from the brood nest. This connects to the next step because the equipment you gather depends on how many frames you plan to pull.
- Set up a clean extraction area before the bees notice
Harvest is sticky. Pick a warm, dry day if possible. Work indoors or in a screened area where bees cannot get in. A kitchen works for small harvests, but a garage with a washable floor is better. Cover surfaces with plastic sheeting or damp towels. Honey drips will happen.
You need a hive tool, bee brush or fume board, and a smoker to clear bees. For extraction, gather an uncapping knife or fork, a food-grade tub, a honey extractor, and a 5-gallon food-grade bucket with a double strainer. If you do not own an extractor, many local beekeeping clubs rent one. Buying a small two-frame manual extractor can work for one or two hives.
Wash every piece that will touch honey with warm soapy water and rinse well. Do not use bleach on porous plastic. Honey is acidic and hygroscopic, so clean gear matters. Set up bottles, lids, and a bottling bucket with a honey gate. Having everything in place reduces time with supers exposed to robbing bees.
- Move bees out gently with a brush, fume board, or escape board
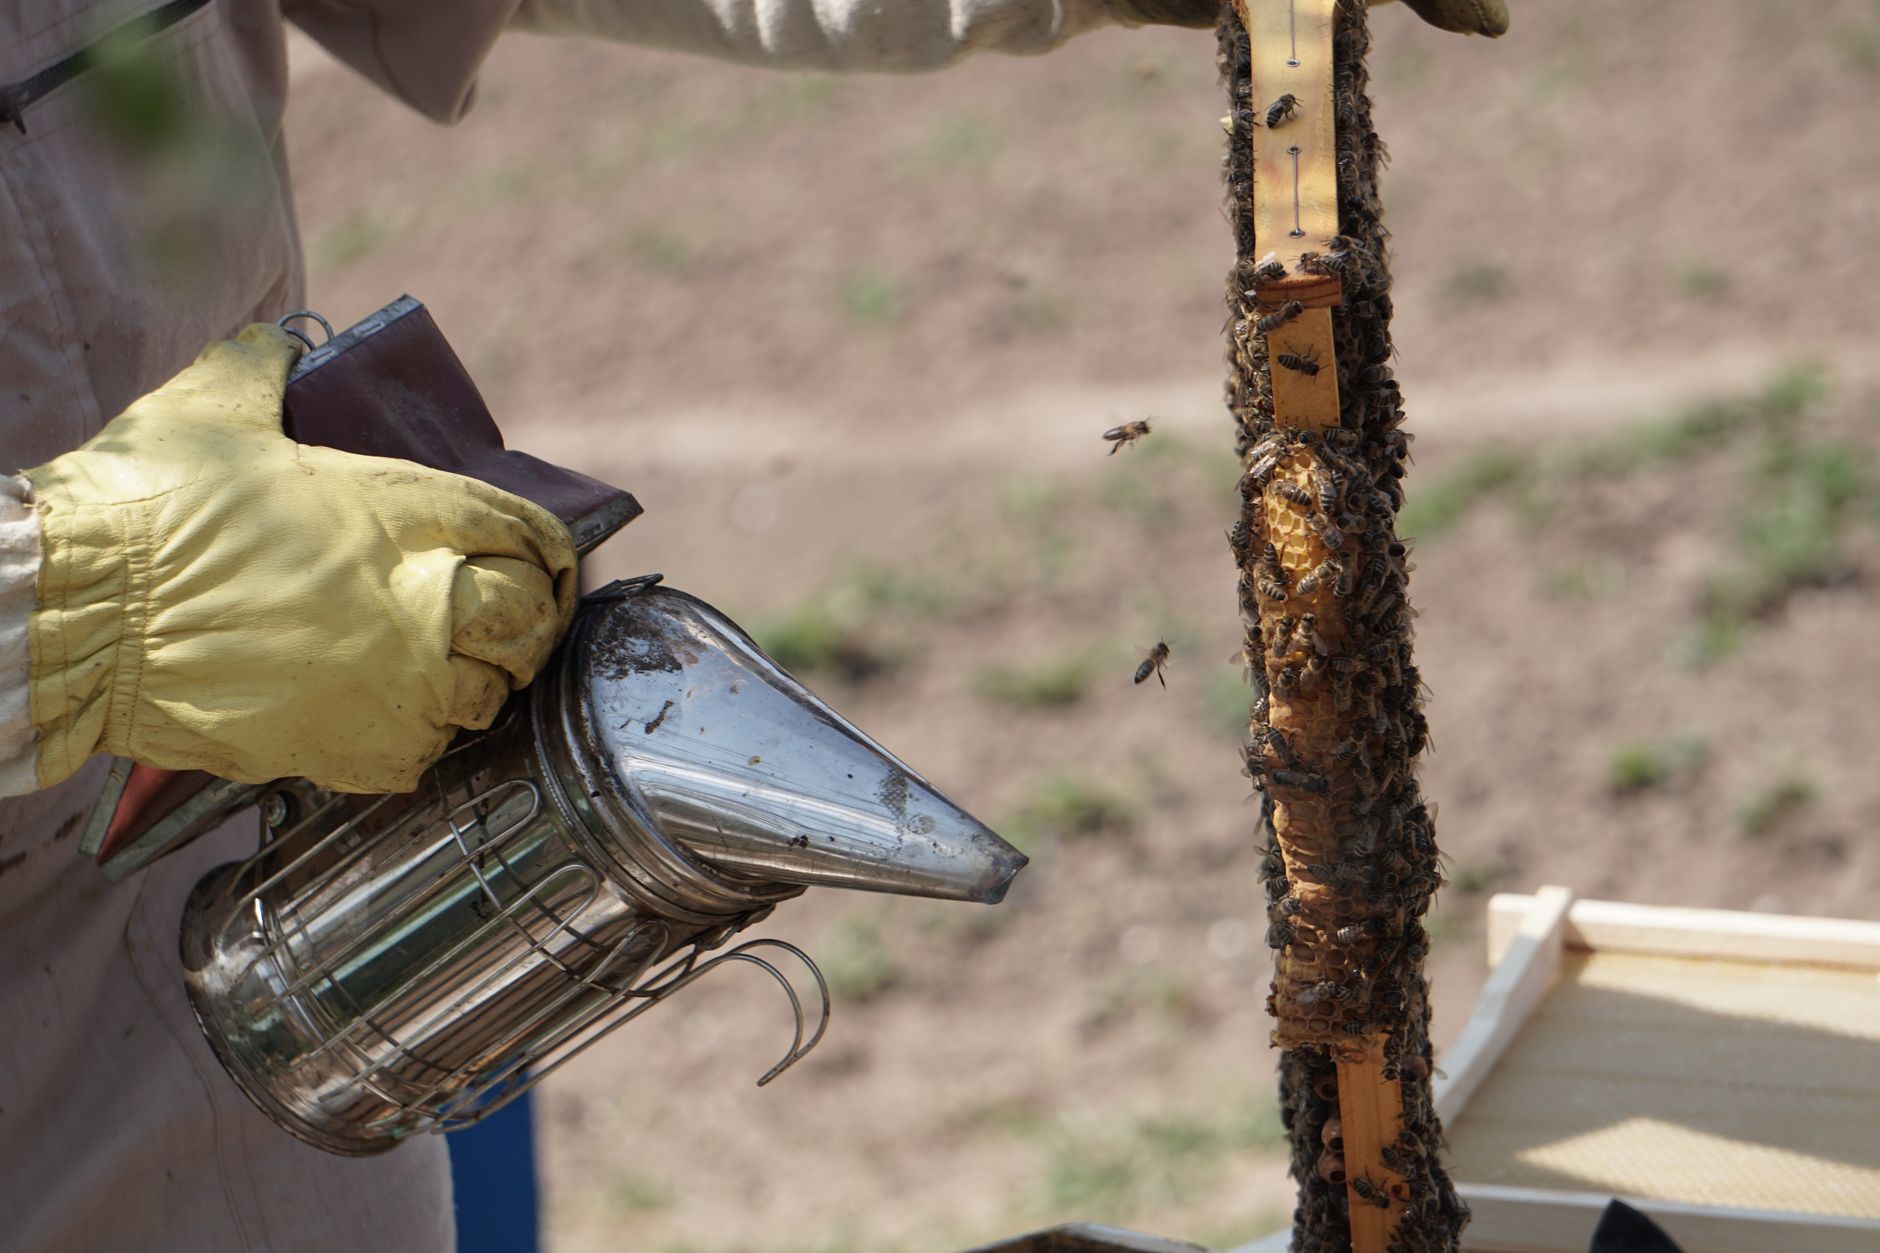
Bees do not voluntarily leave honey frames. You need a calm removal method. A bee brush works for a few frames, but brushing every frame is slow and annoys bees. A fume board with a mild repellent like Fischer’s Bee-Quick is faster. Place it on top of the super and wait five to ten minutes. Follow label directions exactly.
An escape board is a slower alternative that requires no chemical odor. It fits between brood boxes and honey supers. Bees exit through a one-way maze but cannot return. Place it 24 to 48 hours before pulling supers. This method works best when nights are cool and the colony is not boiling over with bees. You can find more on smoke and fume boards in our beekeeping tools accessories guide.
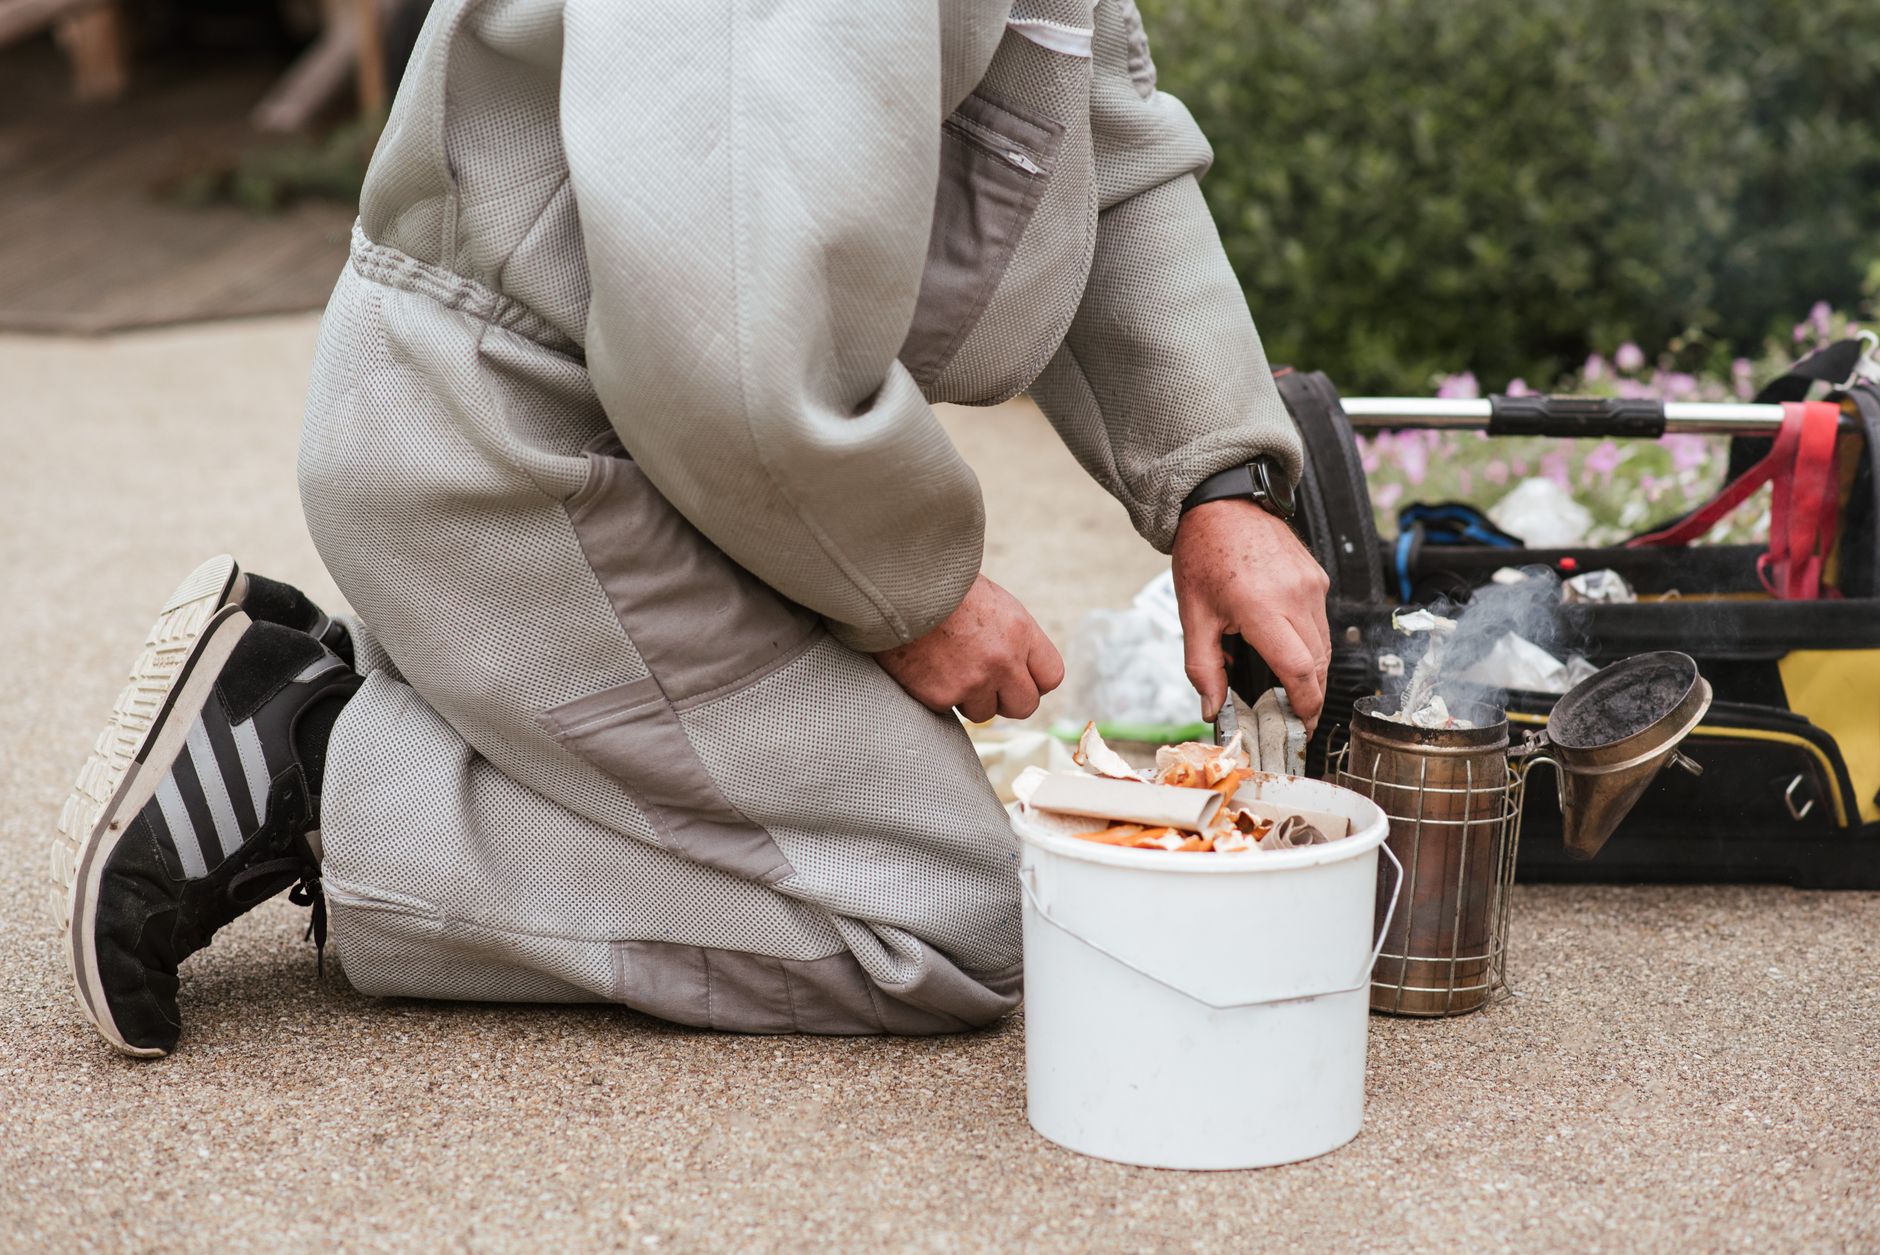
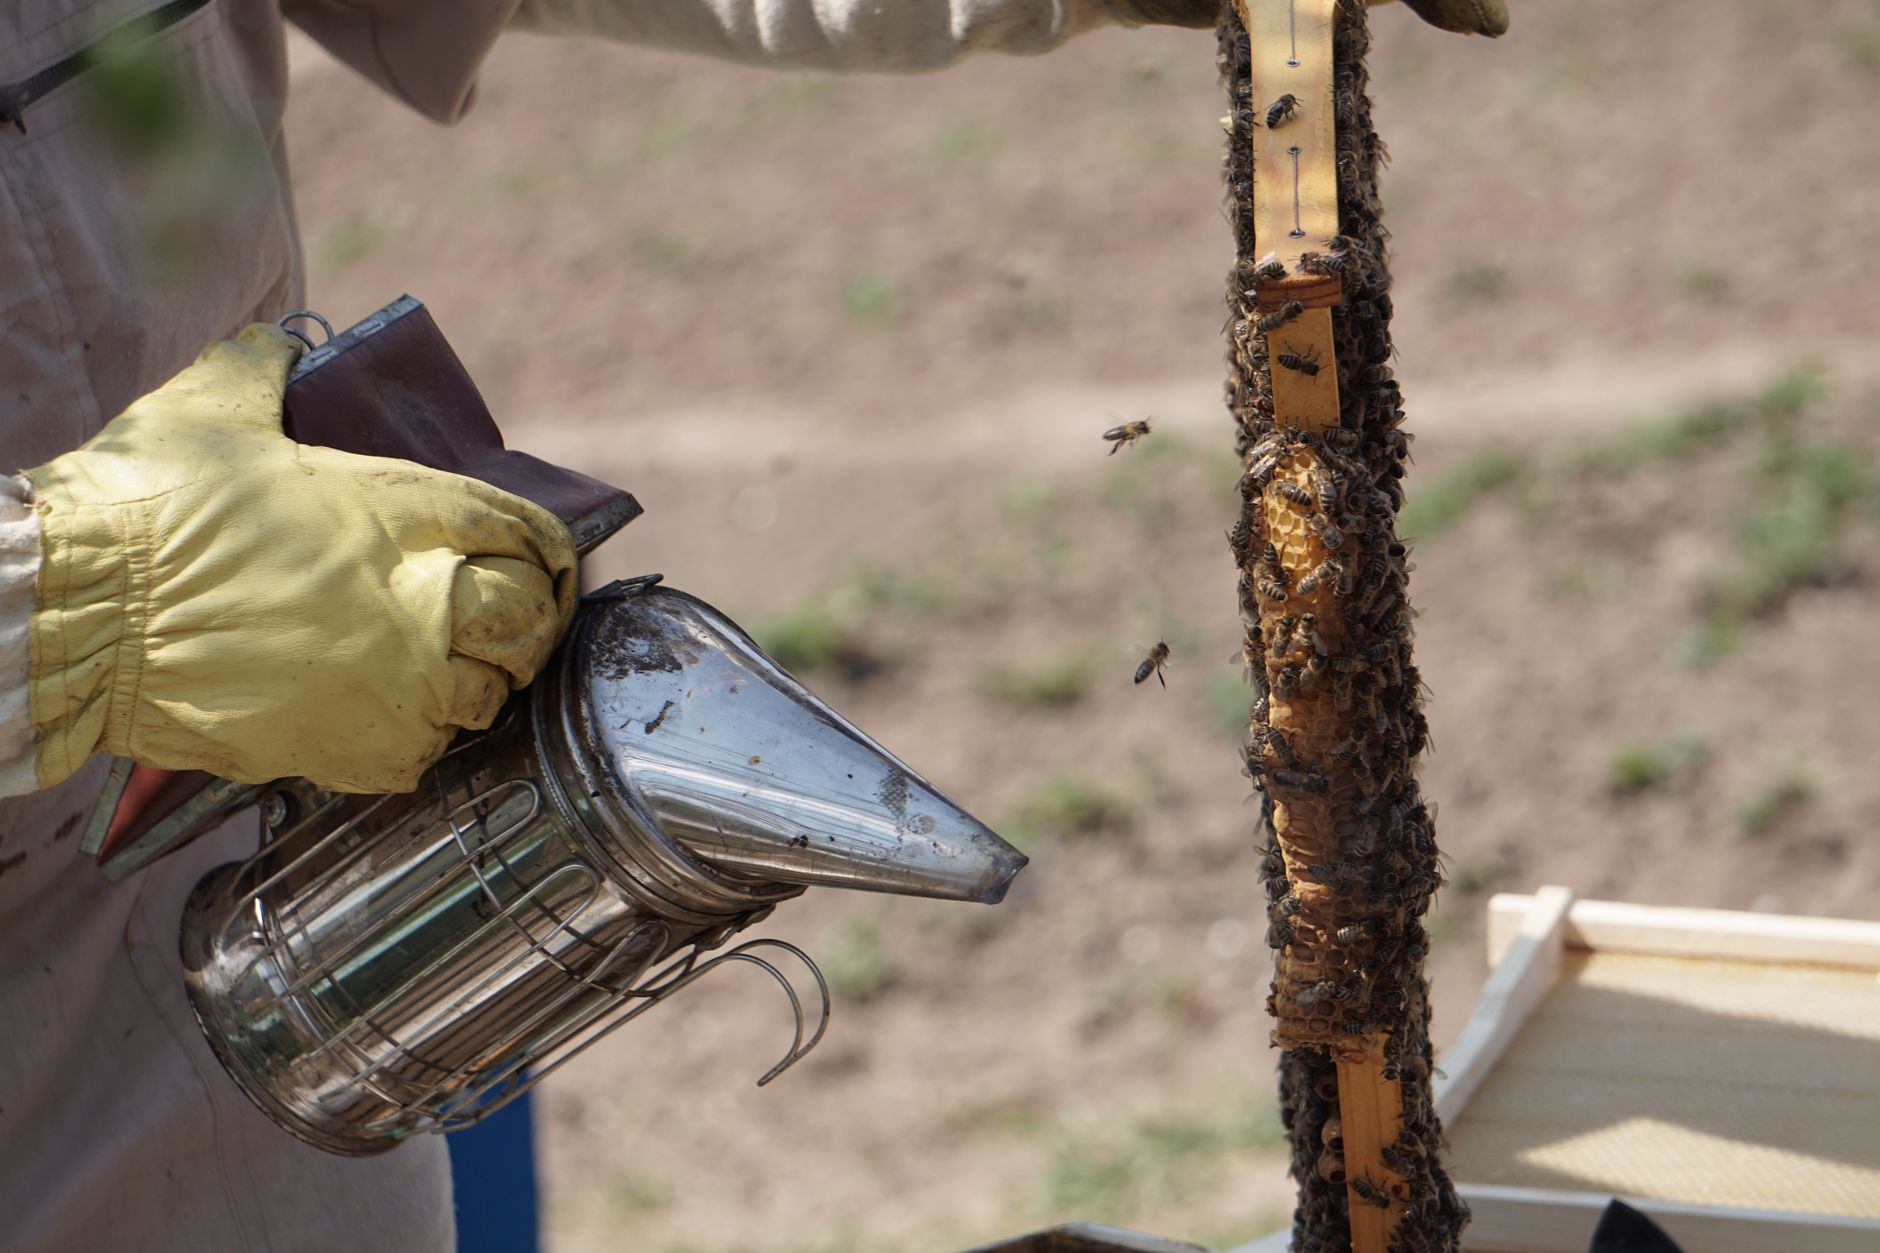
Smoke is helpful but not a removal method by itself. A few puffs at the entrance and under the top cover move bees down. Too much smoke can taint honey aroma. Use cool, light smoke. The goal is not to drive every bee out of the super. It is to reduce defenders so you can lift frames without crushing bees.
While clearing bees, look for open brood frames in the honey super. If the queen has been laying above the excluder, do not extract those frames. Return them to the brood area. Uncapped larvae and pollen should stay with the colony. This step connects to frame removal because a mostly bee-free super is much easier to pull.
- Pull full supers without breaking your back or the comb
A medium super with 8 or 9 full frames can weigh 40 pounds or more. Deep supers can approach 60 pounds. Lift with your legs, not your back. Keep frames level to avoid dripping honey and cracking comb. If you have a partner, one person can lift the super while the other places a cover.
Have an empty super or a plastic tote ready. Remove each frame one at a time. Shake or brush off remaining bees gently over the hive. Place frames into a covered tub or a spare hive body with a lid. Bees from neighboring hives will find exposed honey within minutes, so cover everything.
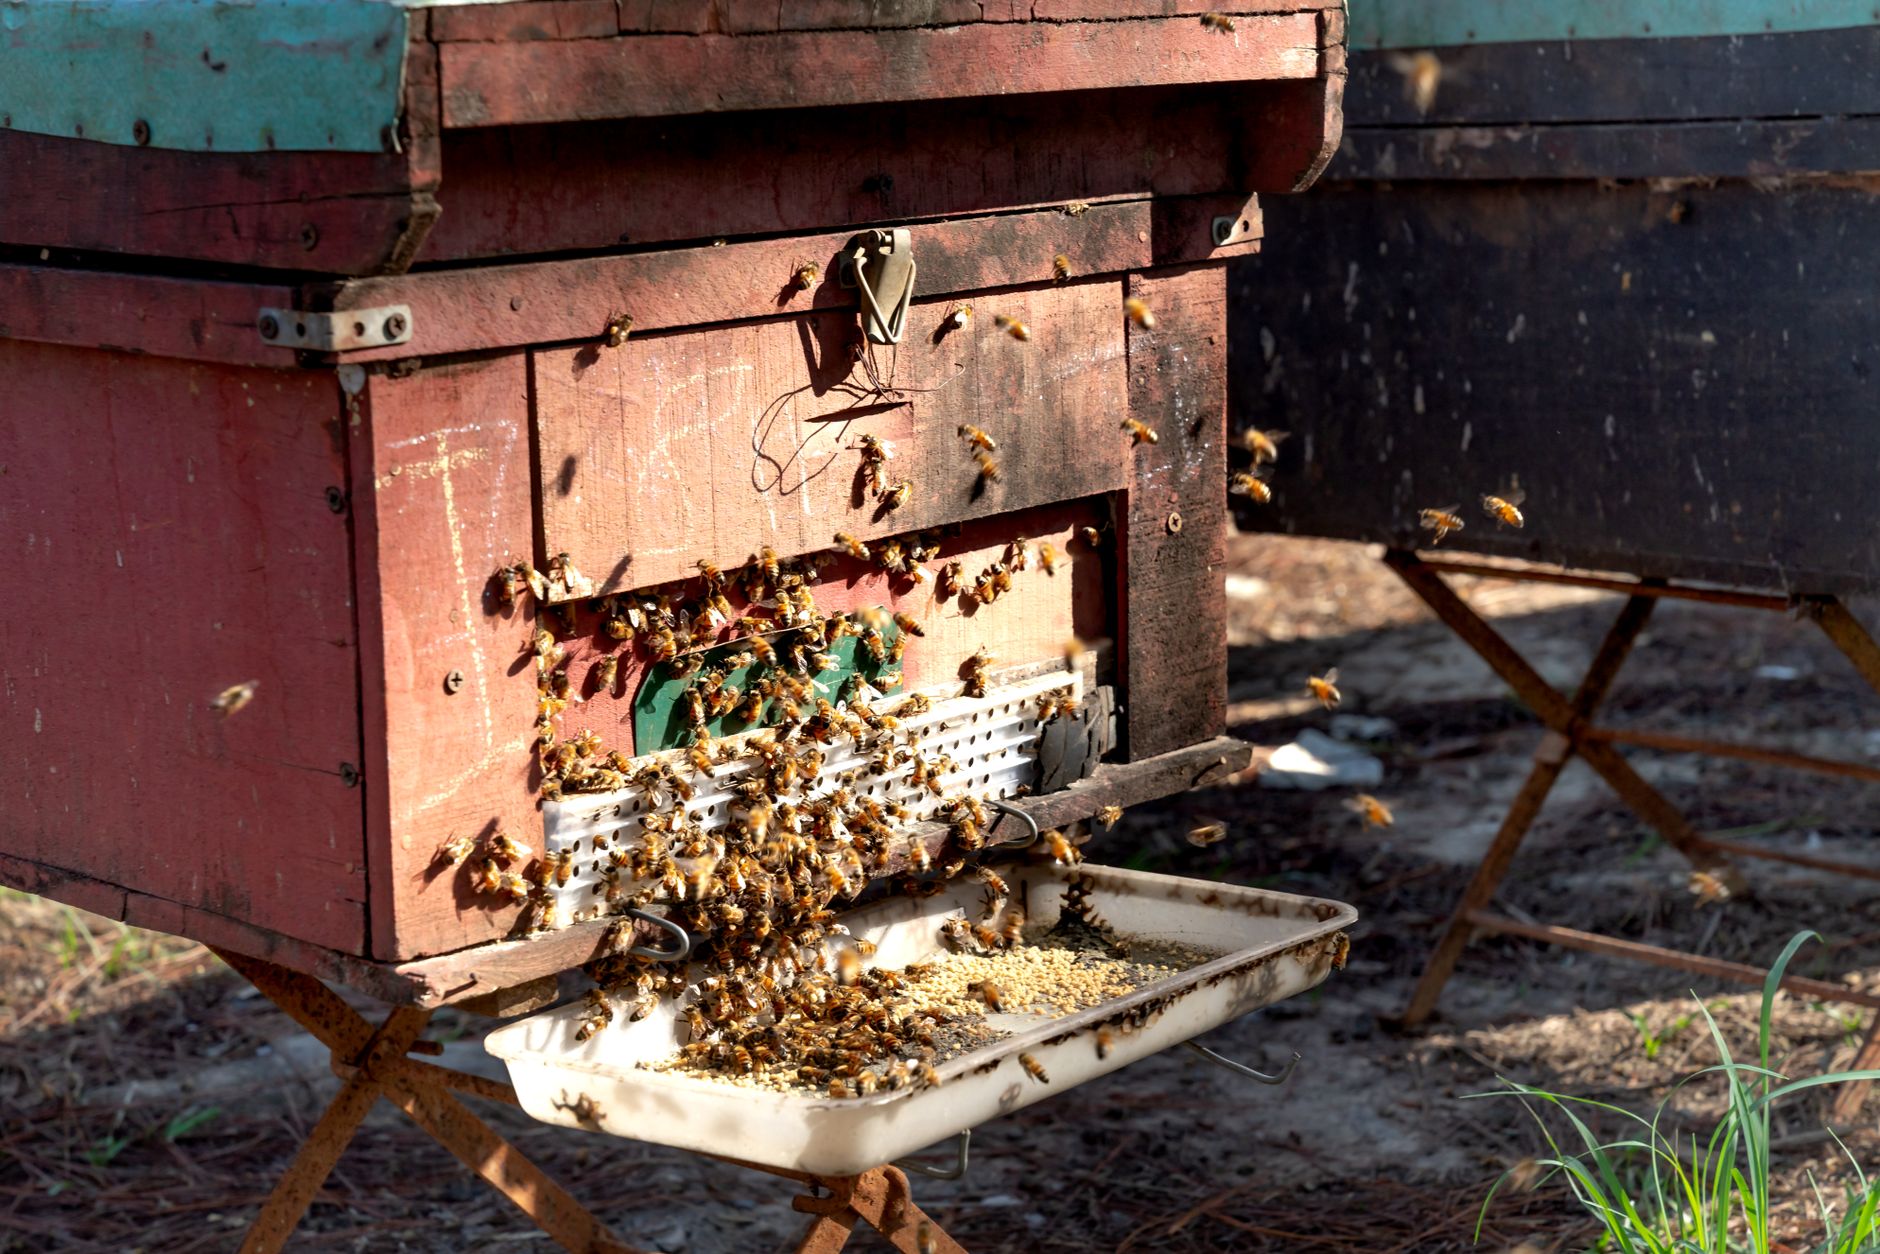
Move the honey inside immediately. Crack the lid only in a bee-proof room. If you must set supers outside, use a wet towel or inner cover to cover top and bottom. Robbing pressure increases during a dearth, so speed matters. Check the ground for drips. Spilled honey next to the hive invites wasps, ants, and robber bees.
Before extraction, look at the frames again. Any frame with more than 30 to 40 percent uncapped cells should stay for a later harvest. If you accidentally pulled a mostly uncapped super, return it to the colony. This prevents fermentation and thinning of the final honey batch. Keep good records of how many supers you removed from each colony.
- Slice or pierce wax cappings so honey can flow
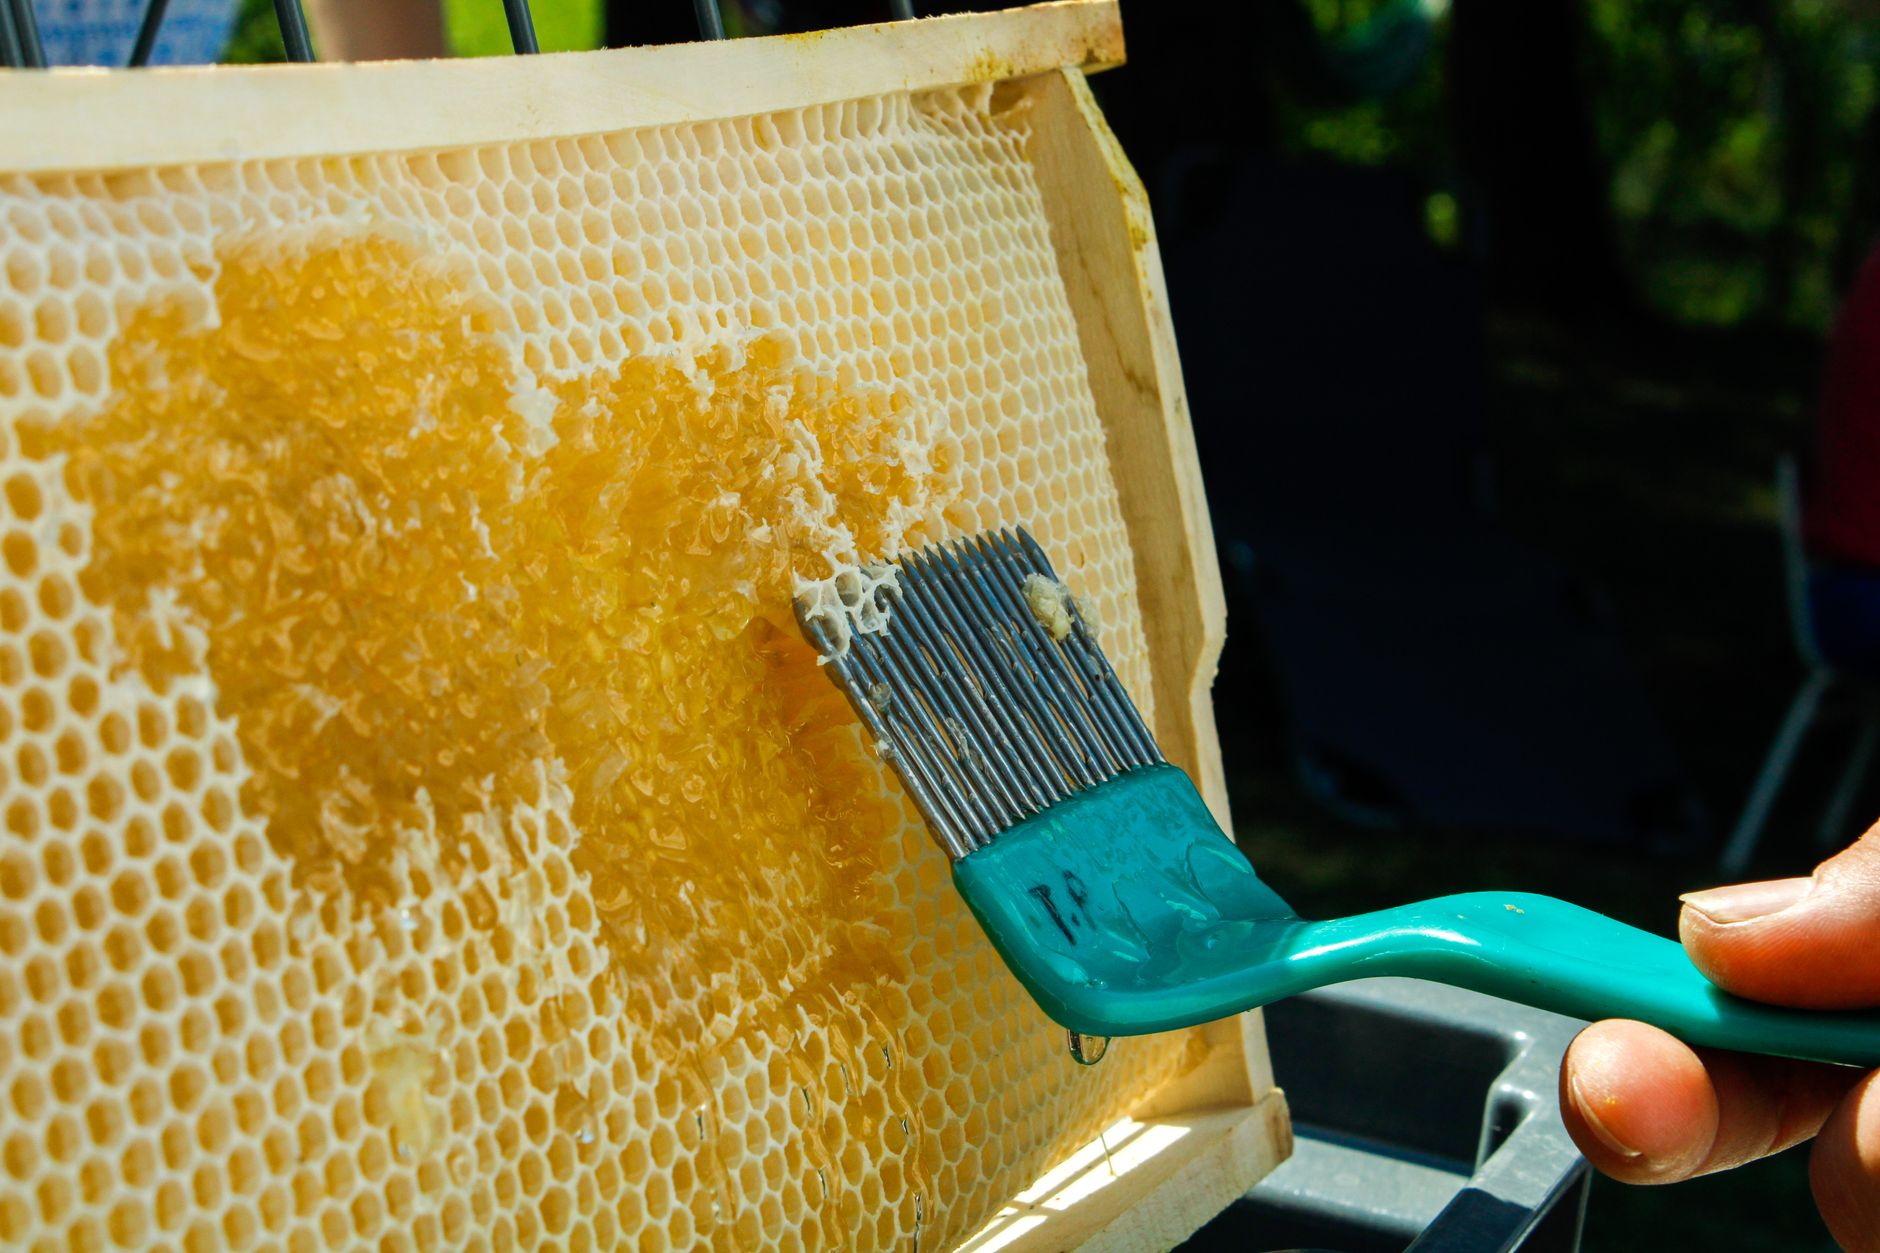
Place a clean catching pan under your uncapping station. A deep baking pan or a purpose-built uncapping tank works. Rest the frame on a frame support or over the pan. Use a cold uncapping knife or an Check the electric uncapping knife on Amazon if you prefer less effort. Slide it down both sides to remove the wax caps. Keep the knife angle shallow so you cut wax, not comb.
An uncapping fork is slower but works well for small jobs. Drag the tines along high spots to open cells without damaging the midrib. Some beekeepers use a roller piercer. The goal is to expose the honey behind the wax. Do not shred the comb too deeply. Frames with badly torn foundation are harder for bees to repair. For more on uncapping tools and tanks, see honey extraction equipment guide.
Save the cappings in a separate food-grade container. The wax holds honey even after draining. You can let it drip overnight through a strainer, then melt the wax later. Never throw cappings in the trash without draining. That is honey you worked hard to produce. If frames are plastic foundation, use a gentler touch so you do not cut the plastic.
- Use a hand or motorized extractor to spin out the honey
Place uncapped frames in the extractor with equal weight on opposite sides. For tangential extractors, put one frame per side and spin one side halfway. Then flip the frames and spin the other side fully. Radial extractors hold frames like spokes, so you can spin continuously. A two-frame manual extractor works for a small apiary, but a four-frame or radial model saves time. If you have one or two hives, a manual extractor is fine. For comparisons, see best honey extractors.
Start cranking slowly. Honey is dense and cold honey resists flow. Build speed gradually to avoid cracking combs or throwing the extractor off balance. For manual extractors, spin for a few minutes in one direction, then reverse if the model allows. Motorized models can run up to about 200 rpm. Do not over-spin. Wobbling means frames are unbalanced or too heavy.
Open the honey gate at the bottom of the extractor after the first side is mostly empty. Let honey flow into a food-grade bucket lined with a double strainer. The strainer removes wax bits, bee parts, and propolis. Do not let honey sit in the extractor too long or it may cool and thicken. Work in a warm room, ideally 75 to 85 degrees Fahrenheit, to keep honey flowing.
A common mistake is overloading the extractor with deep frames mixed with mediums. Keep frame sizes uniform per load. Another mistake is not scraping cappings from the bottom of the extractor before the next batch. After extraction, move to settling and bottling. See honey extraction equipment guide for strained bucket setup.
- Let air bubbles rise and honey settle before bottling
After straining, cover the bucket and let it sit for 24 to 48 hours. Air bubbles, wax particles, and foam rise to the top. Skim the foam with a clean spoon. Bottling too soon traps bubbles and makes the jars look cloudy. Settling also lets fine particles sink. Honey does not need pasteurization, just patience.
Warm the bucket if the honey is too thick to bottle. Raw honey crystallizes at different rates. A gentle water bath at no more than 100 to 110 degrees Fahrenheit works. Do not microwave honey. High heat damages enzymes and changes flavor. Keep a thermometer nearby if you use any heat.
Prepare jars with hot water. Fill them from the honey gate, leaving a little headspace. Wipe the rims with a damp cloth. Put lids on snug but not overly tight. Label each jar with the date, floral source if known, and apiary name. That simple label helps you track quality and variety across seasons. If you want realistic yield expectations, see how much honey does one hive produce.
- Clean equipment and store wet supers
Wash sticky extractor parts with warm water. Never use household cleaners that leave fragrance or residue. A hose outside works for large equipment, but bring the extractor inside to dry. Honey residue attracts pests. Dry everything completely before storage. If you have rubber gaskets, remove them and dry separately.
Wet supers that bees did not clean should be stored dry and protected. Wax moths can destroy drawn comb in a few weeks, especially in warm weather. Treat stored supers according to label directions or stack them in a cold, dry place with good air flow. For more, see wax moth prevention treatment.
Put wet frames back on the hive only at dusk and remove them within two days. Never store supers outside without covers. Even a small crack invites beetles and moths. Check stored equipment monthly. Good storage is the difference between reusable drawn comb and a mess next spring.
Finally, return to the colony for a quick inspection a week after harvest. Check that the queen is still laying and the bees are cleaning up. Look for robbing or wax moth damage around the entrance. Harvest should leave the hive organized, not exposed. If you see heavy robbing, reduce the entrance immediately.
Red Flags & Warnings
- 🚨 Do not harvest honey from frames treated with mite products that are not labeled for use during honey flow. Check the product label before pulling supers.
- 🚨 Never take every frame of honey. Leave 60 to 90 pounds of stores in cold climates, or the colony may starve over winter.
- 🚨 Avoid uncapped honey. Water content above 18.6 percent can ferment after bottling.
- 🚨 Be careful with a fume board. Strong repellents can smell. Use only approved products and avoid breathing them.
- 🚨 Do not leave honey supers uncovered outside for even 20 minutes during a dearth. Robbing can start quickly.
- 🚨 Wear your suit and gloves when pulling honey. Even gentle colonies can become defensive once their stores are disturbed.
Frequently Asked Questions
How do I know when my honey is ready to harvest?
Harvest when 80 to 90 percent of cells in the honey super are capped. You can also use a refractometer, and honey should register no more than 18.6 percent moisture. Uncapped frames may still ferment, so wait or test them.
Do I need to leave honey for the bees?
Yes. In most temperate regions, leave at least 60 to 90 pounds of honey for winter. In very warm climates the amount can be lower, but the brood nest should always keep some stored honey. Taking too much forces you to feed sugar syrup later.
Can I harvest honey from a first-year hive?
Usually not much. First-year colonies often need all their honey to build comb and survive winter. You may pull one or two frames only if they are fully capped and the colony is very strong. Some first-year hives produce no surplus at all.
What if my honey has too much moisture?
If capped frames still read above 18.6 percent moisture, let bees finish capping them. If you have already extracted high-moisture honey, spread it in a warm, dry room with a fan, but do not heat it above 100 degrees. It may need several days to drop moisture.
How many times per year can I harvest honey?
Most beekeepers harvest once or twice per year. Timing depends on local nectar flows. You can pull spring honey after a strong flow and fall honey if bees refill supers. Avoid harvesting too late so bees can rebuild winter stores.
Do I need an extractor?
No, but it helps. For one or two frames you can use the crush-and-strain method. Place comb in a strainer and let honey drain. For whole supers, a rented or shared extractor is more efficient.
What Should You Remember?
- Harvest timing: Harvest honey only when 80 to 90 percent of cells in the super are capped.
- Moisture check: Use capped frames or a refractometer; honey above 18.6 percent water can ferment.
- Bee handling: Use a brush, fume board, or escape board so you do not crush bees.
- Leave stores: Keep at least 60 to 90 pounds of honey for winter in cold regions.
- Equipment prep: Use food-grade buckets, strainers, and jars from start to finish.
- Clean frame storage: Protect wet supers from wax moths and robbing after extraction.
- Label batches: Record harvest date, bloom source, and hive so you can track quality.
This article is for general information only and is not veterinary or legal advice. Beekeeping is regulated in most regions and involves live animals with their own health needs , always follow local regulations and best practices, and consult a qualified apiarist, extension service, or veterinarian for bee-health or disease concerns.